How to Add Custom Characters in Desktop Mate
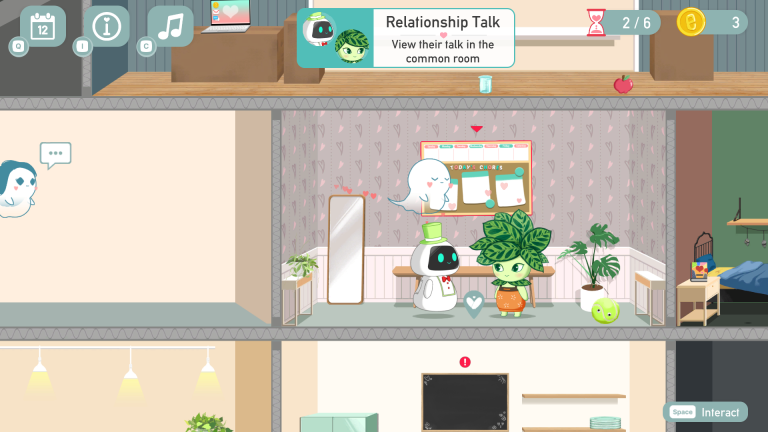
In my list of games that can be played in the background while working I mentioned a few background-running apps that feature adorable companions sitting at the bottom of your desktop. You can interact with them and enjoy their cute reactions to your clicks and swipes. Some of these apps even include a Pomodoro timer, helping you stay focused and productive while working. InfiniteLoop’s Desktop Mate is the latest addition to the background-running ‘games’ on PC. It brings a adorable anime character to your desktop that interacts with you in a very cute way.

The app is available on Steam, and the free version currently features just one character to interact with. Okay, there’s a Hatsune Miku dlc, (and it’s cute, ngl). New characters will be added in the future, but you can add custom characters by modding Desktop Mate. Here’s how to do it in this guide:
1. First things first. Download .NET Desktop Runtime 6.0 (X64) and install it in your PC. In the download page, scroll down a bit until you find .NET Runtime [latest version]. Under installers, click on x64.

2. Download MelonLoader. In the melonwiki page, scroll down to “Automated Installation” and click on Download latest for Windows.

3. Open Melon Loader. Choose “Desktop Mate” and click Install. If you can’t find it, then click “Add game manually” on the bottom left corner of the window.

4. Since you will be modding Desktop Mate to add your favorite character, you will need to download CustomAvatarLoader.zip from the GitHub page.

5. Double-click to open customavatarloader.zip. Keep it open.
6. Open the Steam app on your PC > Library. Search for “Desktop Mate” on the search bar on the left-hand side. Right-click on it and click on Properties.

7. In the new window, select Installed Files > Browse. It will open the Desktop Mate folder.

Drag and drop the mods and userlib folders from customavatarloader.zip to the game folder.

8. From the same Steam App > Library, launch Desktop Mate once. It will take some time to launch the app. As soon as the character appears on the screen, press At + f4 to close it. If you are using a laptop, press Alt + Fn + F4.

9. The next step is to search for a .vrm model, i.e., a new character to replace the default one. Head straight to hub.vroid.com. Sign up for it if you haven’t done yet as you will need login access to download the mod.

10. On the .vrm model page, scroll down until you find the “Use this model” button. Some models can’t be downloaded, which is why you won’t see this button. Also, make sure you check the “Conditions for use” and whether any attribution is necessary. Check “I will use this model according to the conditions of use” and click download.
Note: You can also create your own .vrm models and download them.

11. Return to the Steam app and launch Desktop Mate. Click on the the character, then press F4 (or Fn+F4 if you’re on a laptop). Locate the folder or downloads section where the .vrm file is saved. Select the .vrm file.

That’s it! You have successfully modded Desktop Mate.

12. The melon loader console command will open every time it launches. To hide it, go to the Steam app once again > Library. Right-click on Desktop Mate > Properties. In the General tab > Launch Options, enter:
--melonloader.hideconsole 


I followed the instrusctions correctly for downloading and everything but it is not working i am wondering if maybe i did something wrong