Erma: The Game Walkthrough
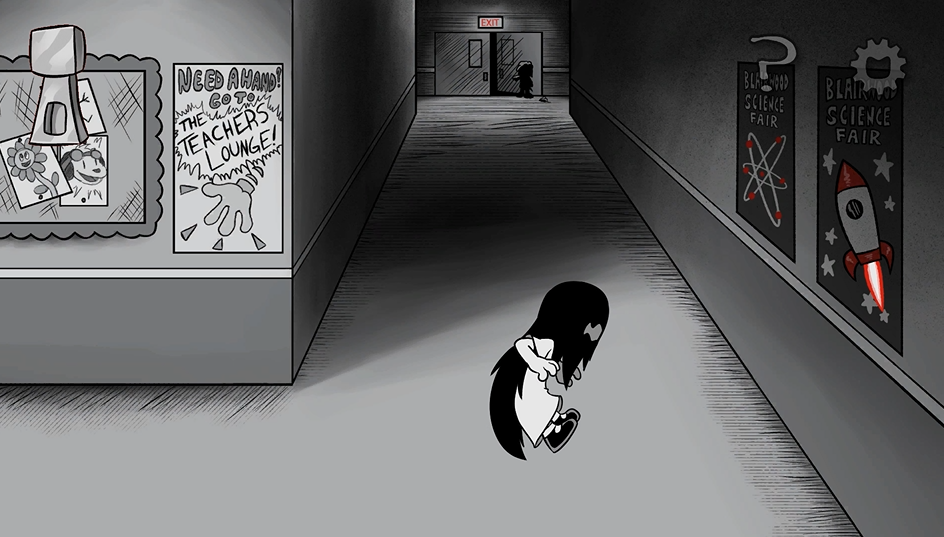
Erma: The Game is a cozy point-and-click adventure by Outcast Studios, the makers behind the comedy-horror webtoon of the same name. Erma’s science project goes wrong, all thanks to Amy’s perfectly timed sneeze. She needs to find all the pieces throughout her hometown to reanimate Ded. Along the way, she will meet a witch, a cute dog, an angler, and her rivals at school who have found the pieces before her. Follow the full walkthrough to solve puzzles and outsmart them, collecting all the pieces for her project on time.
Quick Access
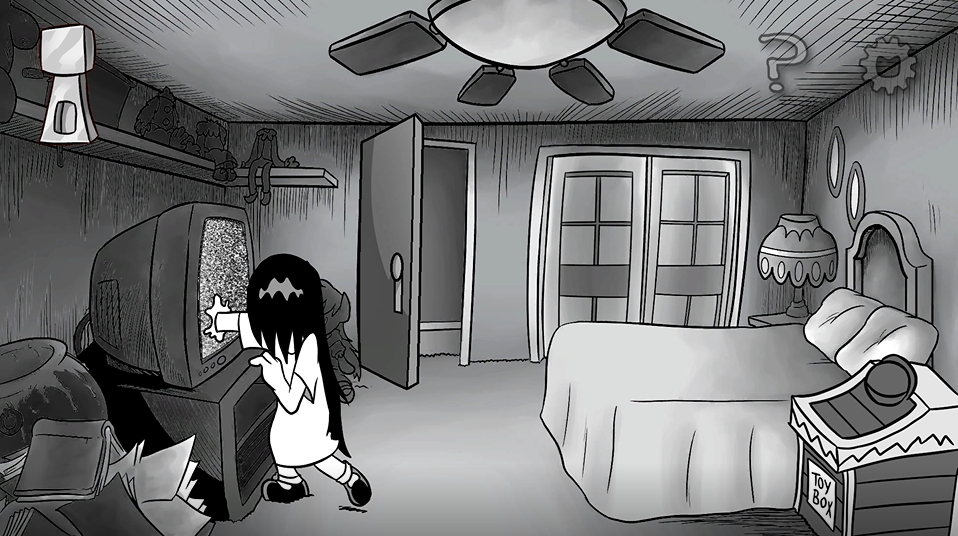
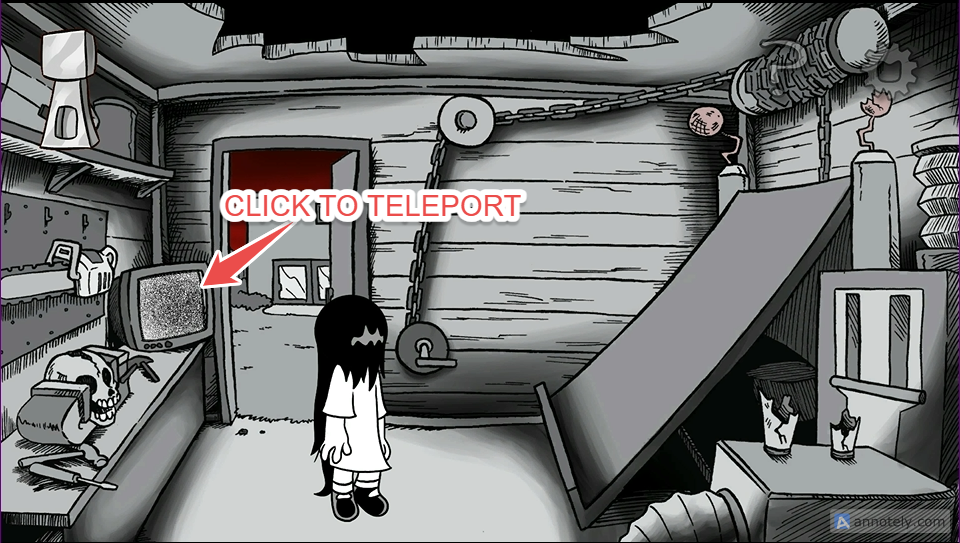
In Erma’s room, the Spell Book is hidden inside the television, though you can still search the MONSTER toybox just for fun.

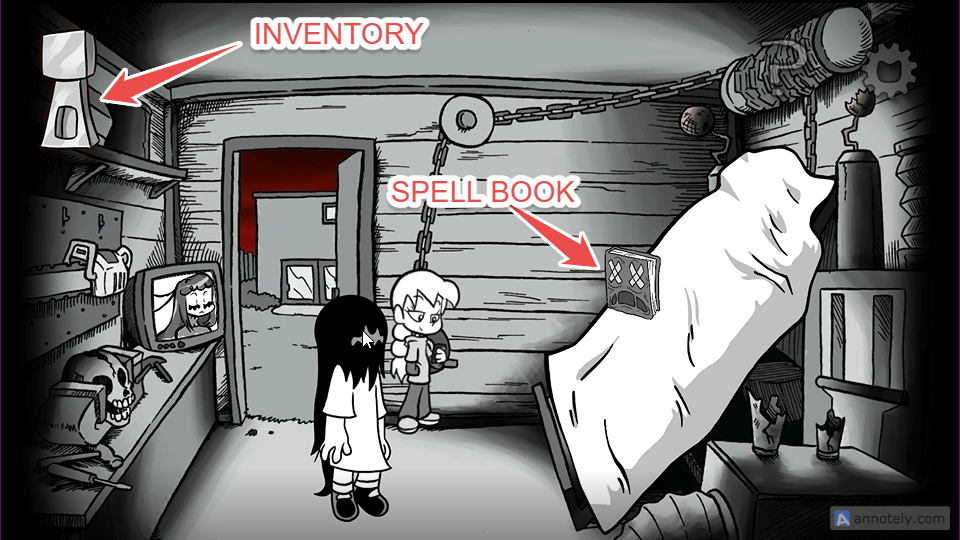
Go back to the abandoned shed where the secret experiment is taking place. Open your inventory, then drag and drop the spell book onto the body wrapped in sheets. Your inventory has a zipper icon and is located in the top-left corner of the screen.
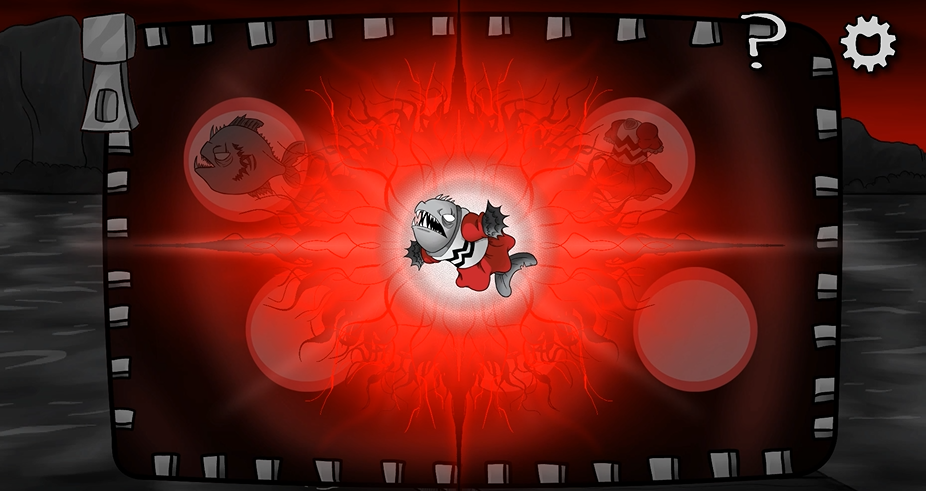
Amy chants a spell from the book to bring the monster back to life, but sneezes in the middle of the incantation.
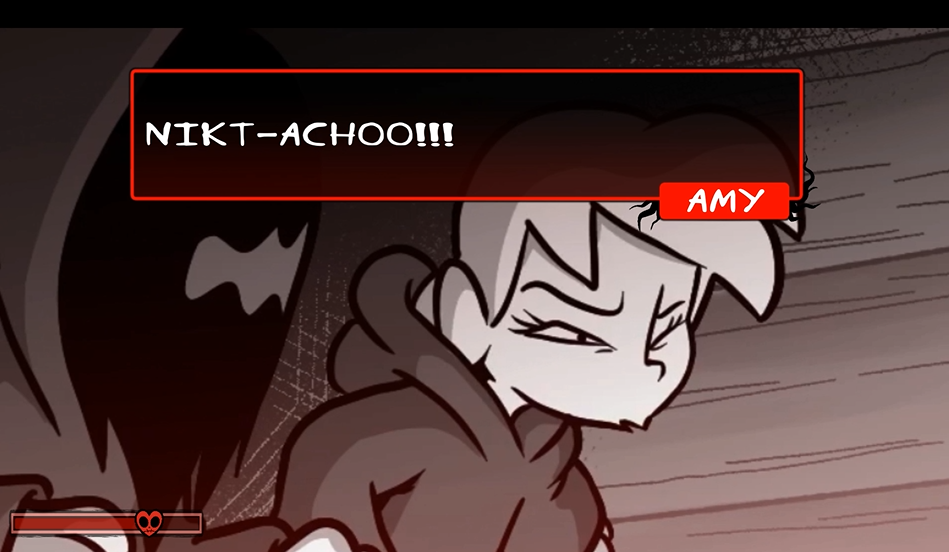
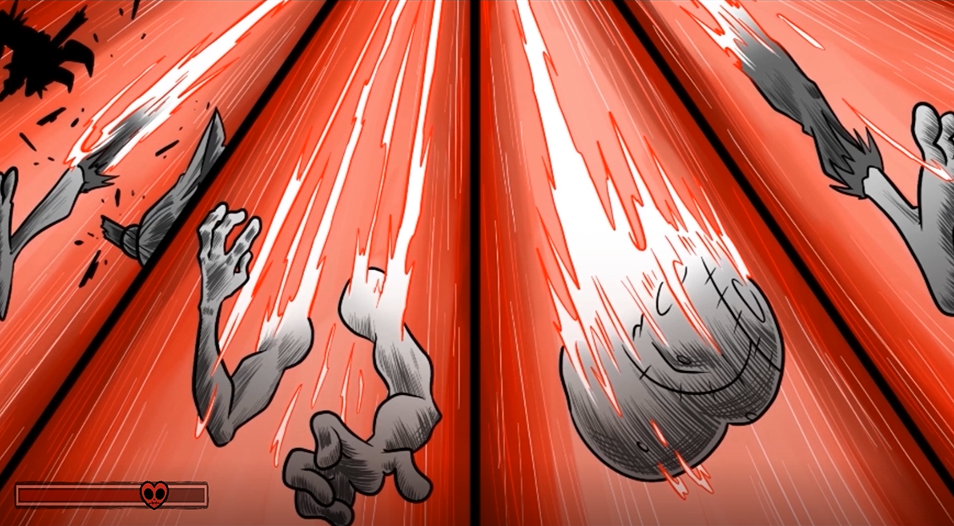
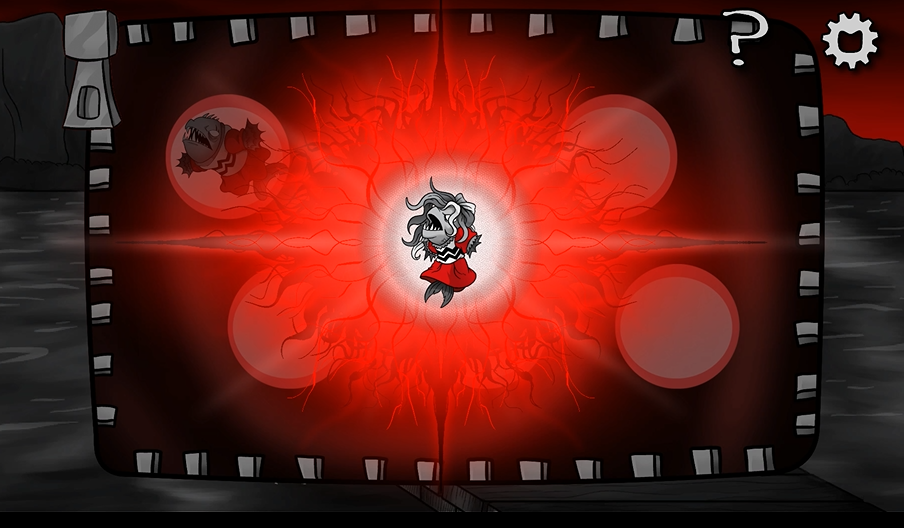
The spell backfires, causing the monster to explode and scatter its body parts throughout the city.
Fortunately, the monster’s head drops in her shed. After a brief introduction (the monster’s name is Ded N. Cide. ), he says he will be more than happy to assist Erma in any way to retrieve his body parts.
The game objective is simple: find all the monsters’ body parts and bring them back to the shed.
Click on the television to teleport Erma to the first location.
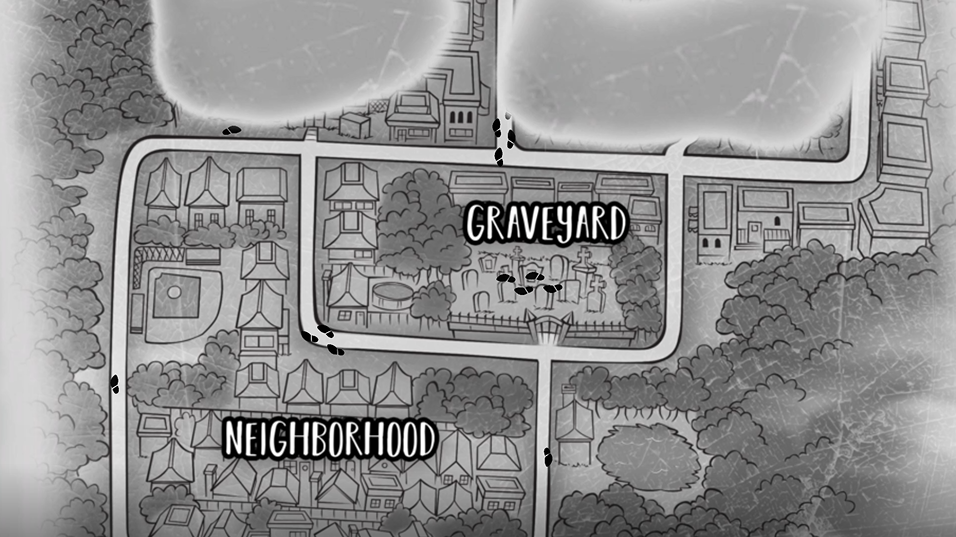
A map will appear on the screen. Click on the Graveyard to travel to your first destination.
The Graveyard
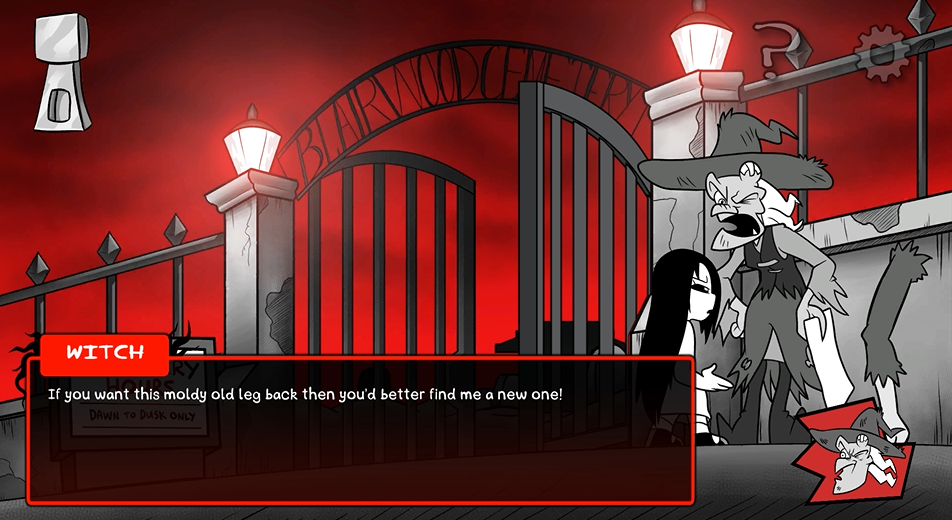
Talk to the Witch. She has the monster’s leg. It hit her on the head as she was heading to the weekly witches’ meeting, breaking her broom in two.
If Erma wants that leg back, she needs to find a new broom for the witch.
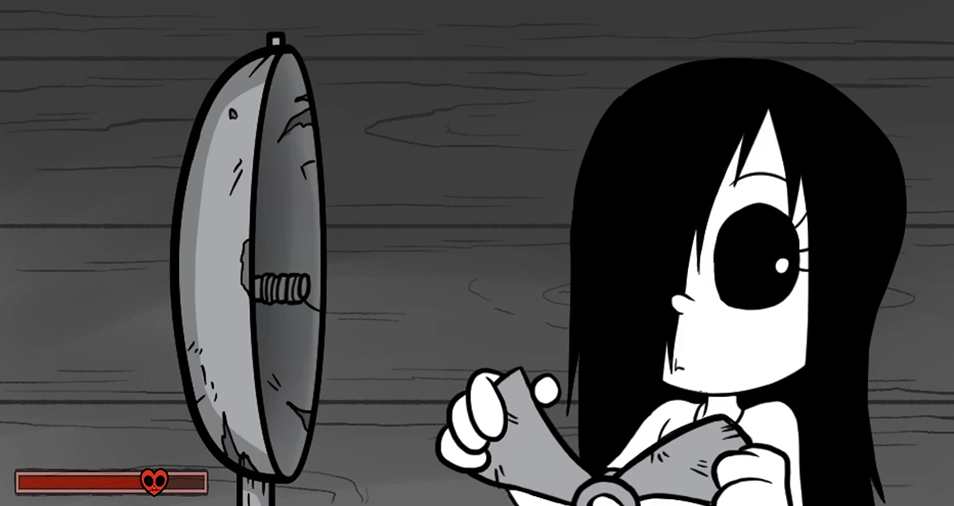
Enter the Blairwood Cemetery gate, then head into the shelter by the graveyard. Take the ball of yarn from the cat.
Click on the table fan. Erma tries to turn it on, causing the rickety blades to fall out. She then picks up the blades and keeps them.
Exit the shelter and proceed to the graveyard. Erma finds the broken broom and another severed leg. When she tries to pick it up, a zombie snatches it from her. She fights the zombie with the broken broom, but soon gets surrounded by more zombies.
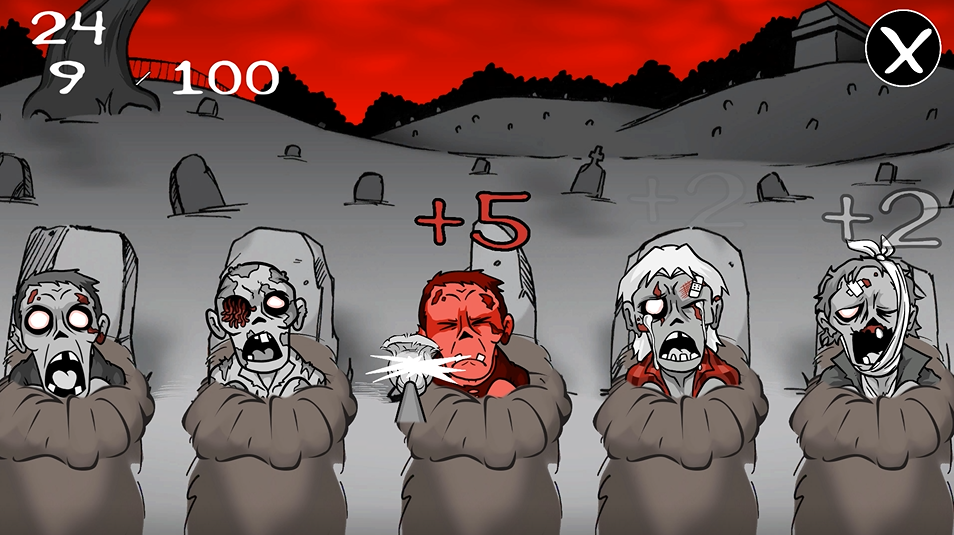
To defeat them, play the “Whack-a-Zombie” mini-game. Whack them on the head to score points. Score 100 or more points to win the game before time runs out.
You get 2 points for whacking a common zombie, and +5 points for hitting the red zombie. Score 100 points within 25 seconds.
After defeating the zombies in the mini-game, you will get a severed leg. But here’s the twist – it isn’t Ded’s leg, but one of the zombies’ instead. Thankfully, Erma has the witch’s broken broom with her. It just needs a little bit of a fix.
Open your inventory (zipper icon on the upper-left corner of the screen). Combine the yarn ball with the broom to repair it. Now combine the repaired broom with the fan blades to create a unique, modern witch’s broom! To combine items in your inventory, drag and drop one item onto the other.

Go back to the witch near the cemetery gate. Open your inventory again and drag and drop the new broom onto the witch standing near the gate. She will happily trade the severed leg for the broom.
Exit the cemetery by clicking on the “Cemetery Hours” board near the gate.
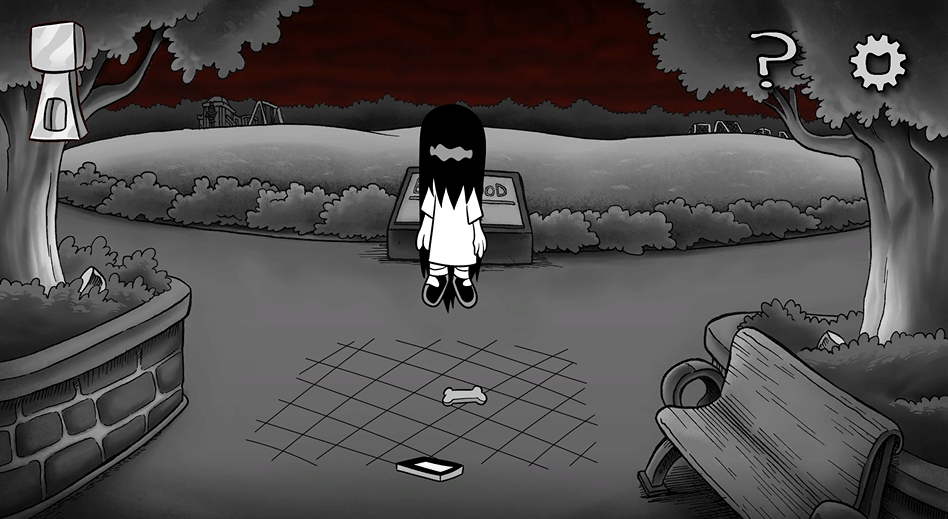
The Park
On your map, click the park to start your next adventure.
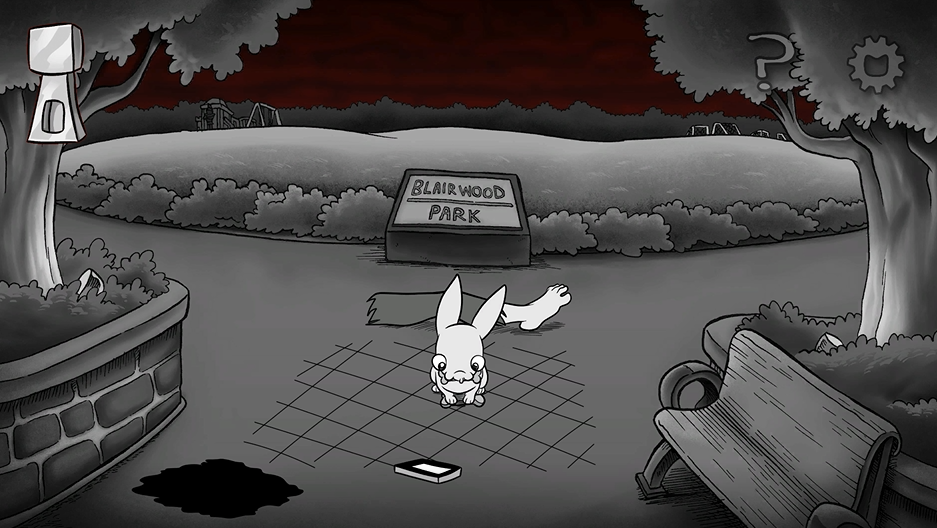
A cute dog has grabbed the second severed leg, and it’s almost impossible to catch him. Explore the Blairwood Park to catch him.
Head to the castle activity area and click on the knight holding a sword. The sword falls to the ground, and Erma quickly picks it up.
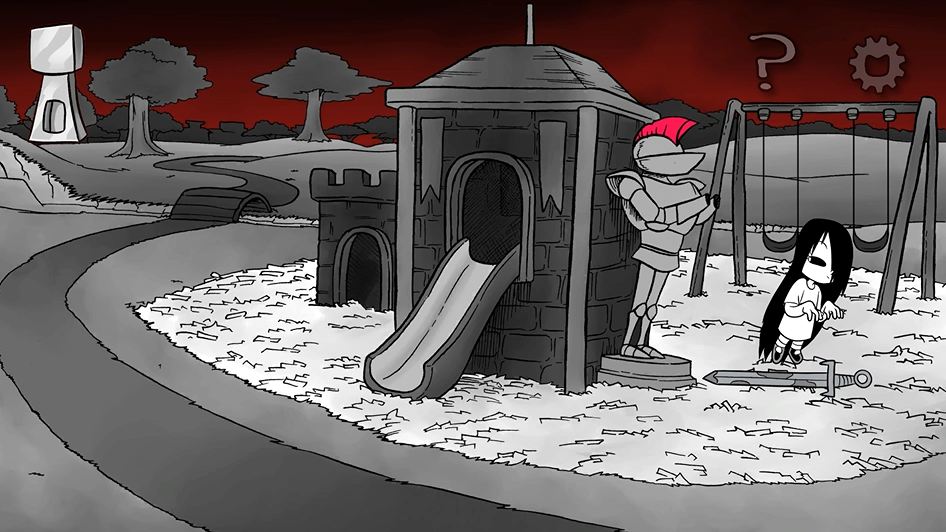
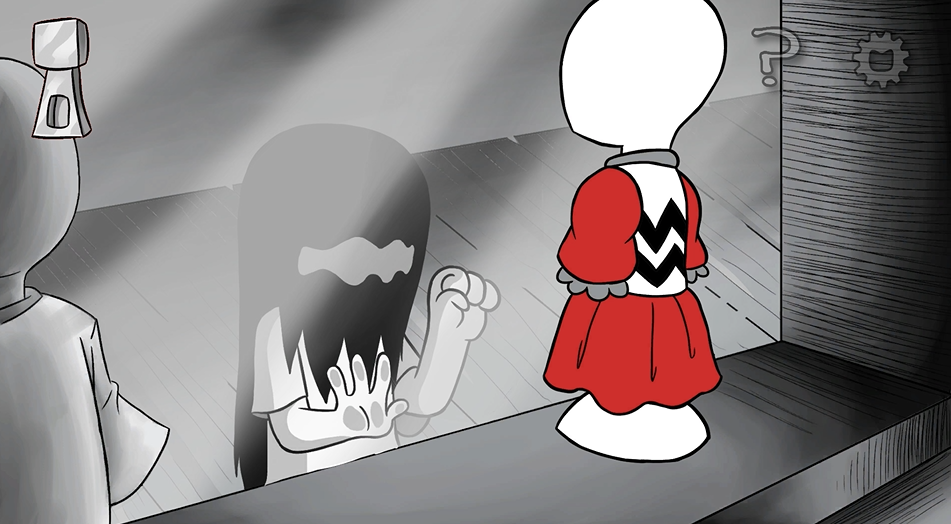
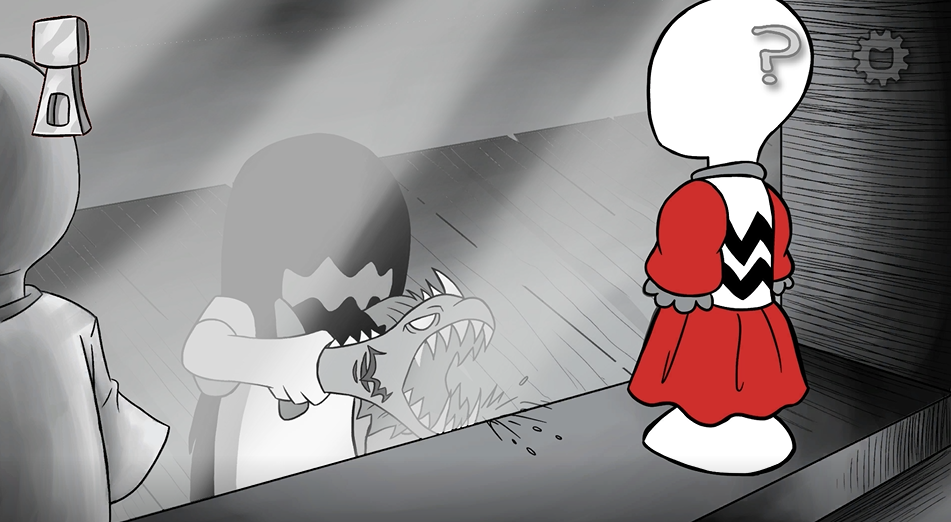
Want an extra scare? Click on one of the swings in the background repeatedly until you get the shock of your life.
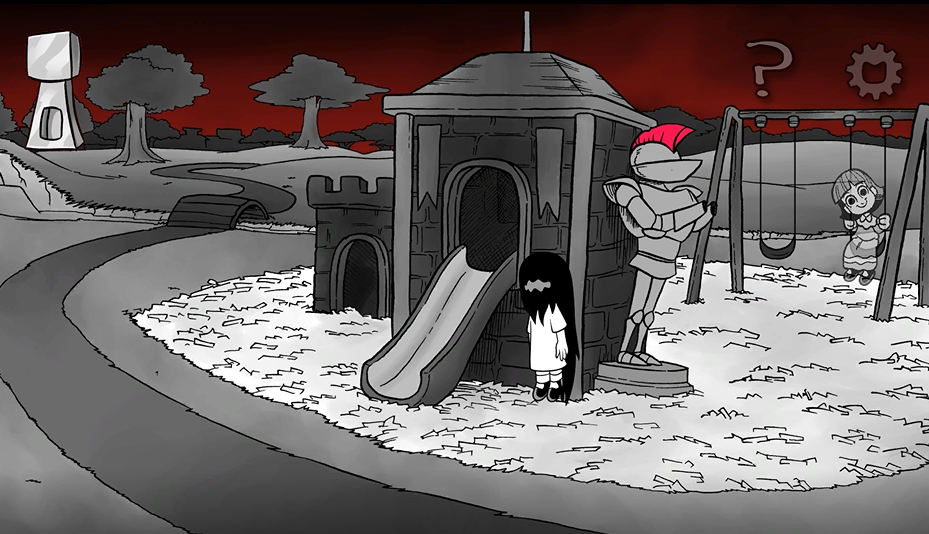
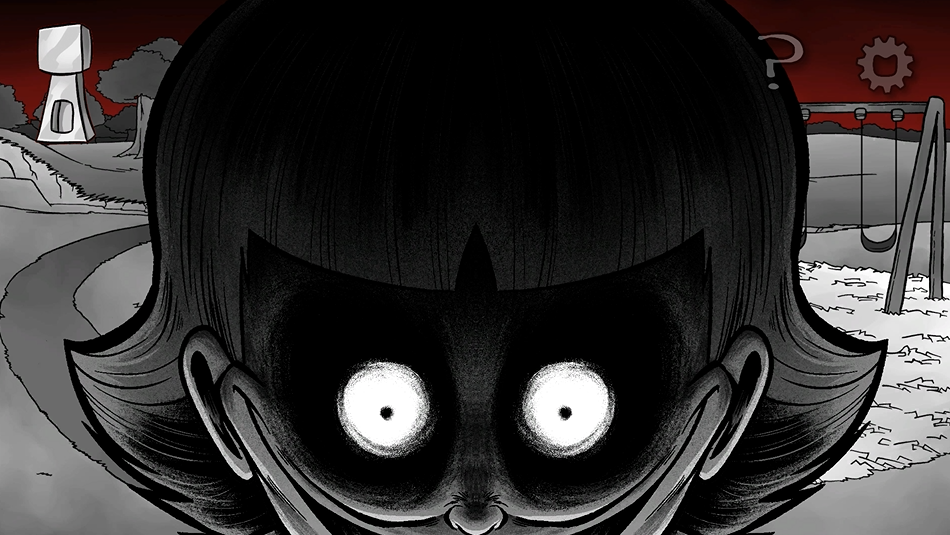
Click on the swing to trigger an event. A girl will appear. Continue clicking the swing repeatedly. Each click makes her look directly at you with an unsettling smile. Keep going until she appears right in front of you.
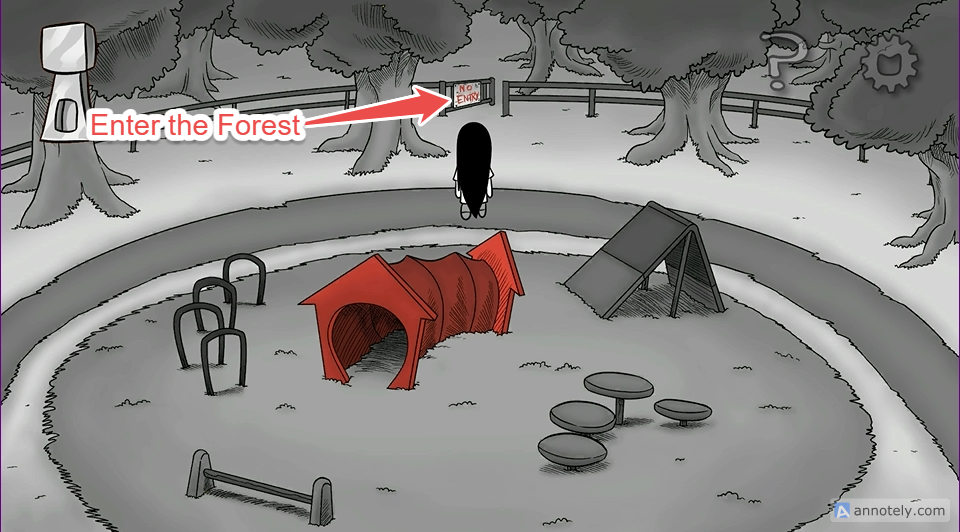
Move to the second activity area and click on the “No Entry” sign to enter the forest.
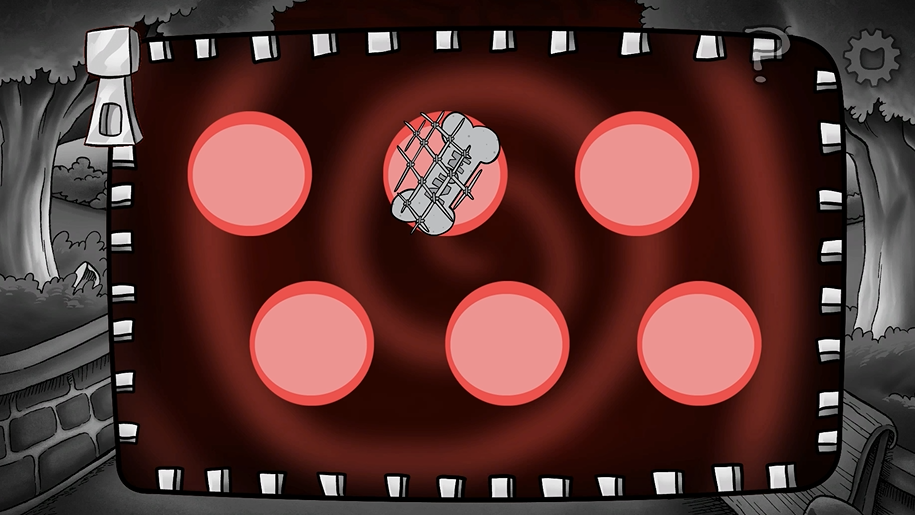
The forest maze puzzle seems complicated and frustrating at first, until you discover the hints. They have been right in front of your eyes the whole time!
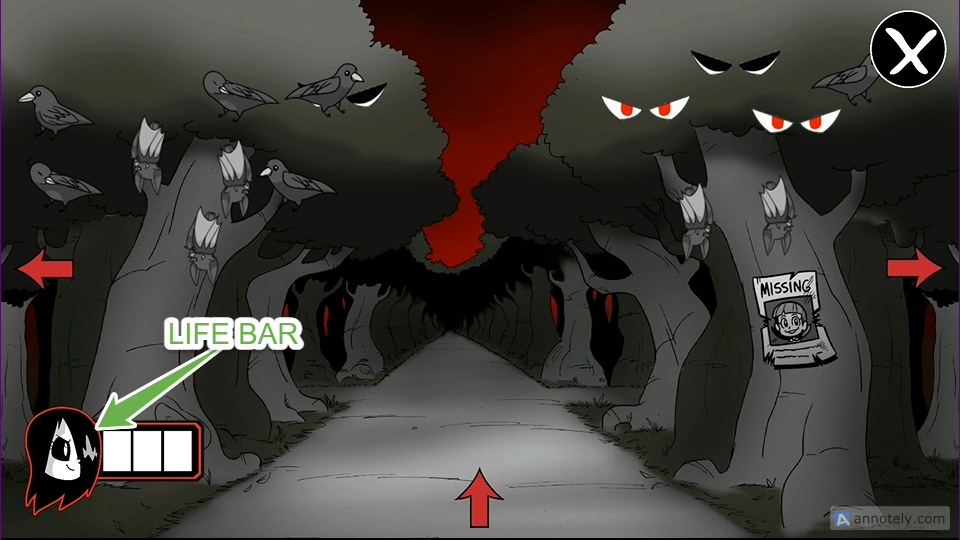
In the forest mini-game, you must choose the correct path to reach your destination. The white life bar in the lower-left corner decreases by one segment each time you take a wrong path.
Forest Maze Puzzle Solution
At the start of the maze, you will be introduced to three key hints: BATS, CROWS, and EYES. These symbols determine which direction you should take at each intersection.
- BATS → Turn right
- CROWS → Turn left
- EYES → Go straight
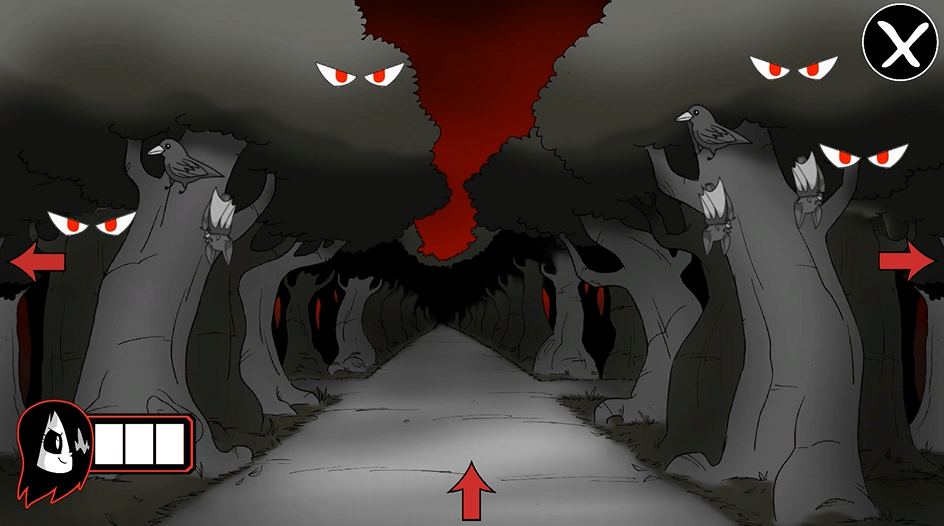
As you progress through the forest, each area will display a mix of these symbols. Your job is to count how many of each symbol appear.
- If CROWS is the majority → Turn left
- If BATS are the majority → Turn right
- If EYES are the majority → Go straight
In the screenshot above, which path should you choose — left, right, or straight?
The correct answer is: Straight
Count the symbols in the area:
- EYES: 4
- BIRDS (Crows): 2
- BATS: 3
Since EYES appear the most, you should go straight.
Make your decision at each junction based on the symbol that appears most in that section. You will also know if your decision is correct if you see Erma move from left to right.
When you reach your destination, you will get a dog bowl with a bone biscuit in it.
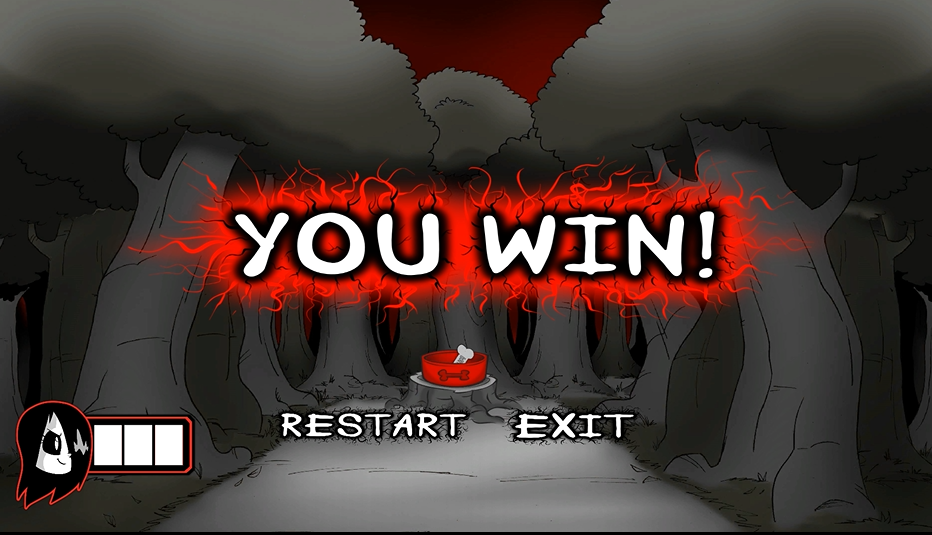
Click EXIT. Erma picks the bone biscuit from the bowl.
Head straight to the soccer field. From the inventory, use the sword on the goal to get the net.
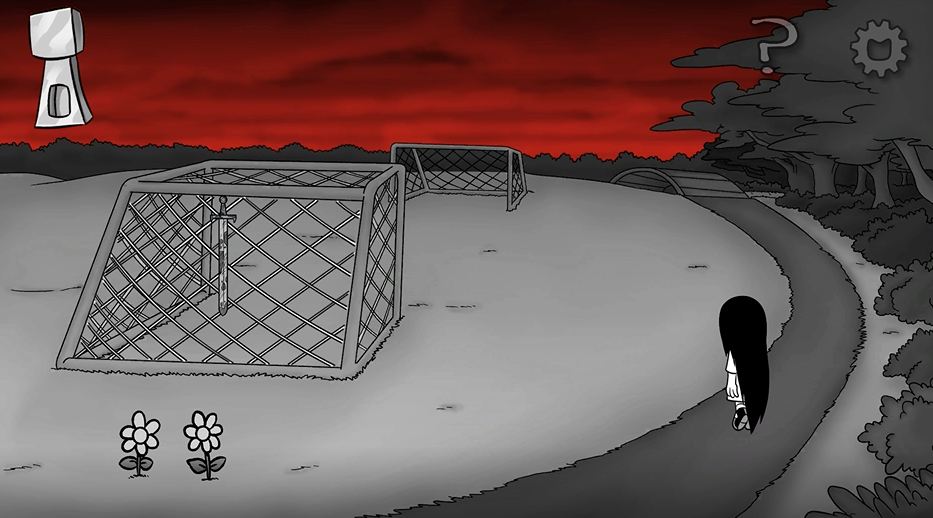
Combine the bone with the net to create a makeshift trap.
Place the trap in this area by dragging and dropping it:
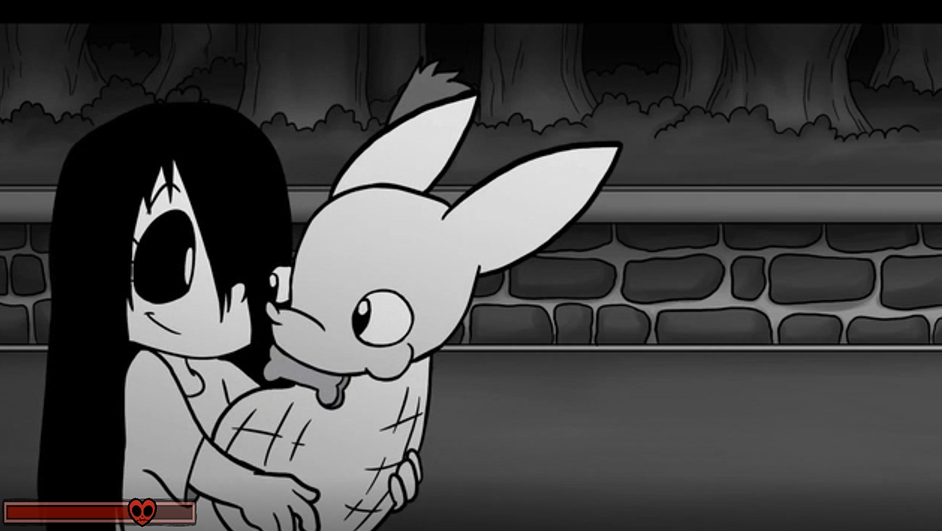
Then, revisit all three locations in Blairwood Park to lure the dog back into the trap:
Erma not only gets the second severed leg, but also another cute pet doggo! She hugs the dog and becomes friends with him:
Click on the mobile phone to exit Blairwood Park.
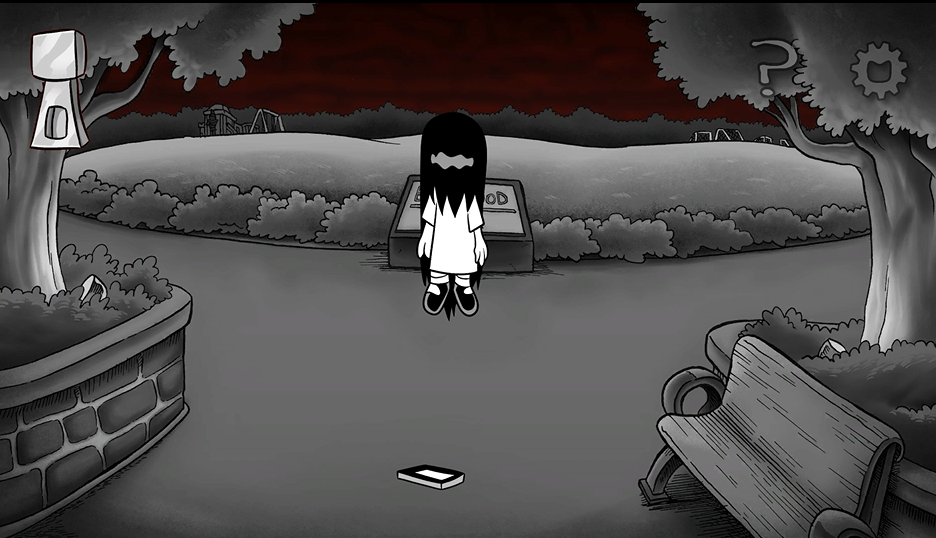
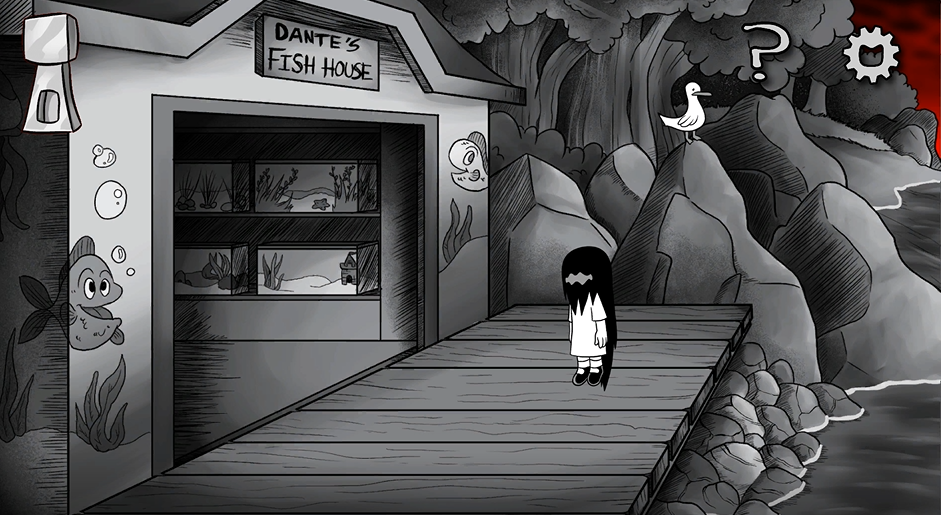
Boardwalk
The next location is Boardwalk. Go right and enter Dante’s Fish House.
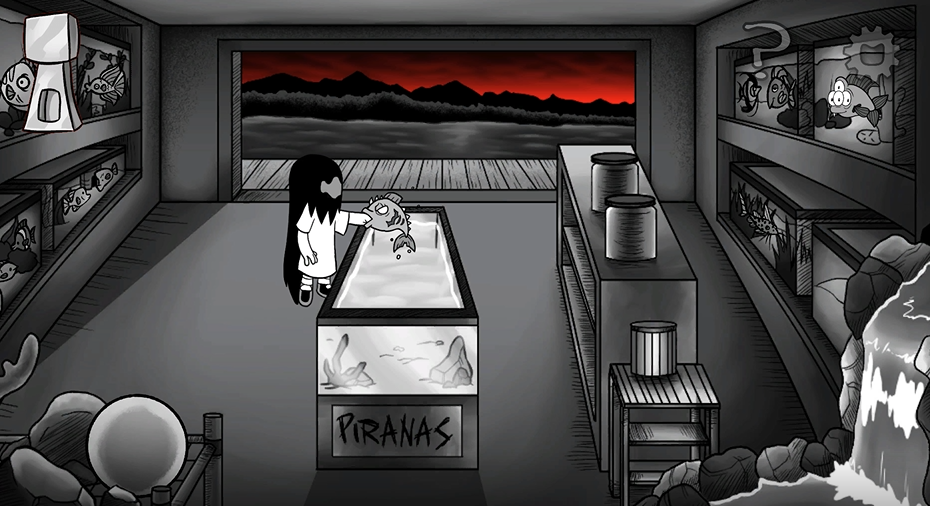
Click on the fish tank to catch a live piranha.
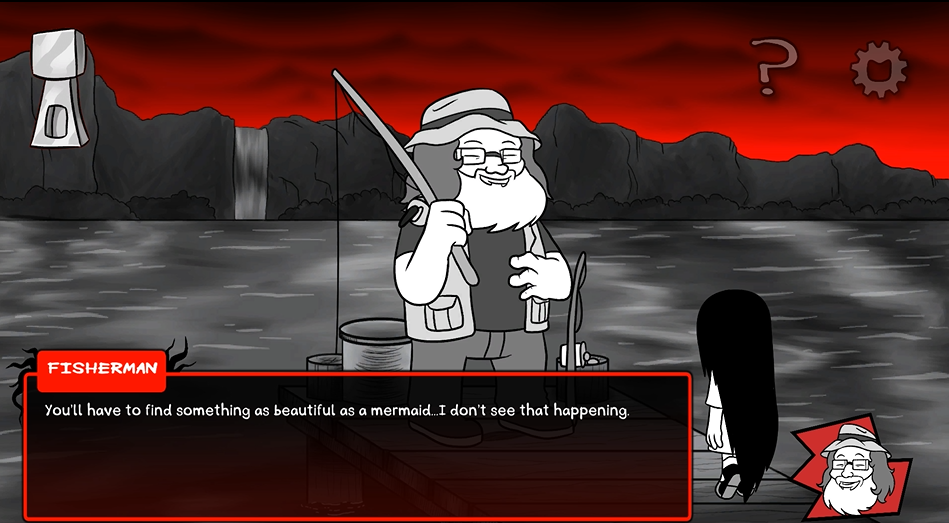
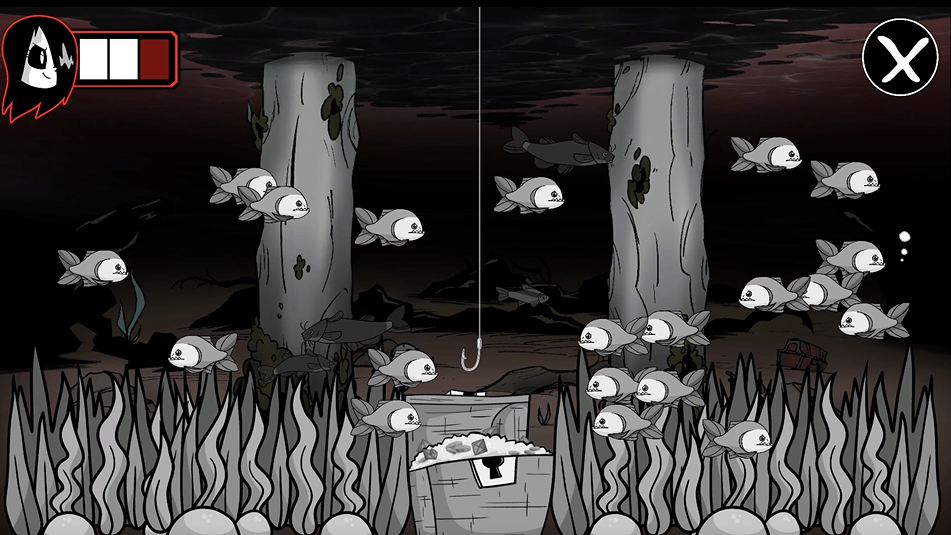
Go back to the first location and move forward to meet an angler. He has Ded’s torso, but will only trade it for better bait. For now, he needs the torso to catch a legendary sea monster.
The Fishing Mini-Game
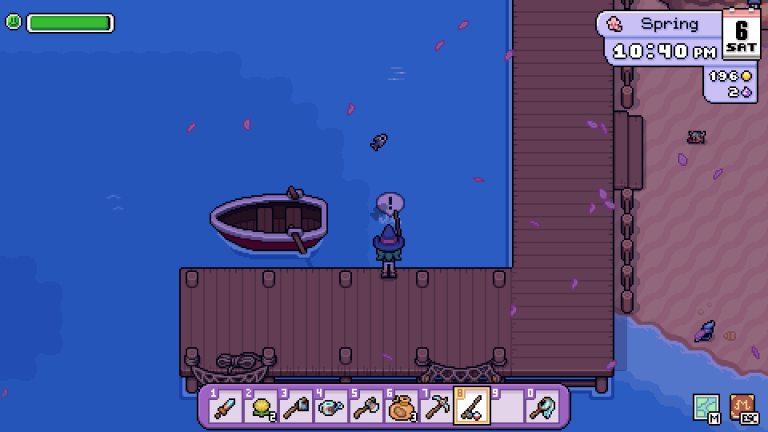
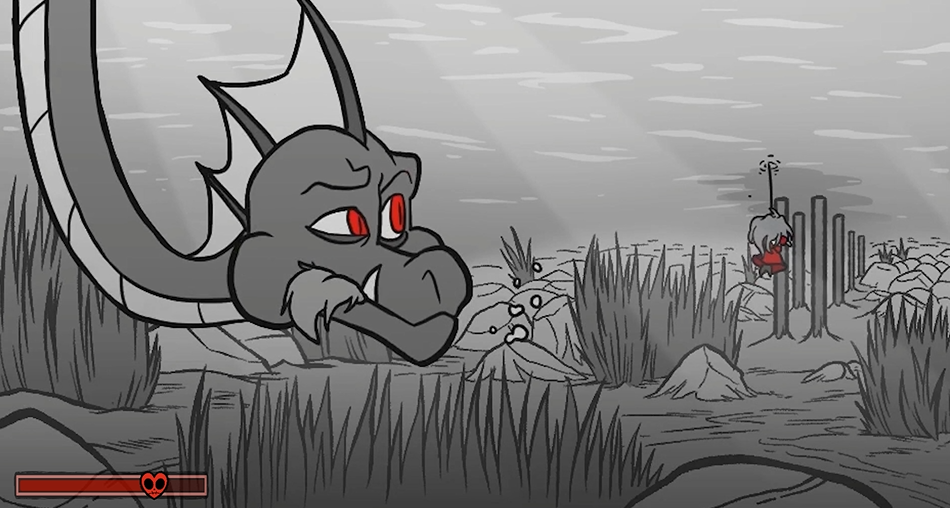
Click on the fishing rod to start the fishing mini-game. Using your mouse, move the fishing line to avoid touching the creatures. Get to the bottom of the lake to catch a valuable item.
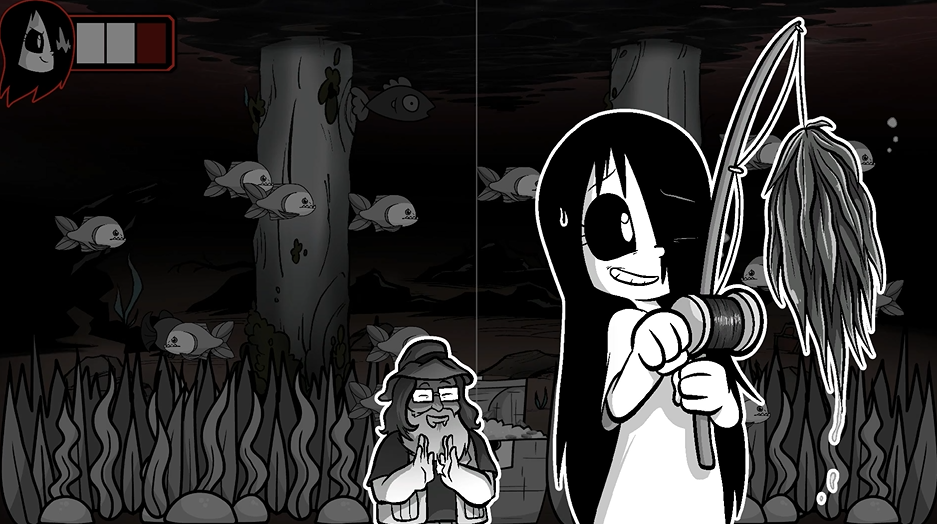
While playing the fishing mini-game, I wasn’t able to move the line with my mouse. I am not sure why this happened. I simply let the line descend straight down, and after a few retries, I saw the coast was clear and managed to reach the bottom of the lake and catch the valuable item.
The valuable item I got was *holds breath* MARINE PLANT! But I am sure it will be useful for me, maybe combine it with something to use it as a bait for the angler!
There will be two items in your inventory: a marine plant and a live piranha. Go back, and this time move left for some window shopping.
Erma sees a beautiful dress at Bill’s Boutique. But the glass window blocks access.
From your inventory, drag and drop the Piranha onto the glass window. Erma uses the Piranha as a makeshift glass cutter and steals the red dress.
Go back to the angler. Open your inventory and combine the following items:
1. Piranha + Red Dress: A dressed up Piranha
2. Dressed up Piranha + Marine Algae = A not-so-beautiful mermaid. The algae works as a wig.
Give this DIY mermaid to the angler, and he will happily give Ded’s torso to you. This is the right bait for him to catch the legendary sea monster. To know the history of the sea monster, go back to Bill’s Boutique and read the notice board.
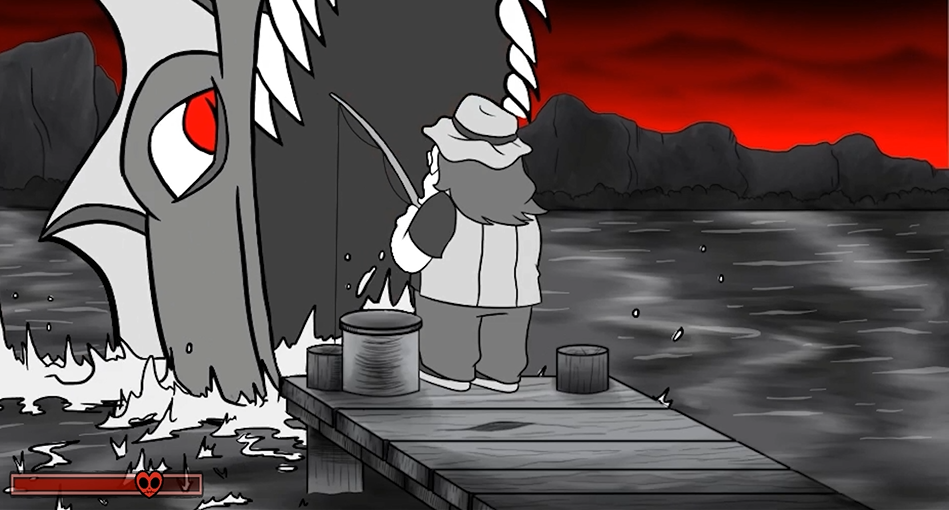
The angler drops the bait into the lake. From a distance, the sea monster mistakes the DIY mermaid for a real one and instantly falls in love.
The angler catches the sea monster, but at what cost?
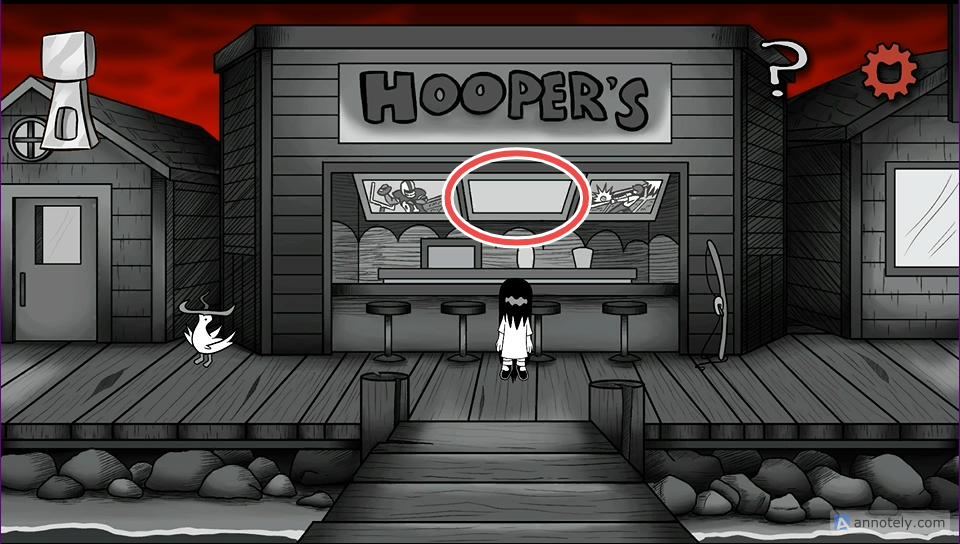
Finally, Erma has the torso. Click on the middle television at Hooper’s to exit the Boardwalk:
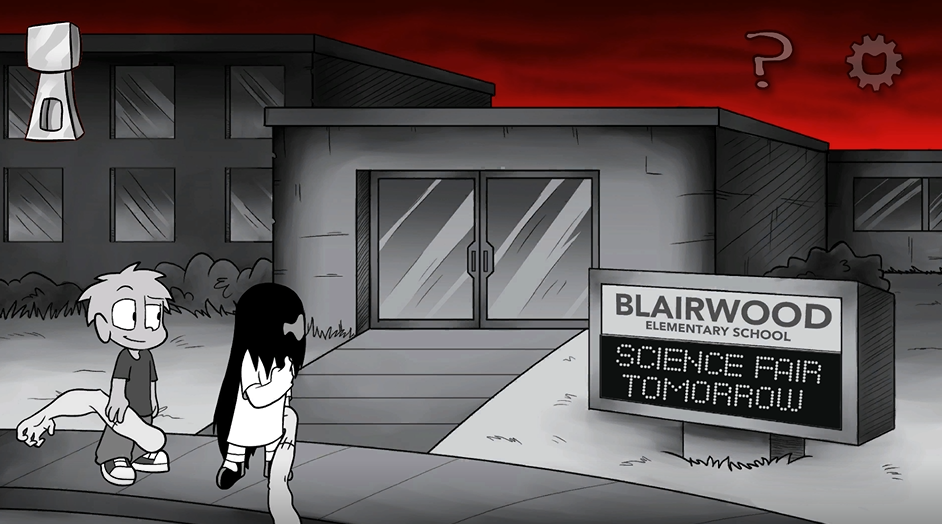
The School
On the school premises, Erma meets her classmate Terry, who has Ded’s arms. A fan of pranks, he demands something from her in exchange.
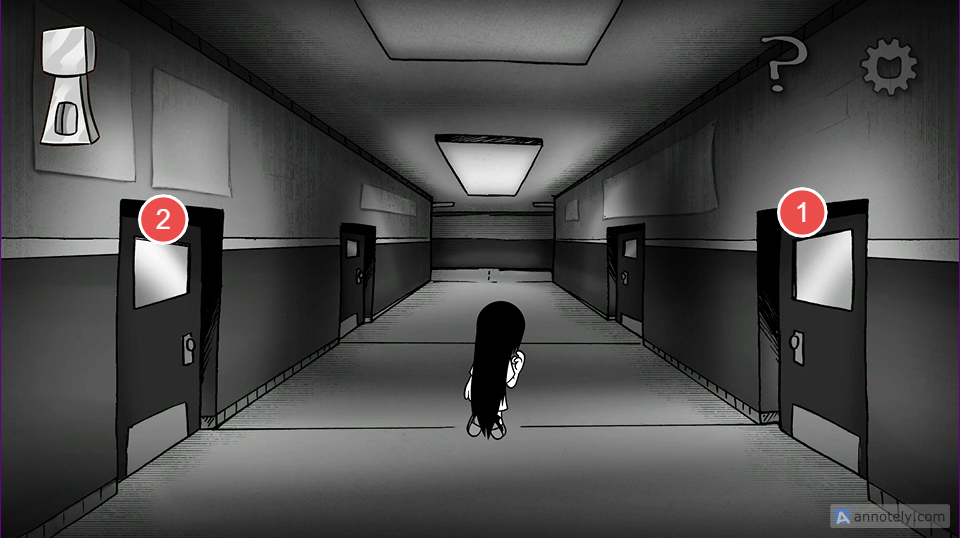
Enter the Blairwood Elementary School building and go through door 1 to enter the lab.
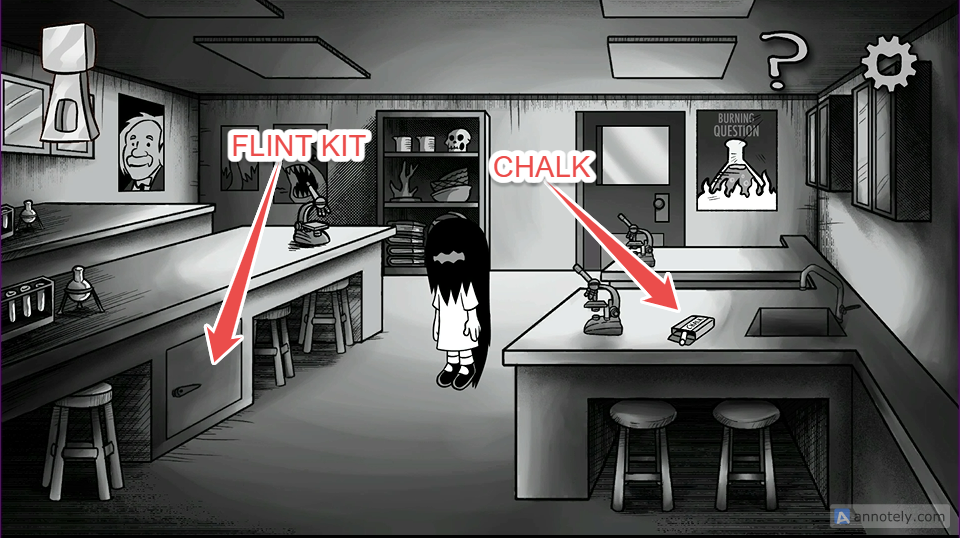
Inside the lab, pick up the chalk from the desk and the flint kit from the bottom cabinet of the left desk.
Exit the lab and head straight. Next, head straight towards the school canteen.
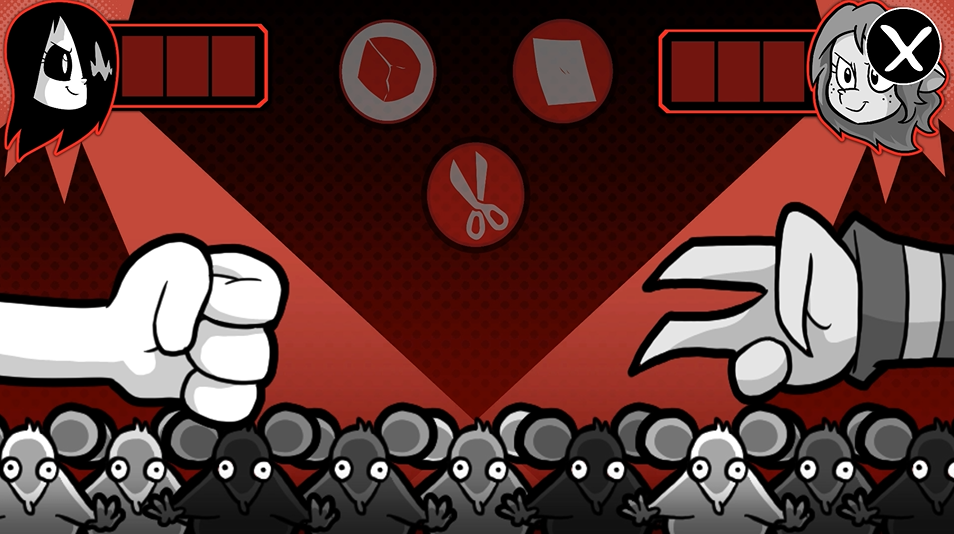
You will meet Sidney and her cute mouse army. Win the Rock-Paper-Scissors mini-game against Sidney to get her prized lunchbox.
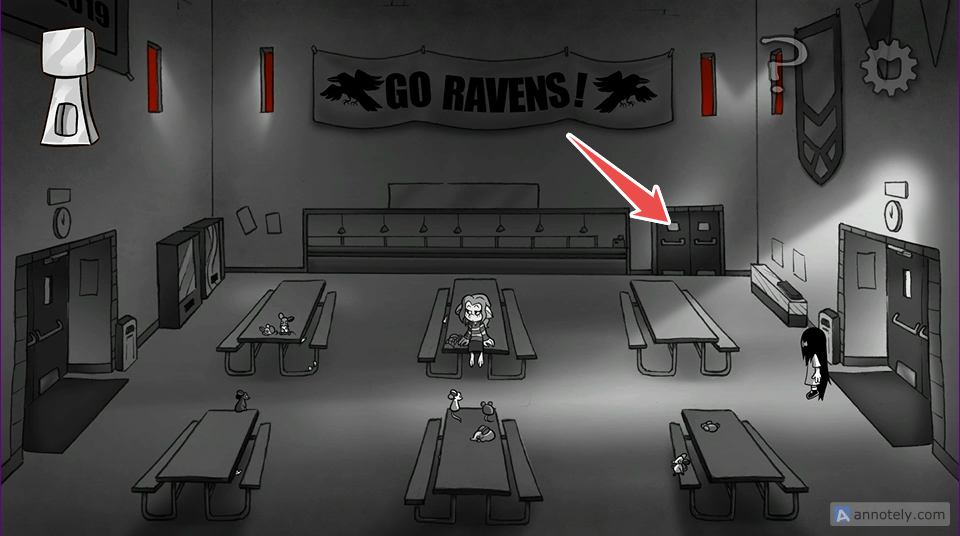
Stay in the canteen and enter the door on the right-hand side of Erma:
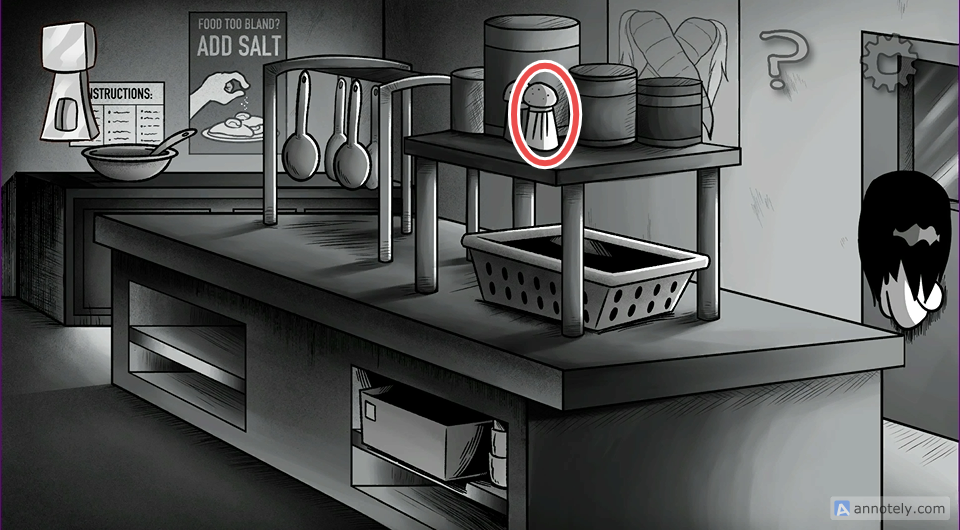
Pick the saltshaker from the table.
Exit the canteen and move to Room 2.

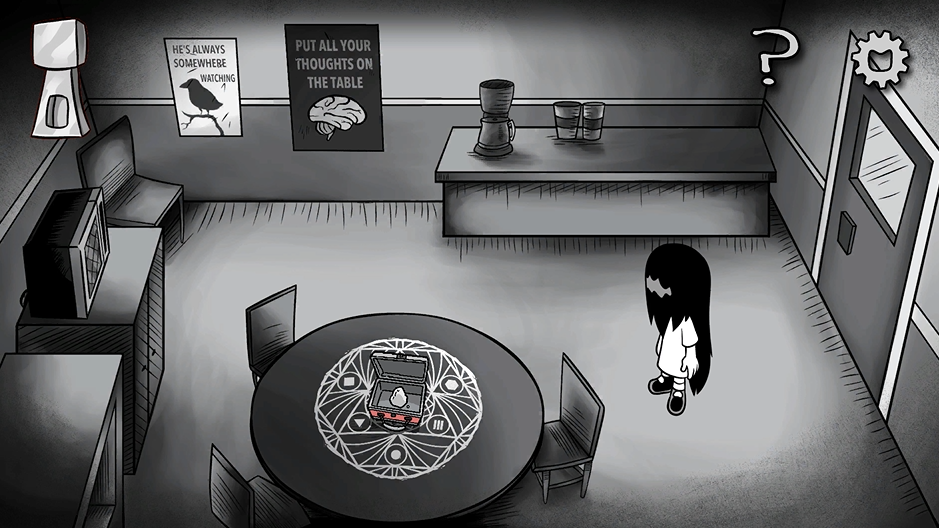
In room 2, from your inventory, use the chalk on the round table to draw the magic circle. Next, drop the lunchbox and the saltshaker on the lunchbox.
Use the flint kit on the lunch box to create fire.
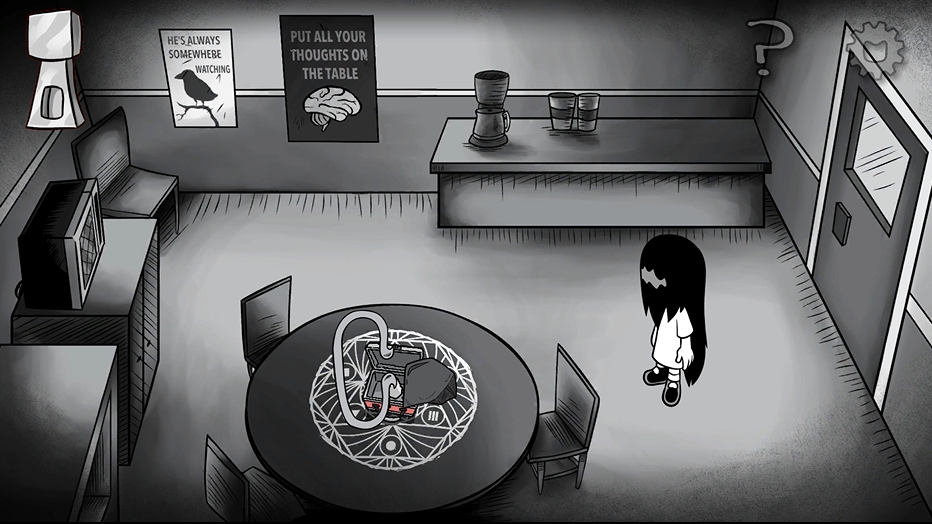
Give the magic lunchbox to Terry. He opens it, only to be blasted by a sudden burst of fire.
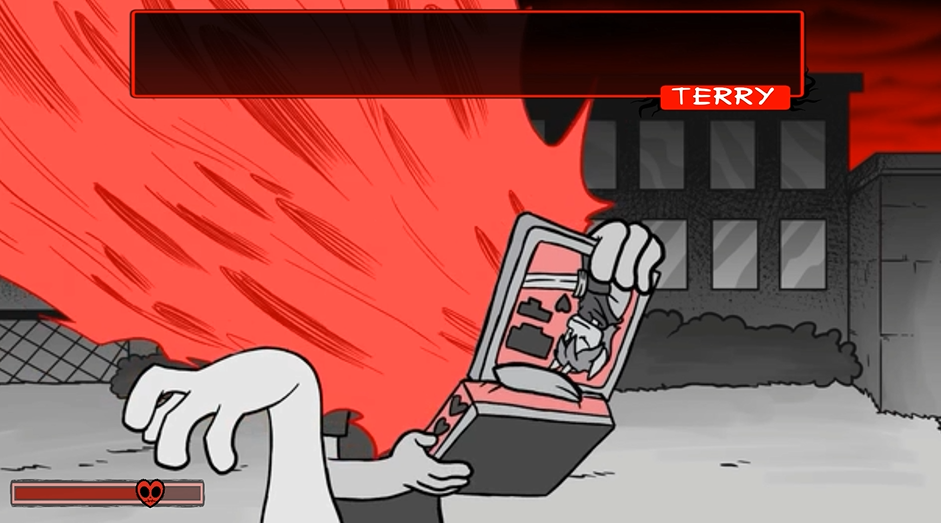
He loves this prank kit and hands over both Ded’s arms to Erma. Click on the signboard to exit.
You now have Ded’s arms, legs, and torso. Head back to the neighborhood > abandoned shed. With all the parts with her, Erma begins her experiment and successfully reanimates DED.
The Science Fair
Back at school, the Blairwood Elementary School science fair is underway. Erma has a big surprise for her teachers. Watch the full gameplay video here to find out more about it: