Servant of the Lake Day 1 Walkthrough: All Puzzle Solutions
Servant of the Lake is the latest point-and-click adventure game from Rusty Lake. As a servant at the mysterious Vanderboom estate, your job is to complete all the household tasks listed in the notebook. While carrying out daily chores such as preparing breakfast, waking up the owner, welcoming guests, and serving tea, you will run into a variety of tricky inventory-based puzzles and uncover the family’s dark secrets.
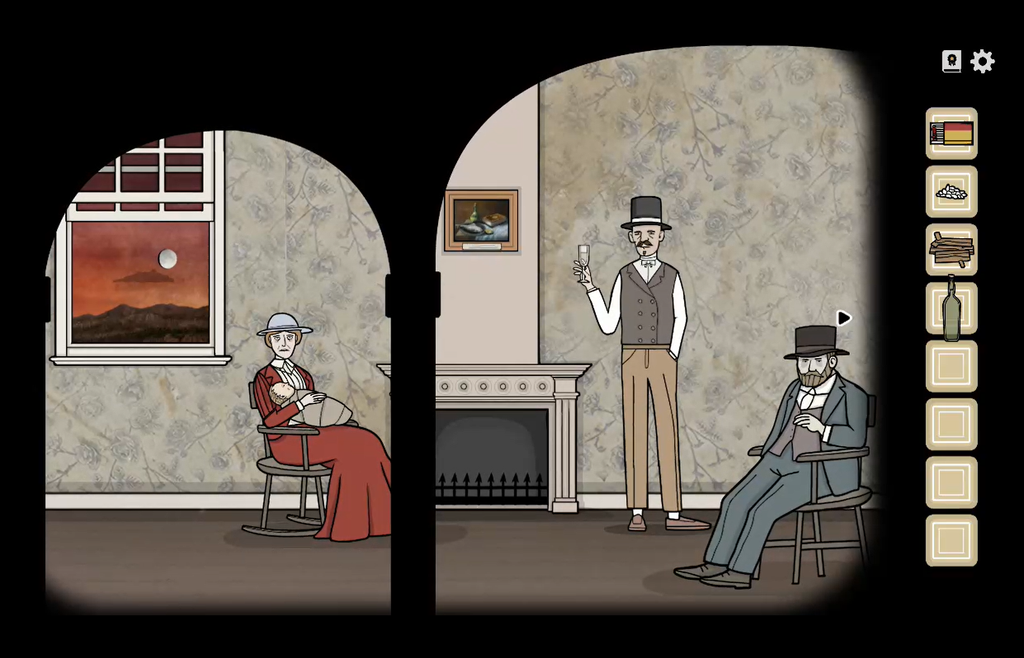
We begin with Day 1, which is packed with puzzles right from the start. This walkthrough provides complete solutions for all the puzzles you’ll encounter on the first day.
Quick Access
Morning
Frontyard: The Arrival
Tin Cup Puzzle
Open the carriage door and pick up the tin cup.

Click, hold, and drag the left window upward to open it, then pick up the second tin cup:
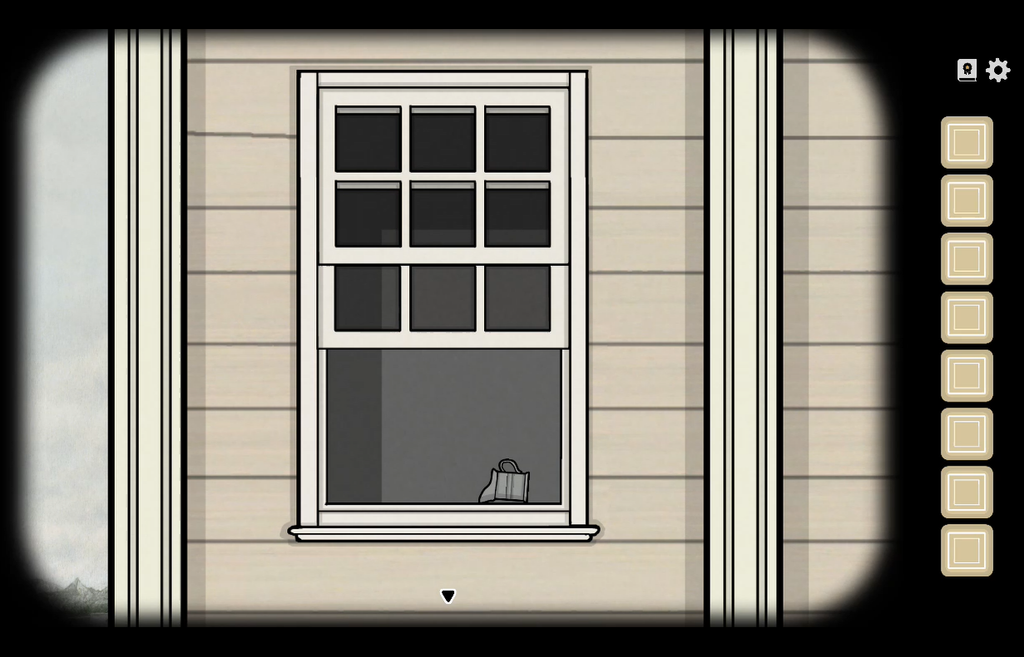
Open the window on the right the same way, and place both cups on the windowsill to complete the tin cup set.
Count the number of horizontal lines in each cup and arrange them in ascending order from left to right according to the number of horizontal lines on each cup. See the screenshot below for the correct solution:
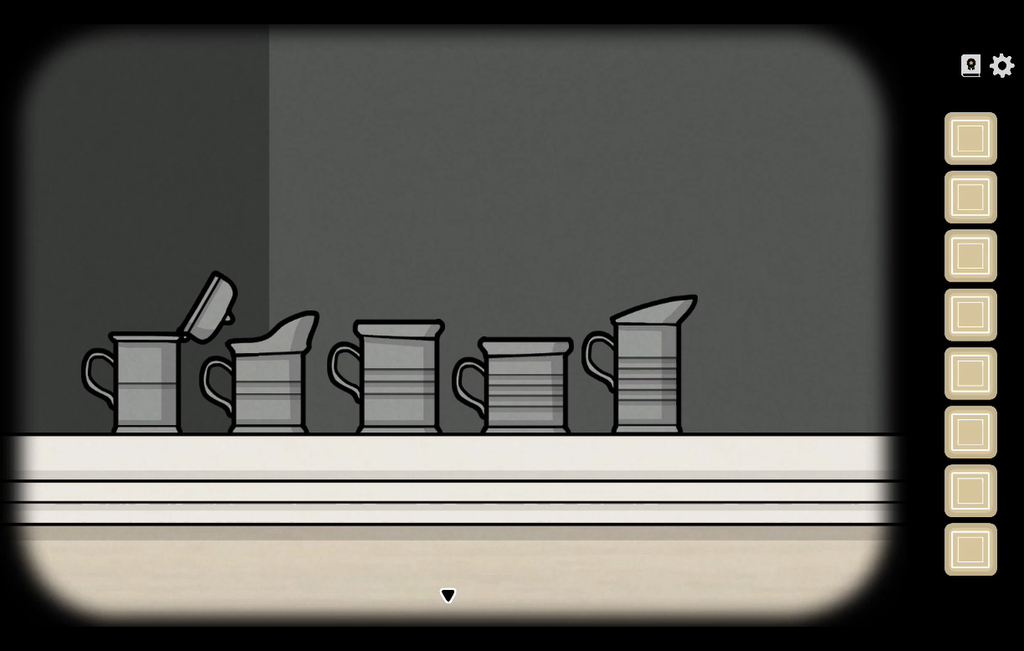
Once you arrange the cups correctly, the lid of the first cup opens. Click on it to collect the coin. Give this coin to the Coachman.
You will also have to feed the horse. Pick the carrot from the planter below the left window and feed it to the horse.
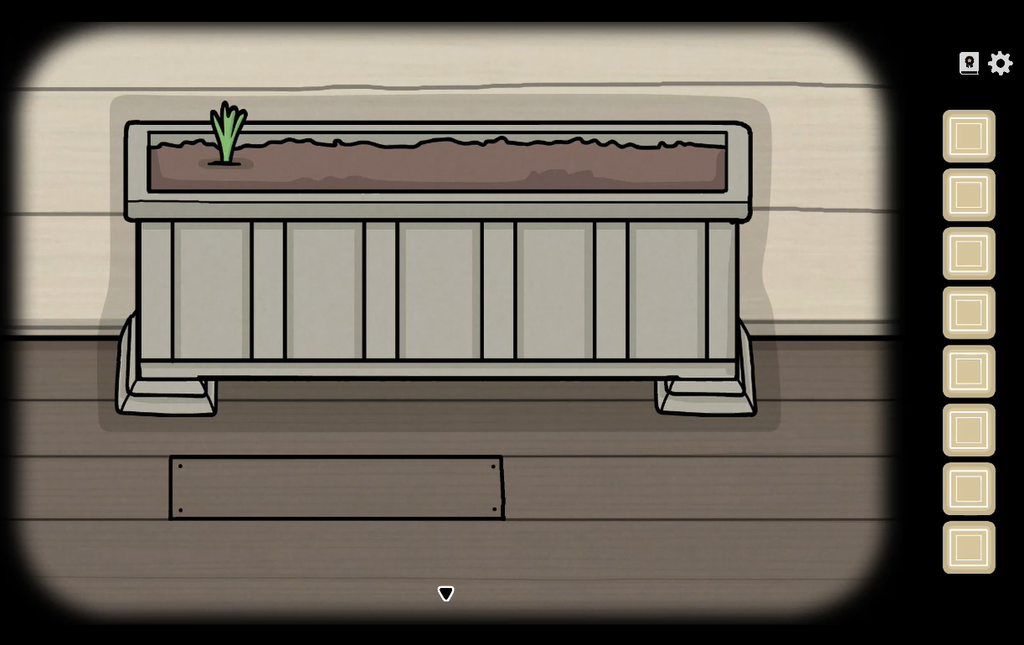
As the carriage rolls away, it leaves behind an iron bar. Pick up the iron bar.
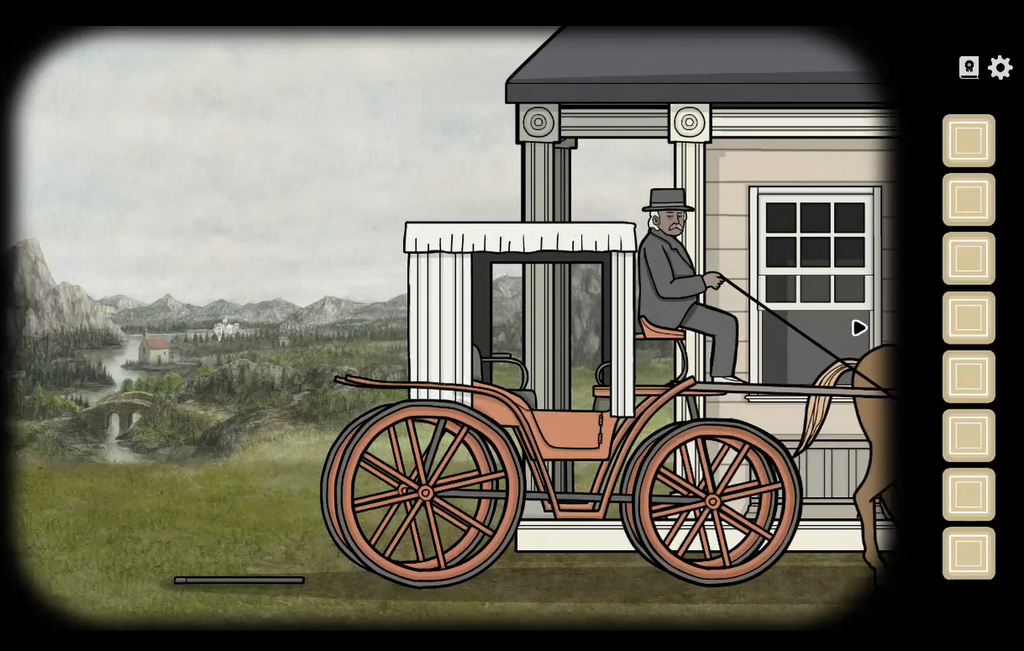
Use the iron bar to pry open a loose wooden floorboard. Doing this will reveal a gap beneath it.
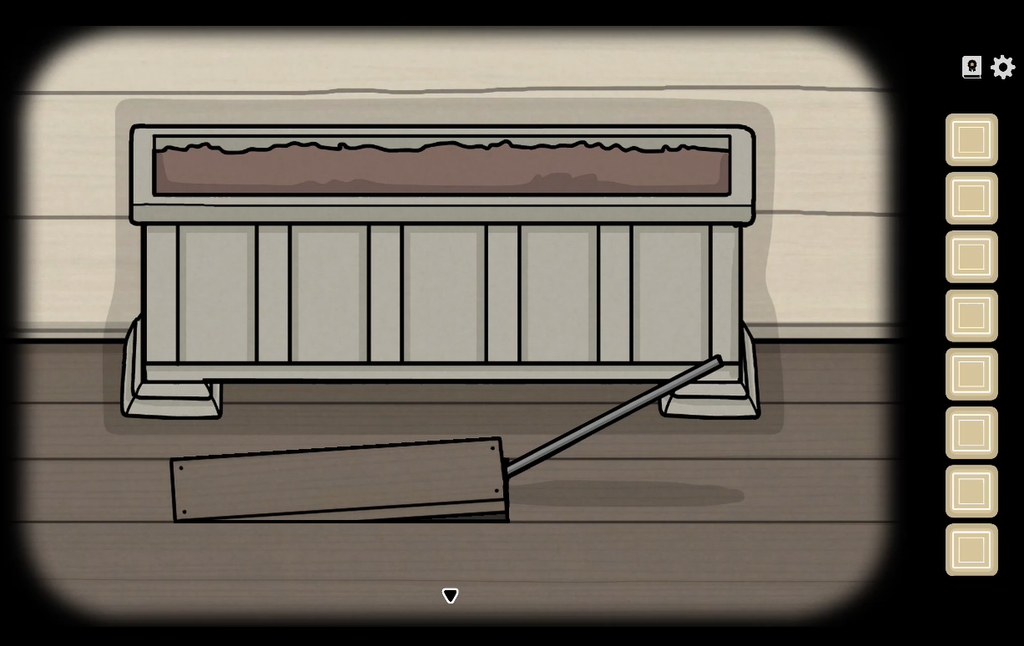
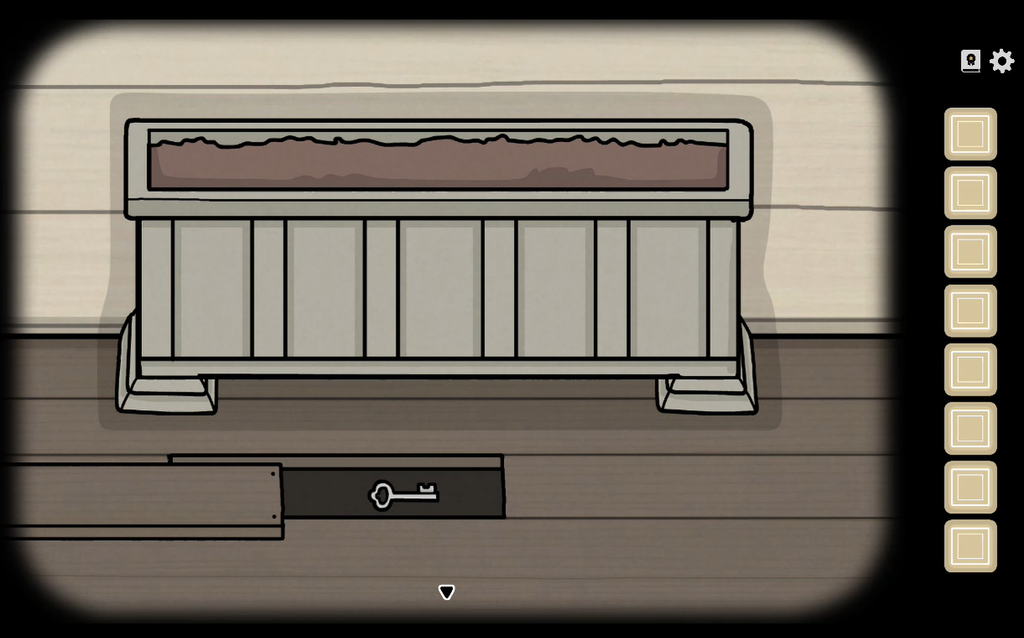
There’s a key hidden underneath the loose floorboard. Pick up the key and use it to open the main door.
Hallways: Preparing Breakfast
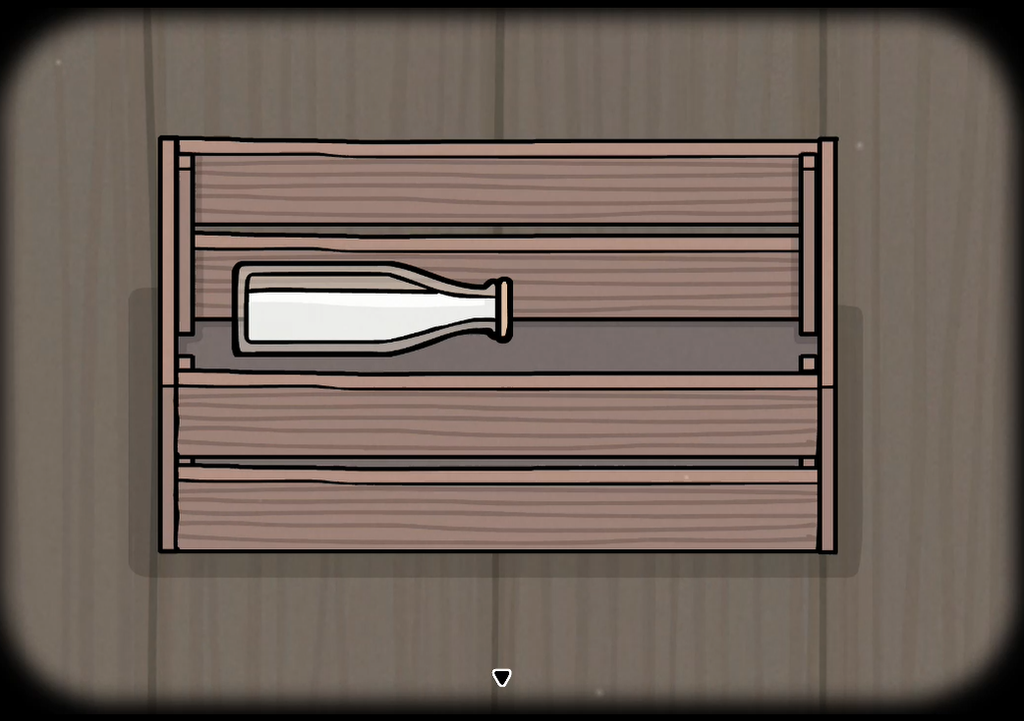
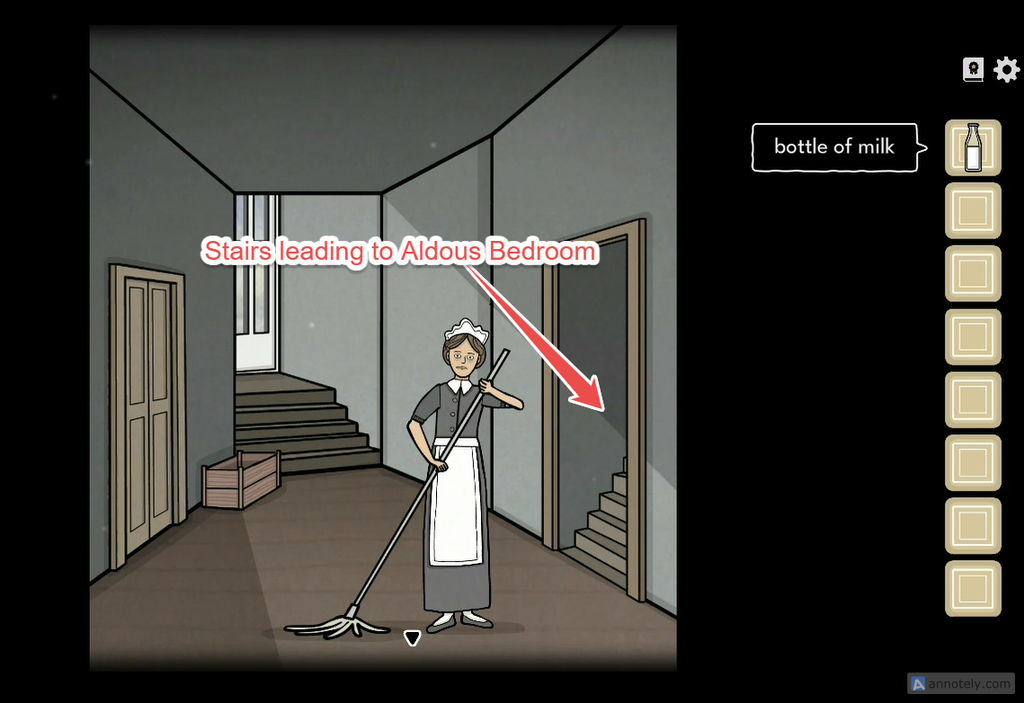
Take the bottle of milk from the wooden crate behind the maid. Her name is Kate.
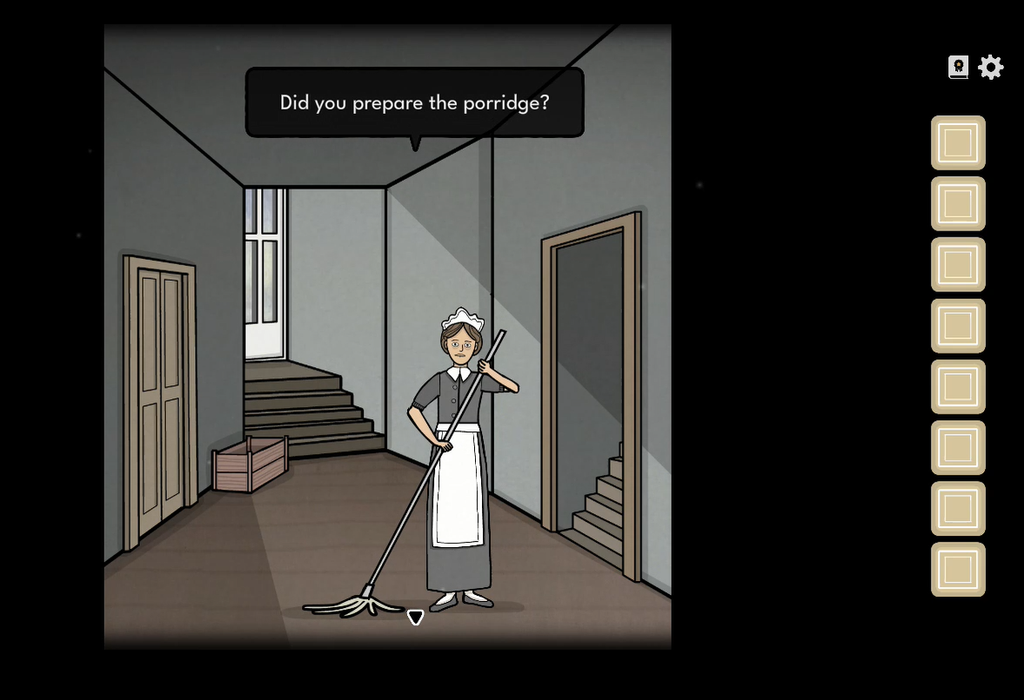
Click the stairs on the right to enter the passage leading to Mr. Aldous’s bedroom.
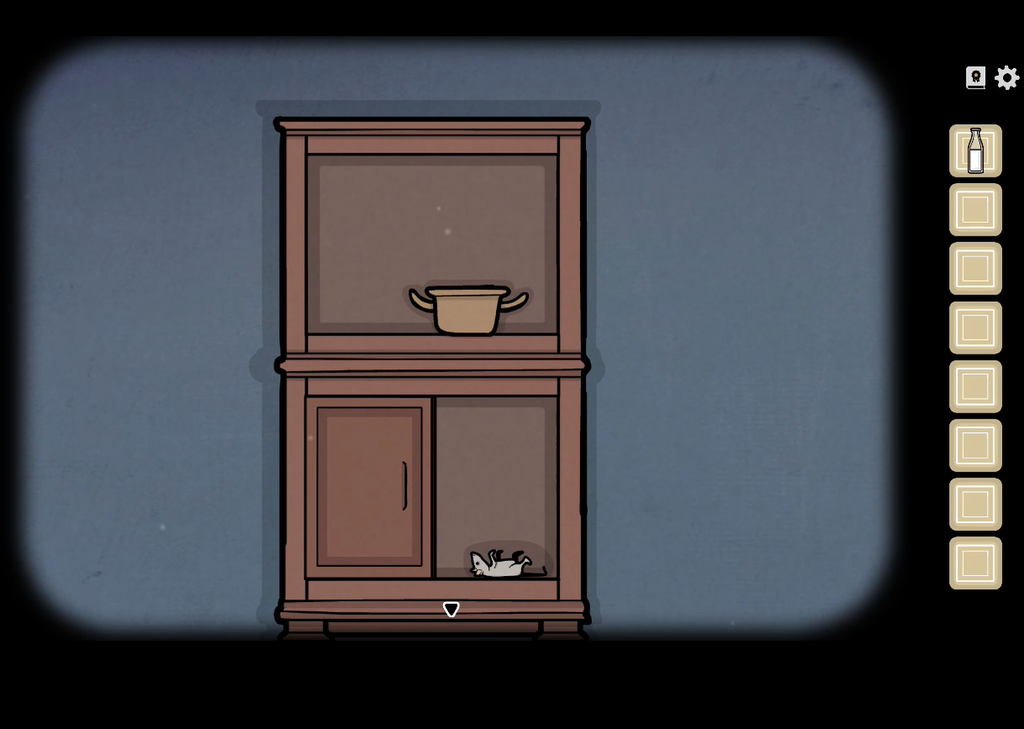
There’s a cupboard on the right side of Aldous’s bedroom. Open the bottom cabinet by sliding its door and pick up the dead mouse. Don’t forget to collect the small pot from the top cabinet.
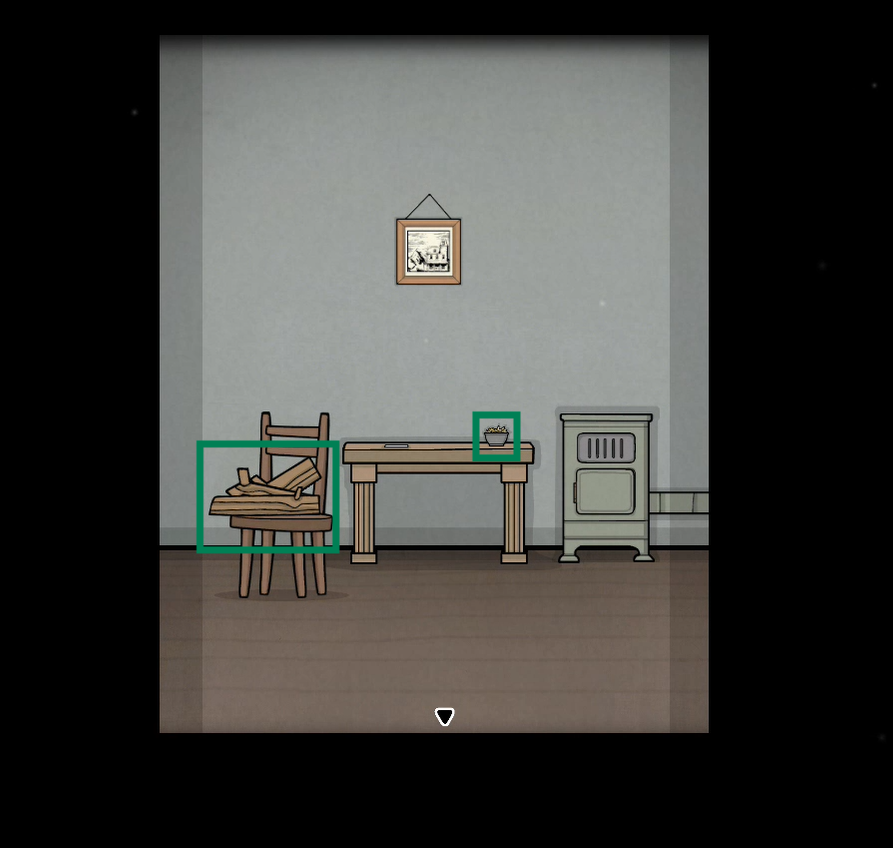
Go to the kitchen and take the pile of wood from the chair. Pick up the bowl of oats from the kitchen table.
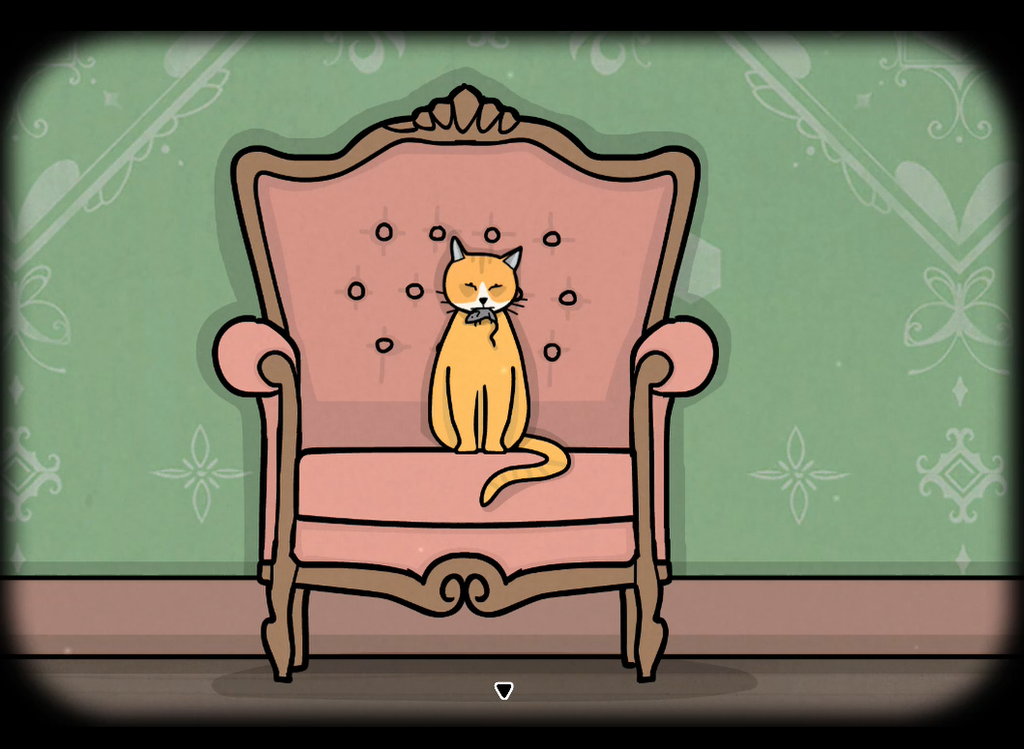
Return to the hallway and find the orange cat sitting on the armchair. Feed the cat the dead mouse. She will move away from the armchair, revealing the matches.
Return to the kitchen. Open the ash door at the bottom of the old-fashioned wood-burning stove and place the wood inside. Use the matches to light the wood.
Place the small pot on the stove, then pour in the milk and oats to prepare the porridge. Take the small pot with the porridge.
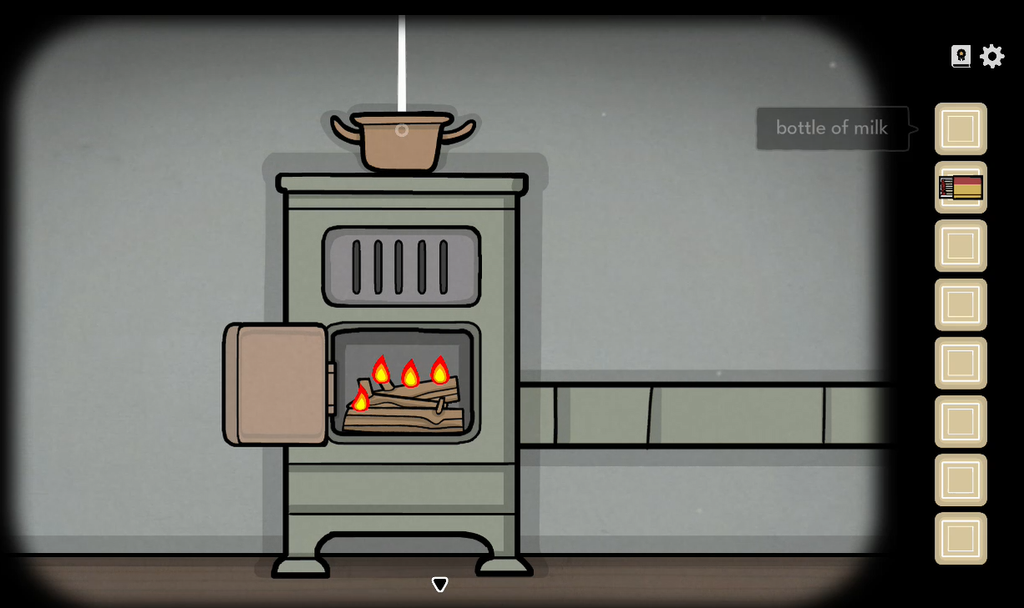
Talk to Kate. She will allow access to Mr. Aldou’s bedroom. Take the stairs on the right to enter the passage leading to Mr. Aldous’s bedroom. Open the door to enter.
Aldous’s Bedroom: Waking Up Aldous

Read the note on the table. It has a list of tasks for Mr. Aldous’s morning routine.
Pick up the empty bowl from the table.
Interact with the chest of drawers on the left side. Open the middle drawer and take the spoon. Open the bottom drawer and take the slipper.
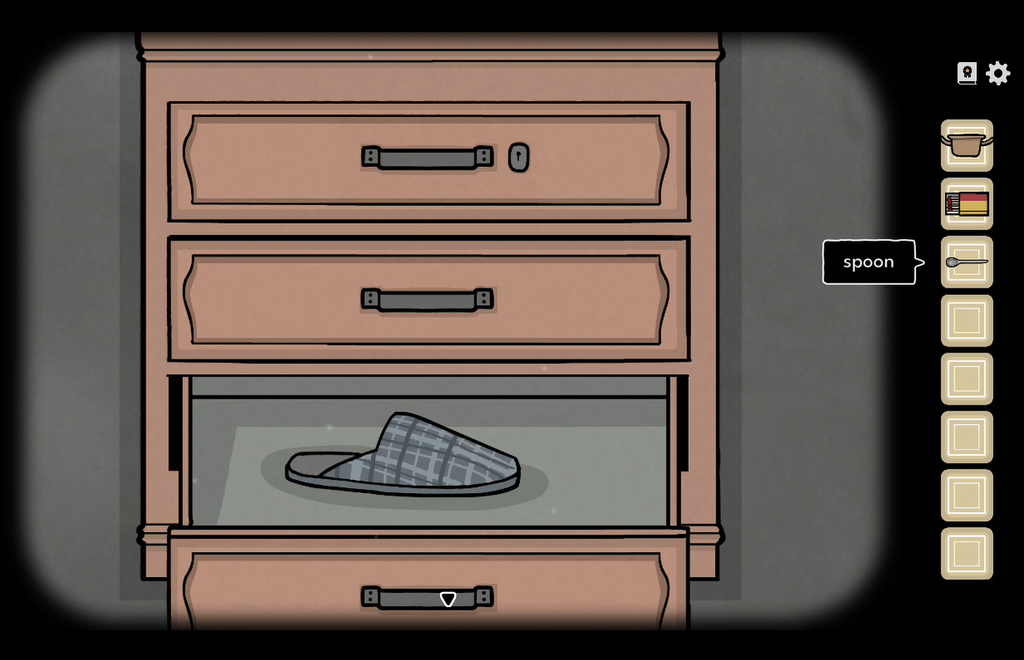
Pick the second slipper from the floor.
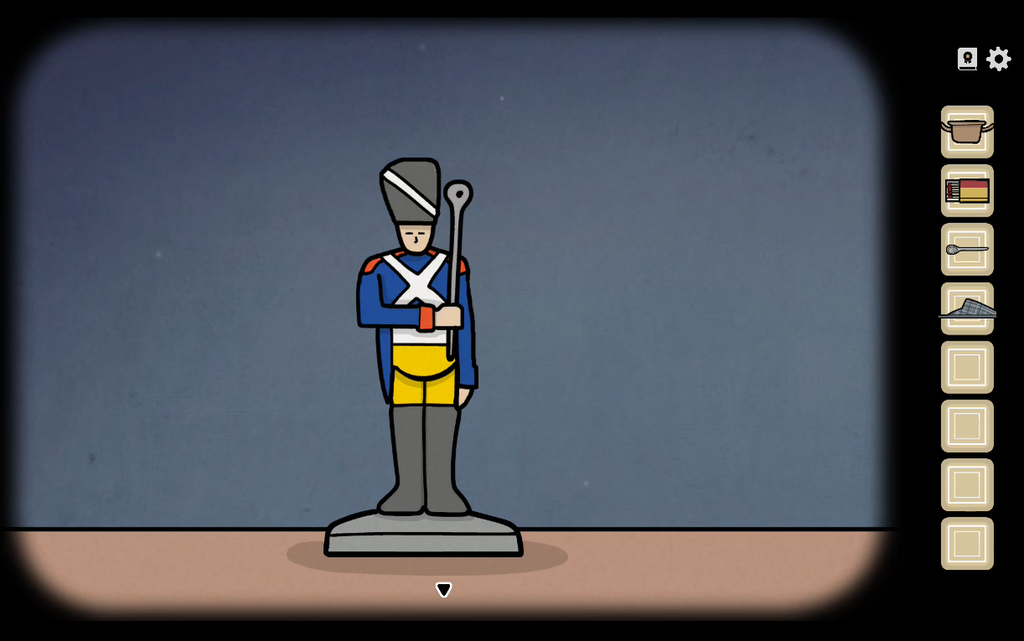
Click the toy soldier on top of the chest of drawers to pick up the clock hand.
The Box Puzzle
Interact with the box kept on the floor. Here’s how to solve the box puzzle:
You can rotate the disc in the middle. It has two square slots positioned opposite each other. There are four movable square blocks, each with a unique pattern. Match each block’s pattern to the corresponding shadow shown above it. To do this, slide the blocks toward the slots on the disc, then rotate the disc to move them beneath their matching patterns. You can move two blocks at a time. Watch this short video below to know how to open the box:
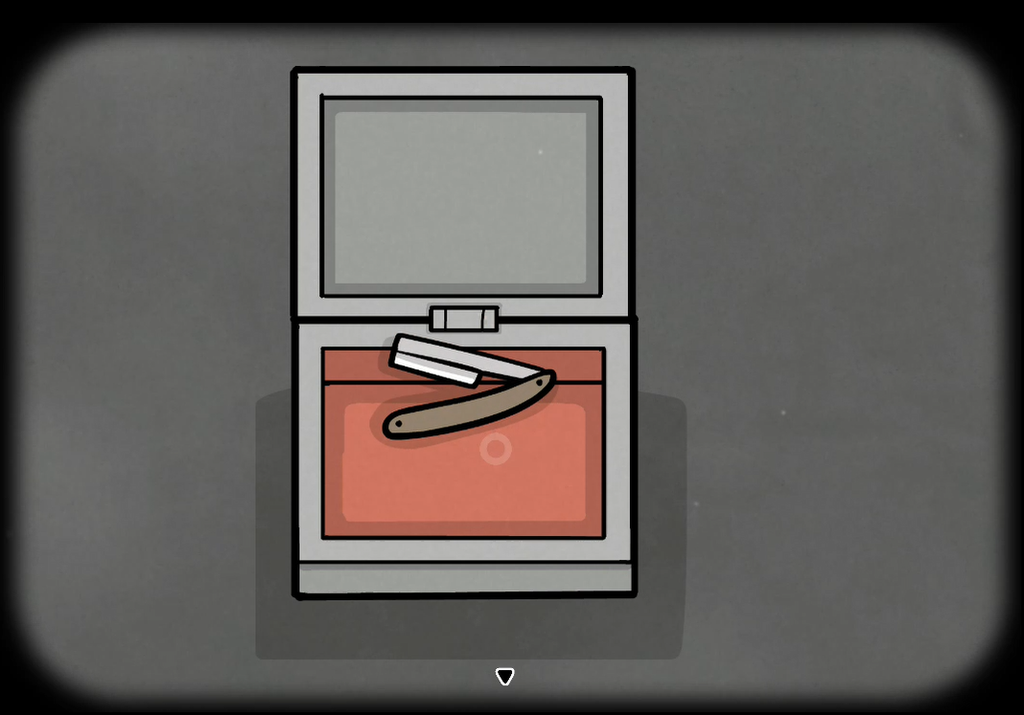
Open the box and pick the razor.
There’s a clothes hanger on the right side of the screen. Slide the pants to the right to reveal a hidden cloth. Pick the cloth.
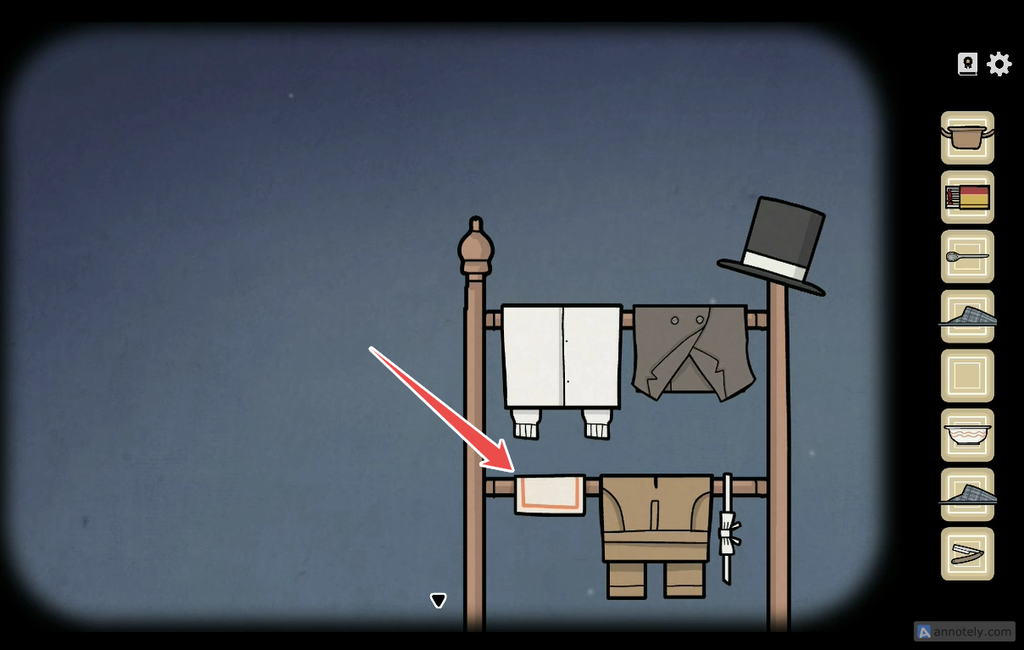
Now we are ready to wake up Aldous Vanderboom:
– Slide the curtains on the bed.
– Place the missing clock hand on the clock and manually move the hands to set it to 7 o’clock.
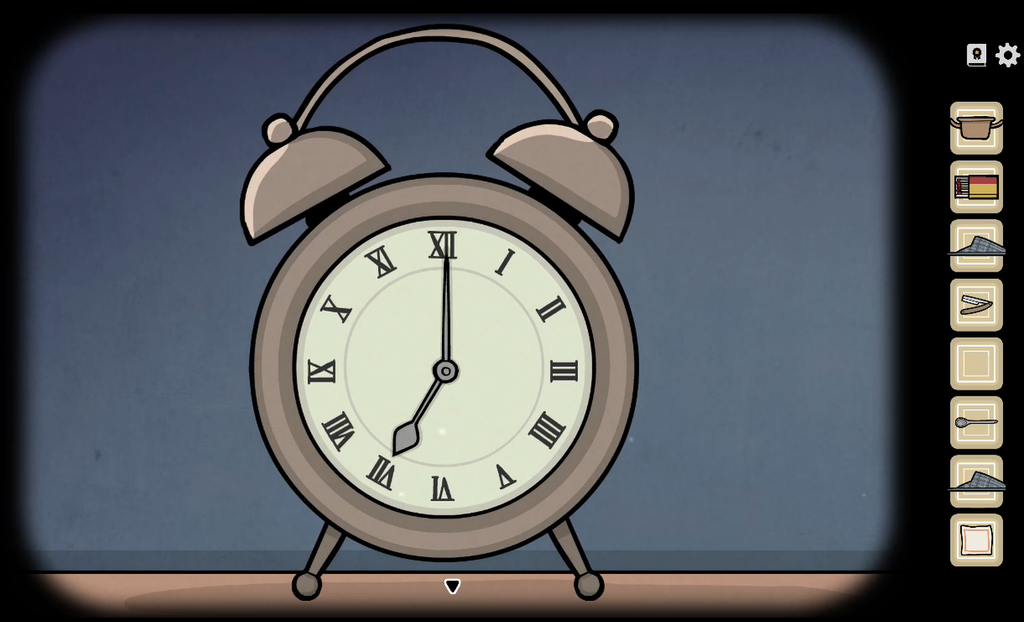
– Use the razor to shave Aldous. While trimming the last stubble, you will accidentally cut his ear. Pick up the earlobe from his shoulder.
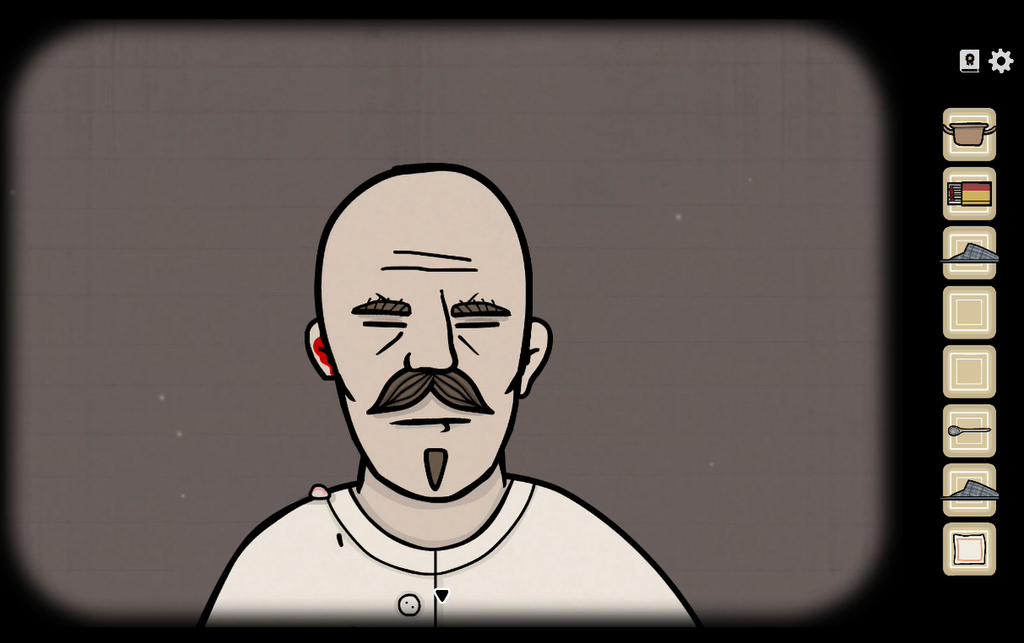
– Open the window and feed the earlobe to the crow. Click on the crow, and it will fly away, revealing a hidden key in the nest.
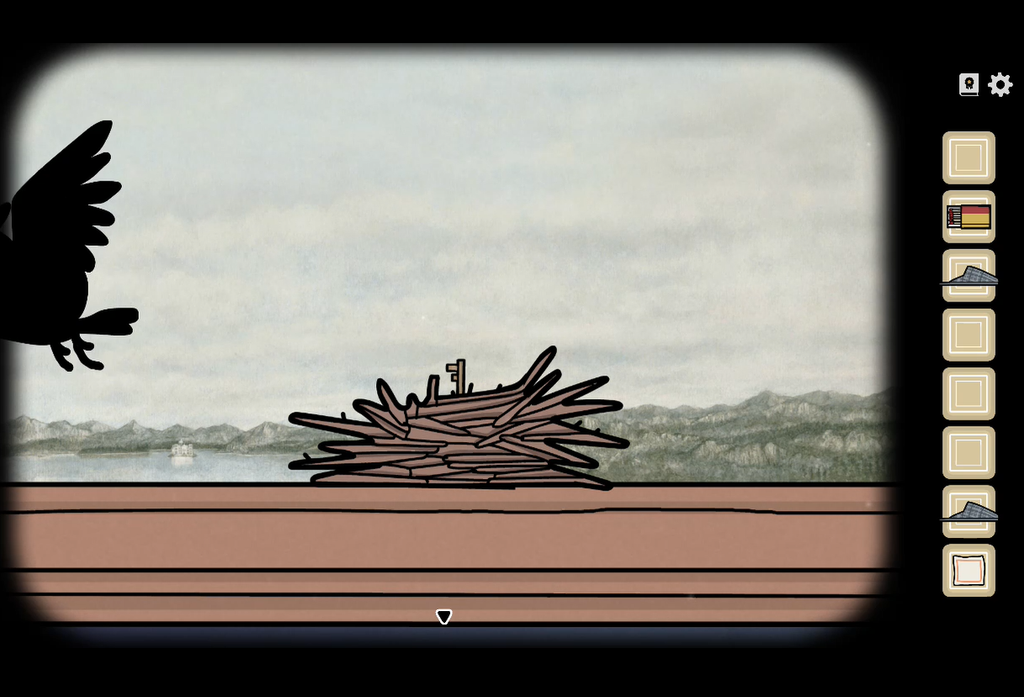
– Pick up the key and use it to open the top drawer of the chest of drawers.
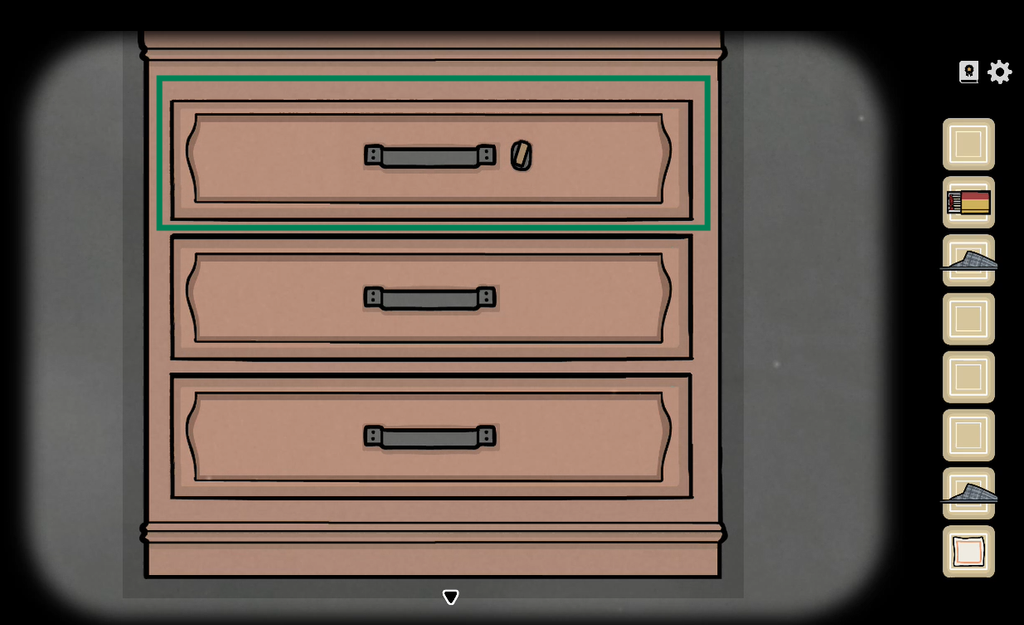
– Pick up the berries from the drawer.
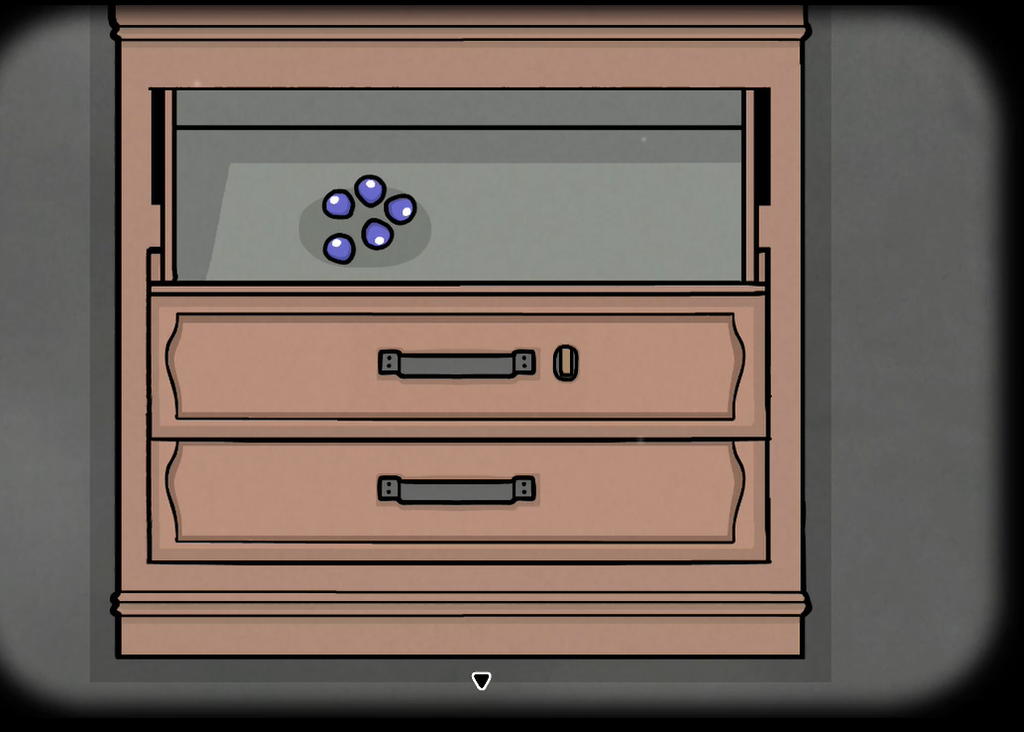
– Interact with Aldous. He scolds you for being careless. Use the cloth to clean his ear.
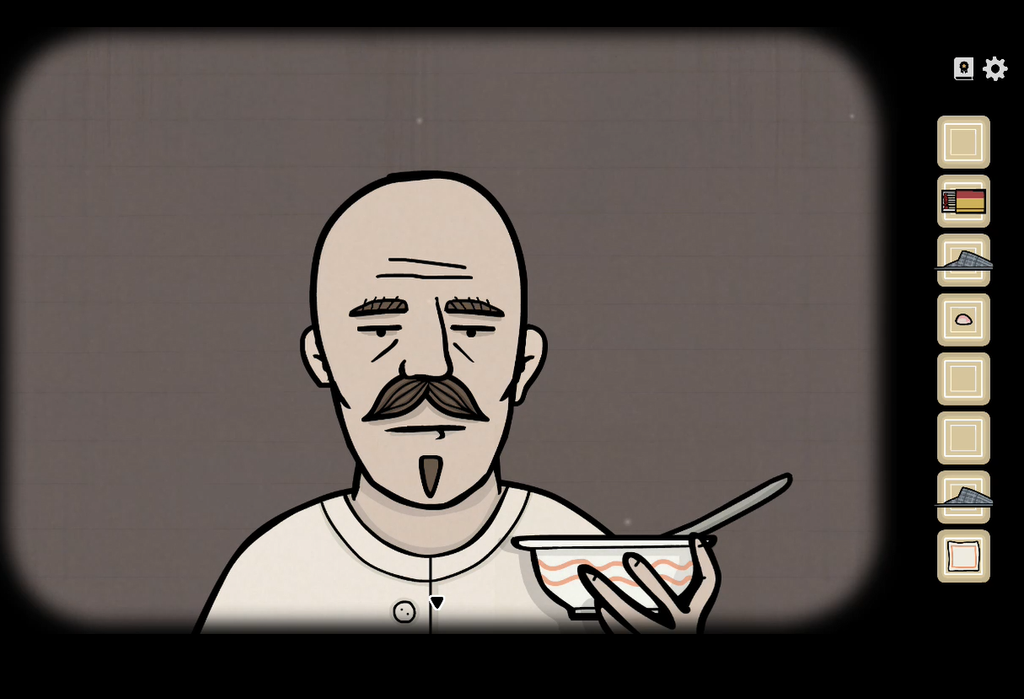
– To feed him the porridge, place the empty bowl in his hand, then use the small pot to pour the porridge into the bowl. Next, add the berries to the bowl.
The Porridge Puzzle
After adding the berries to the bowl, click on Aldous. He will say, “This is not how I like my porridge. Look at it”. Click on the bowl to begin the puzzle.
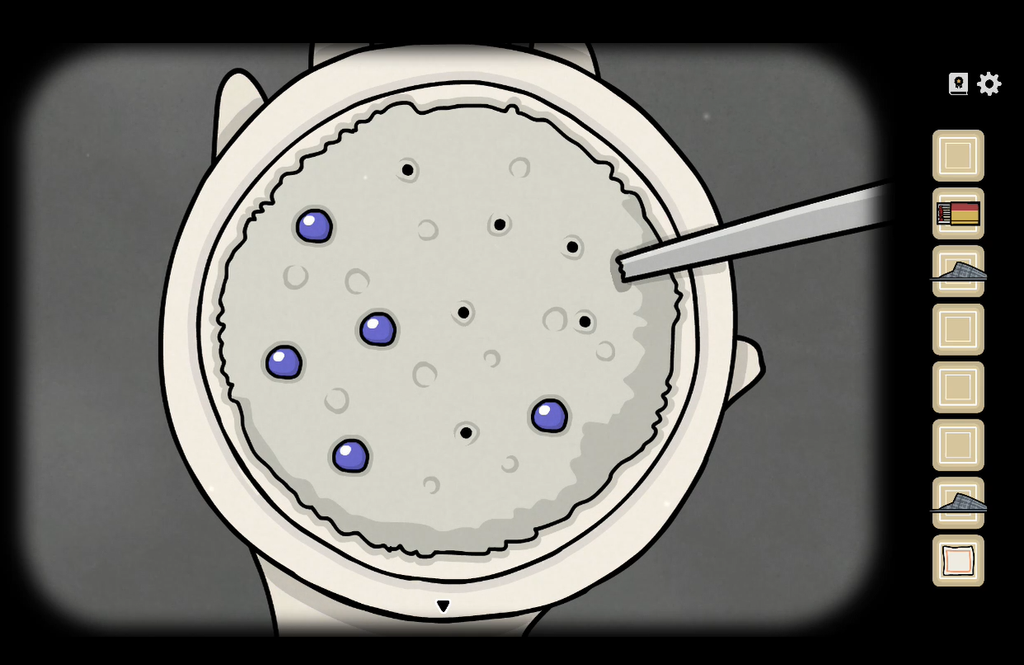
At first, I was a bit confused about how to solve the porridge puzzle. I couldn’t figure out how to catch/squish the bug. It’s actually very easy. There are five berries and six holes, and you can move the berries from one hole to another.
To start, move any one berry and place it over a hole. A bug will crawl out of a random hole and move to another one. Follow the bug’s path by moving a berry to the hole the bug last entered. Keep doing this until the bug slows down and stops. Squish it to complete the puzzle.
Next, click on Aldous and put on his slippers.
Exercising with Mr. Aldous
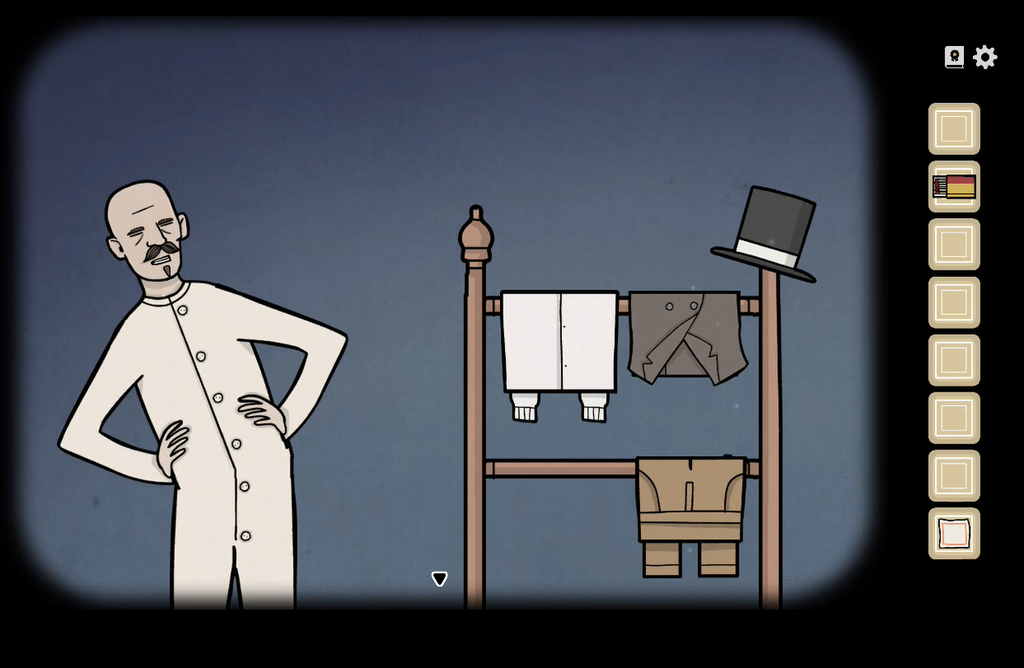
Next, exercise Mr. Aldous. Go back to the chest of drawers on the left side and interact with the toy soldier again. Click on it to watch its movements. The toy soldier moves left > right > down > right > right > down.

Replicate the toy soldier’s movements to complete Mr. Aldous’s exercise routine.
Interact with Aldous and then click left > right > down > right > right > down to make Aldous perform the same sequence of moves.
Afternoon
Hallways: Preparing the Reception
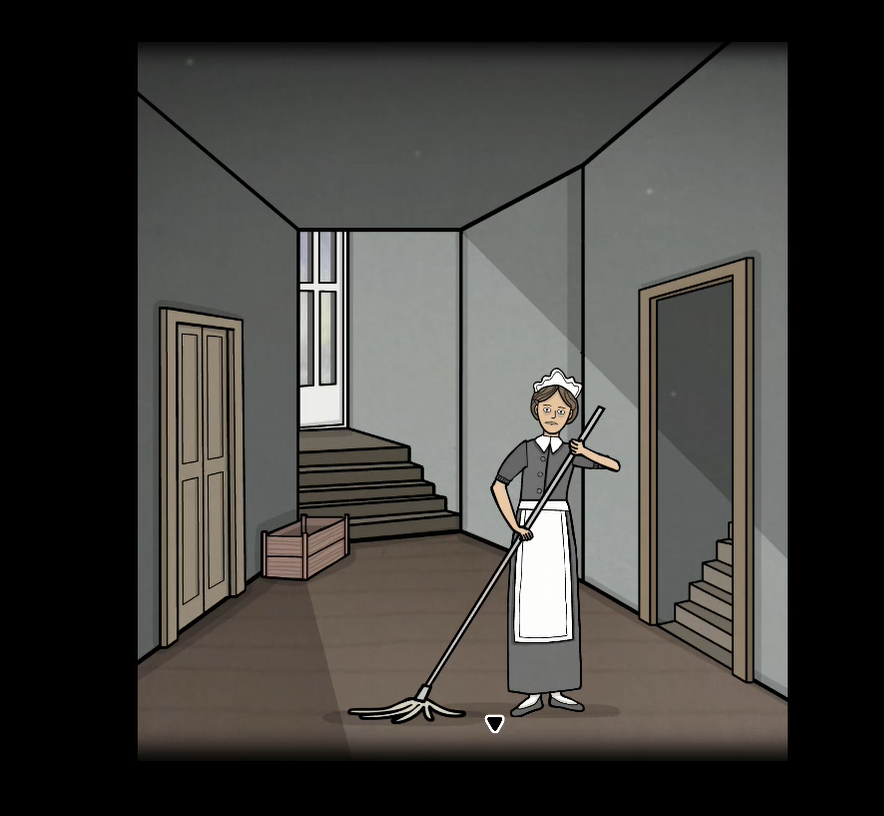
Talk to Kate. Help her clean the floors. Use the cloth to clean the floors of the following rooms:
- The candelabra room.
- The kitchen
- The passage near Mr. Aldous’s room (Take the staircase on the right side of Kate to access it)
To clean the floor, select the cloth and then click on the floor to put the cloth on top of the floor. Now, drag the cloth over the dirt to clean the floor.
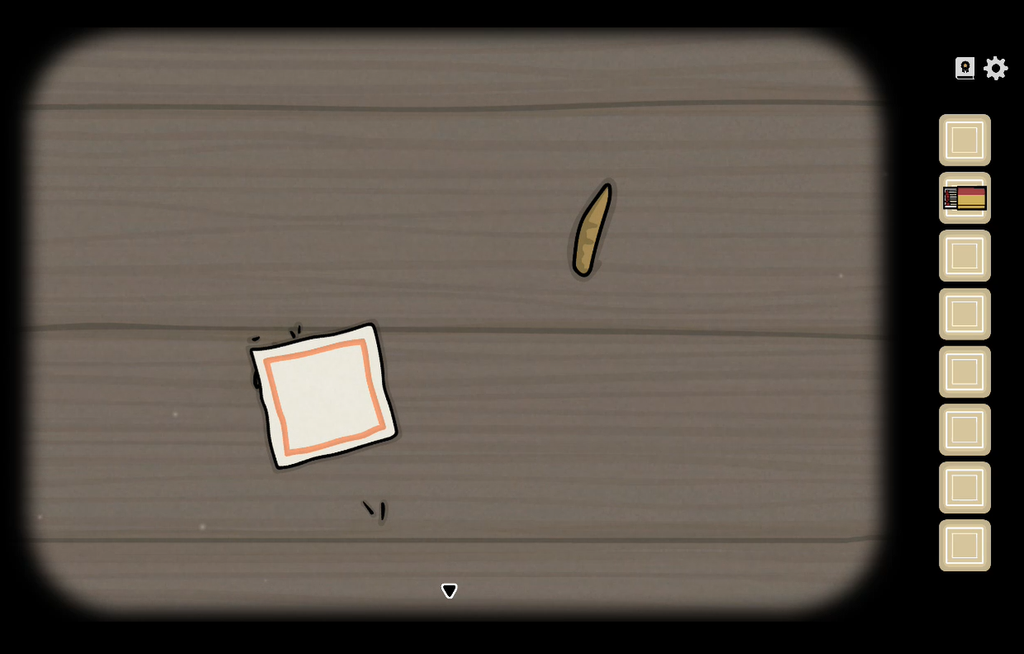
Go back to Kate. She will give you a new task: dusting the paintings.
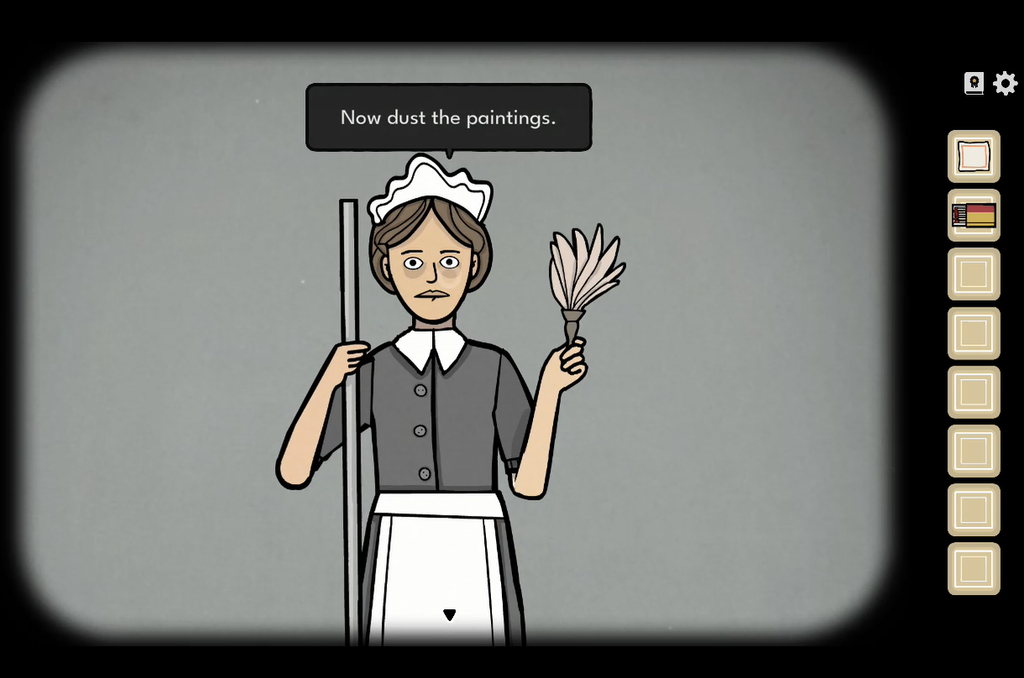
Take the feather duster from her and dust all three Vanderboom family paintings hanging on the walls.
Painting/Combination Lock Puzzle
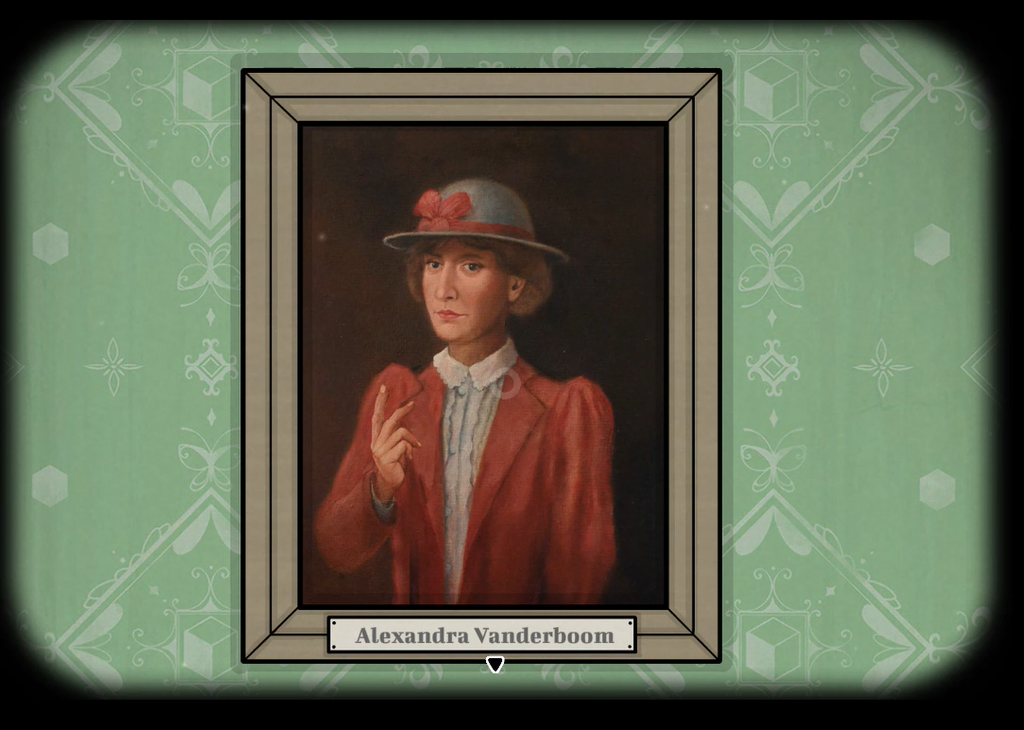
When you dust a painting, you will see it move. It looks very eerie, but the animations actually provide a hint for solving the box puzzle. The box is kept in the lower cabinet of the cupboard near Aldous Vanderboom’s room.
Here’s what happens when you dust each painting:
- Aldous Vanderboom: He shakes his pocket watch FOUR times.
- Alexandra Vanderboom: Pay attention to her hand. She raises TWO fingers.
- William Vanderboom: He blinks THREE times.
Go back to Kate in the hallway. Take the stairs on the right and slide open the lower cabinet of the cupboard near Aldous’s door to find the small box. It has a combination lock, with a drawing of each Vanderboom sibling above the corresponding digit.
Based on the movements in each painting, enter the following combination:
- Left: Alexandra Vanderboom: 2
- Middle: Aldous Vanderboom: 4
- Right: William Vanderboom: 3
The correct combination is 2-4-3.
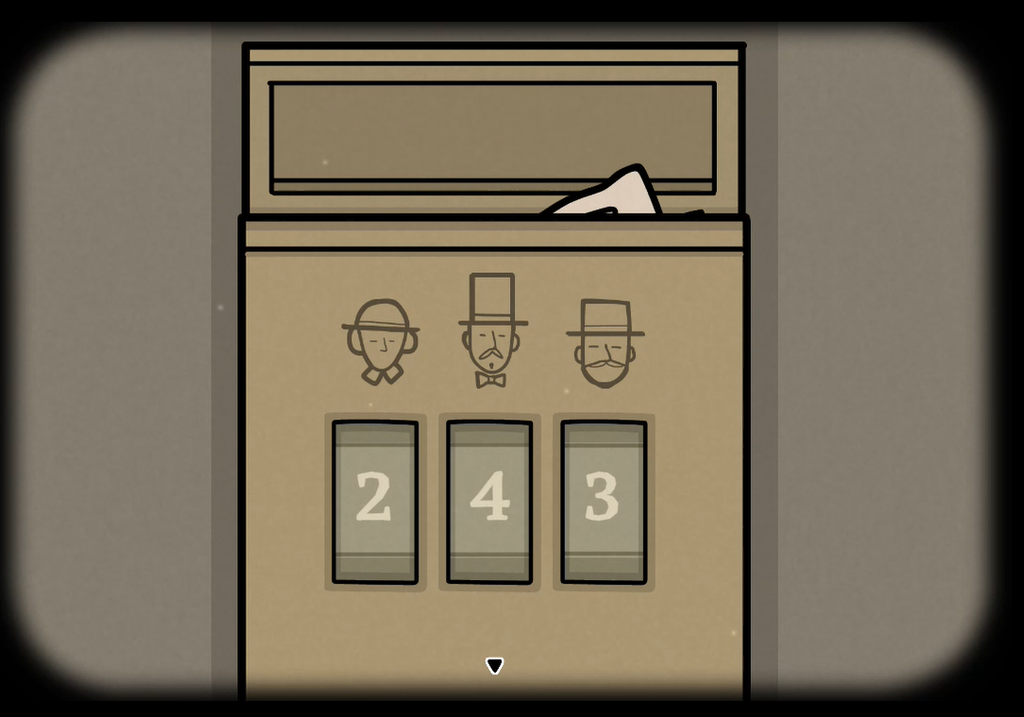
Take the first candle from the box.
Go back and talk to Kate. She will give you a candle and tell you to light all the candles.
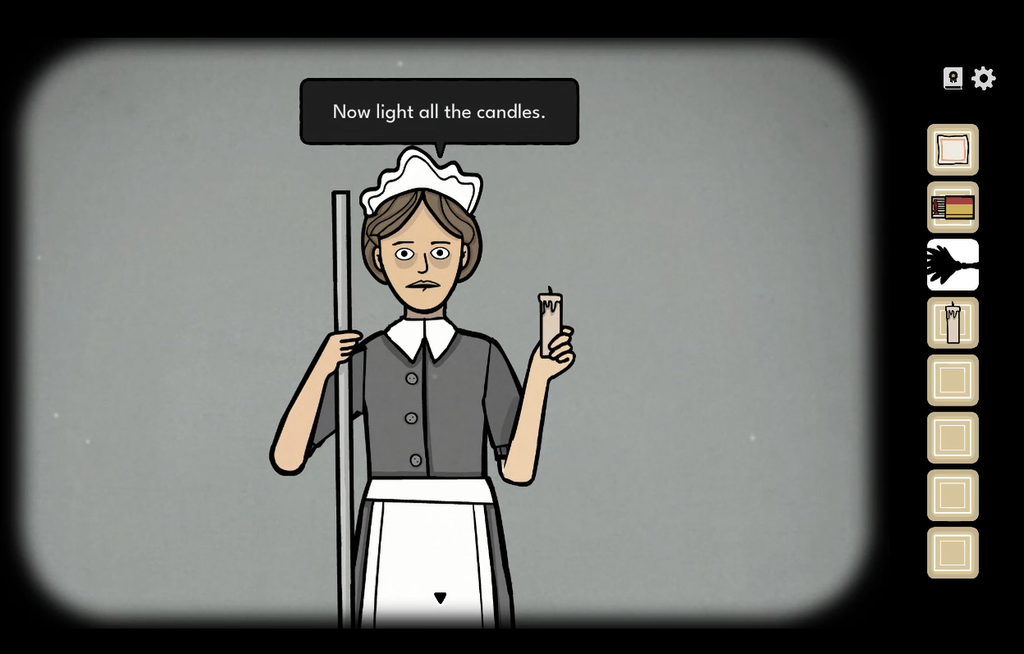
Go to the kitchen to obtain the third candle.
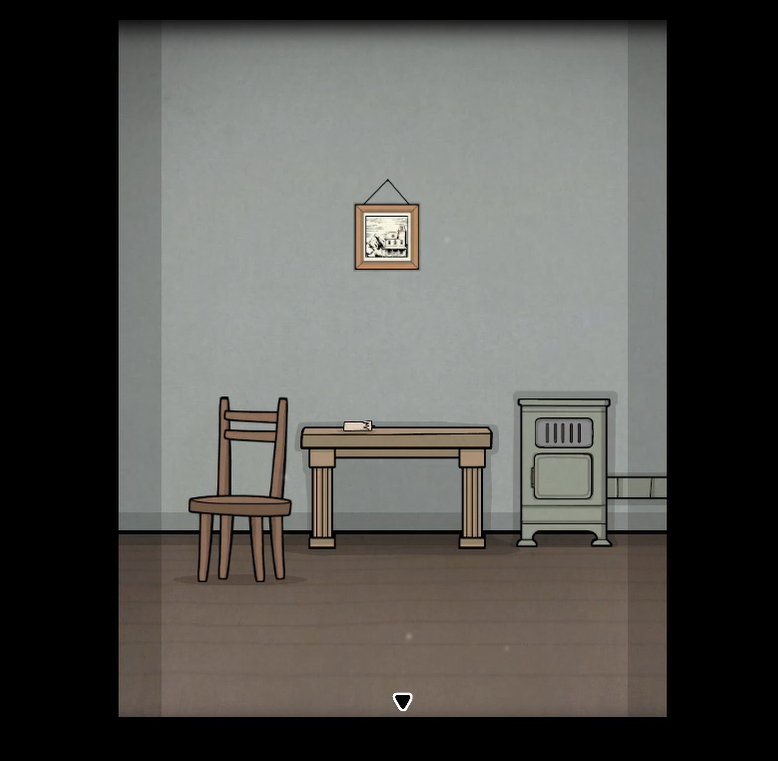
Candle/Chandelier Puzzle
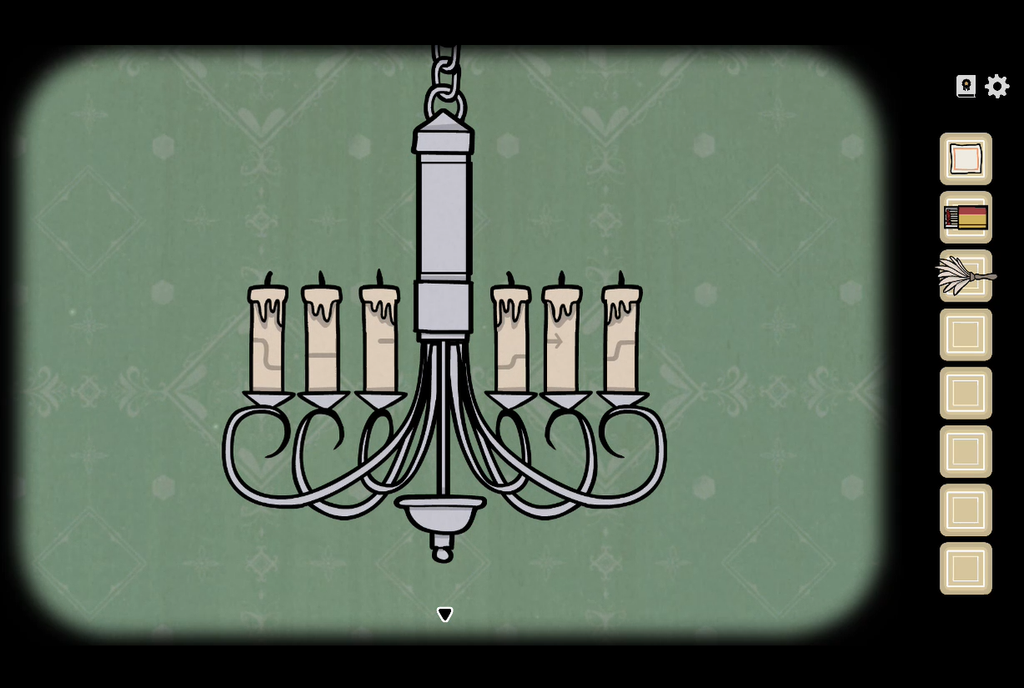
Click on the chandelier and place all three candles on the three candle holders. Pay attention to the markings on each of the 6 candles. Together, they form a jumbled path with a starting point and an endpoint marked by an arrow.
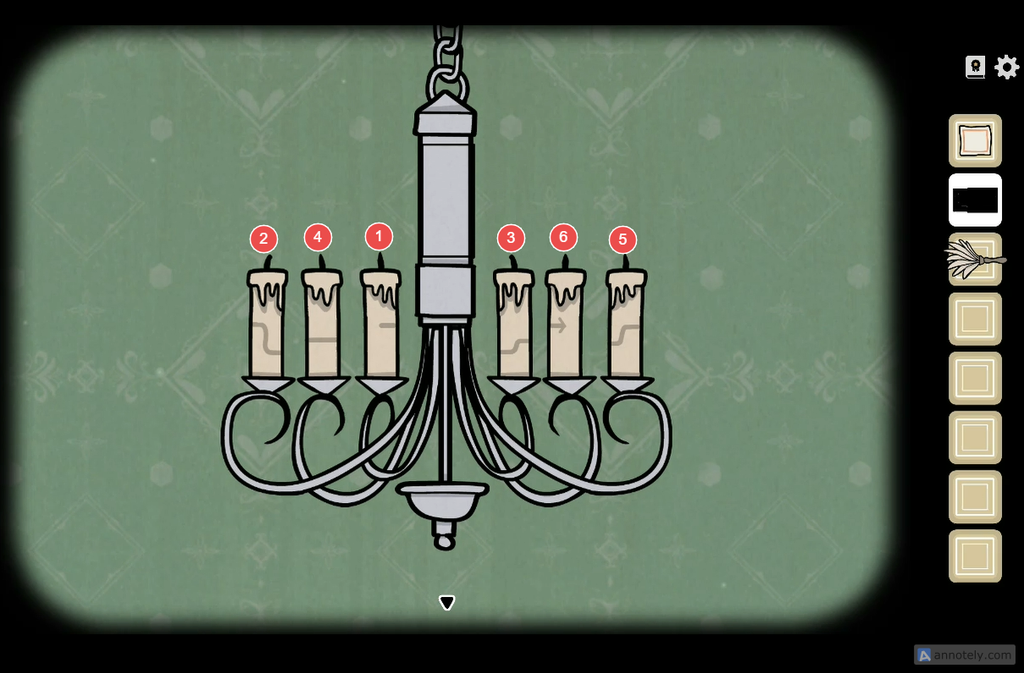
Unfortunately, you cannot move the candles to rearrange the maze. Instead, you need to light the candles in the correct sequence, following the path from the starting point to the endpoint (the arrow).
Use the matches to light all candles in the correct sequence. Lighting the wrong candle will extinguish the flames of all the other candles, and you will have to start over again. See the puzzle solution screenshot below to see which candles need to be lit first to light all candles:
Back Yard: Welcoming the Guests
Cockroach Puzzle
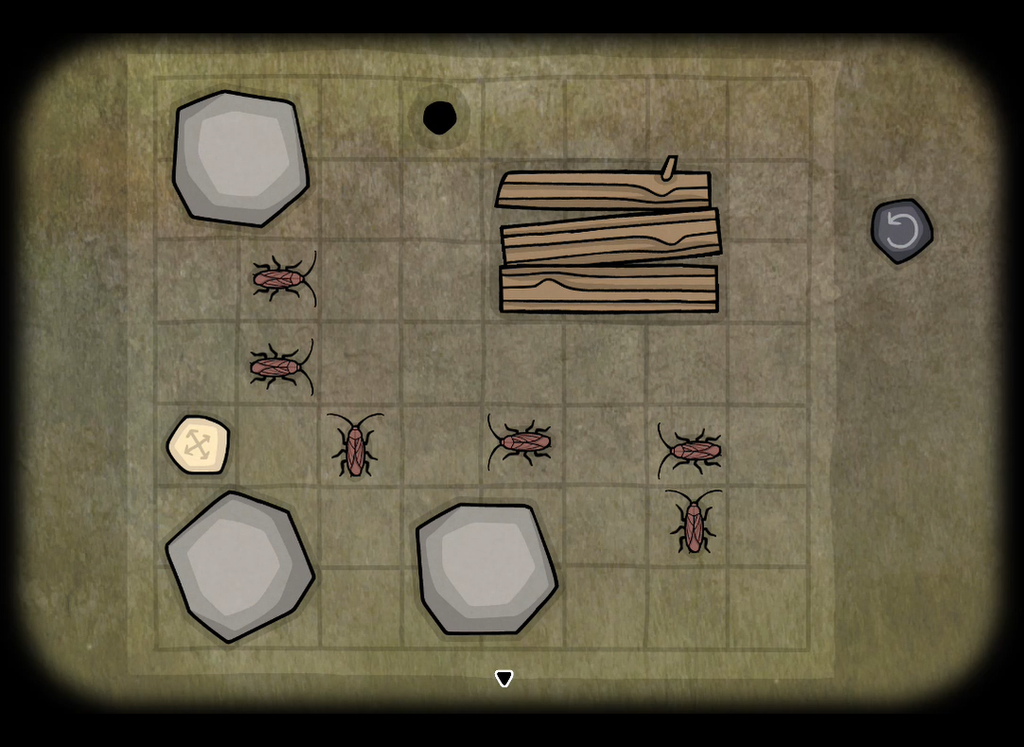
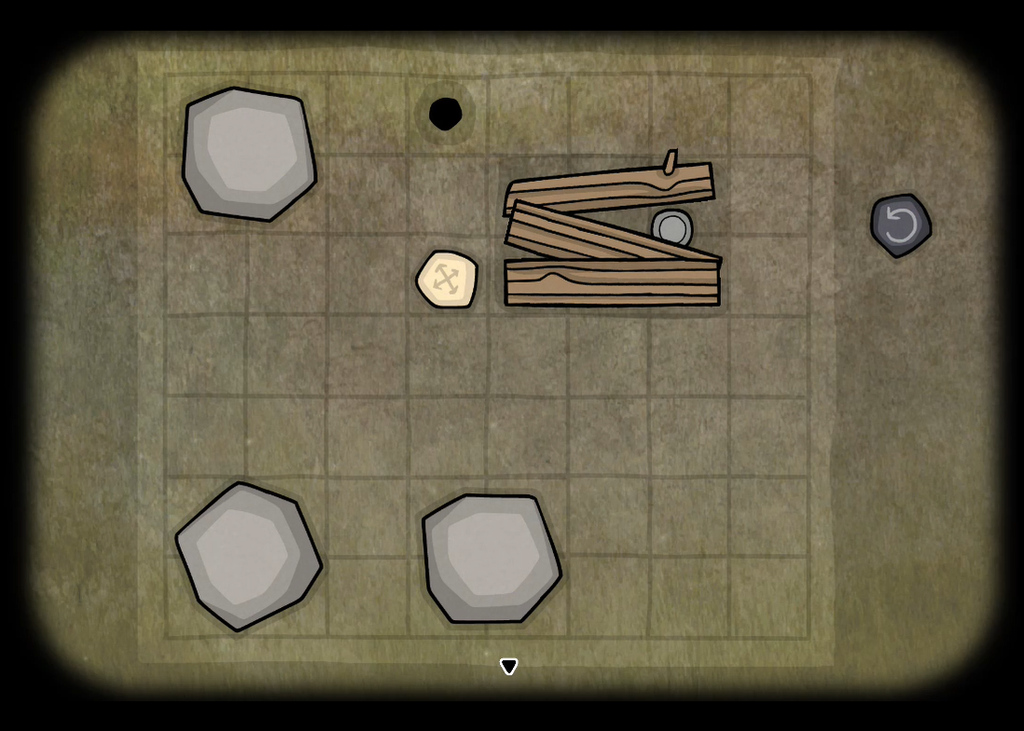
Interact with the pile of wood and rocks behind the goat to begin solving a new puzzle in the backyard.

Six cockroaches, three wooden planks, and three rocks are placed on an 8×7 grid. Guide all the cockroaches to the hole without getting stuck around the obstacles.
Use the pebble with the compass rose symbol to move the insects toward the hole. Place the pebble on an empty square to make the insects in the adjacent squares move into the surrounding empty squares, provided there are no obstacles in their path.
First, use the pebble to move all the cockroaches on the right side of the grid toward the center, then gradually guide them toward the hole.
As you do this, make sure no insect becomes movement-locked in a square. Insects on the right side are more likely to get trapped around an obstacle or in a corner of the grid, so move them carefully. The short walkthrough video below shows how to drop all cockroaches into the hole to solve the puzzle:
After you solve the puzzle, pick up the first stone tablet from the pile of wood.
Arrange the Flowers
See the hint on the flower pot and arrange the flowers to solve the puzzle. Drag the flowers to arrange them as shown in the screenshot below.
Flower Puzzle Solution:

Once you solve it, you will obtain a bouquet and the second stone tablet.
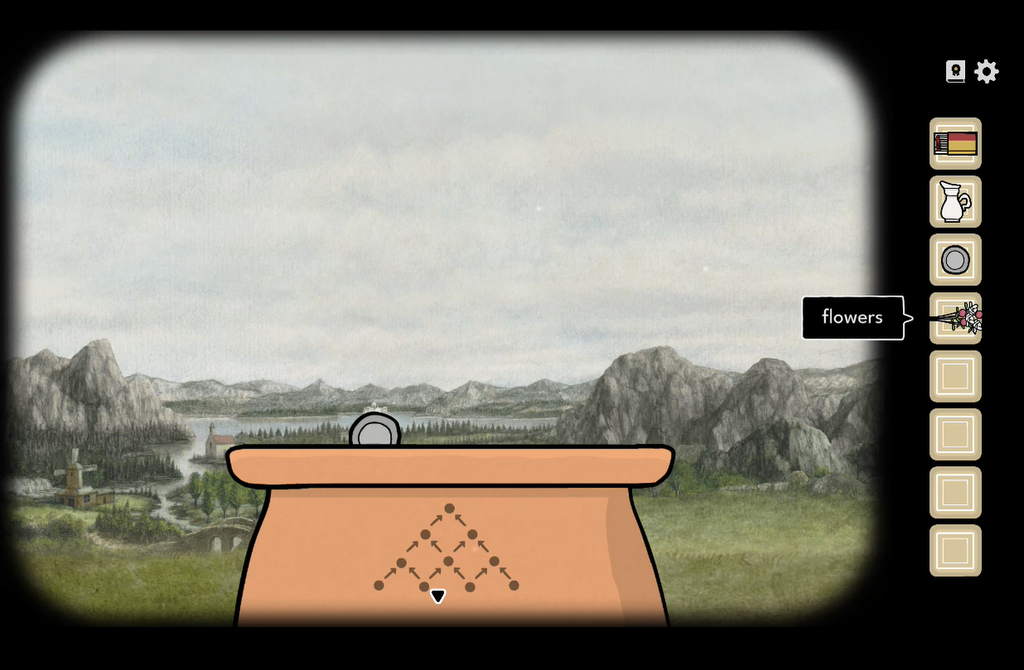
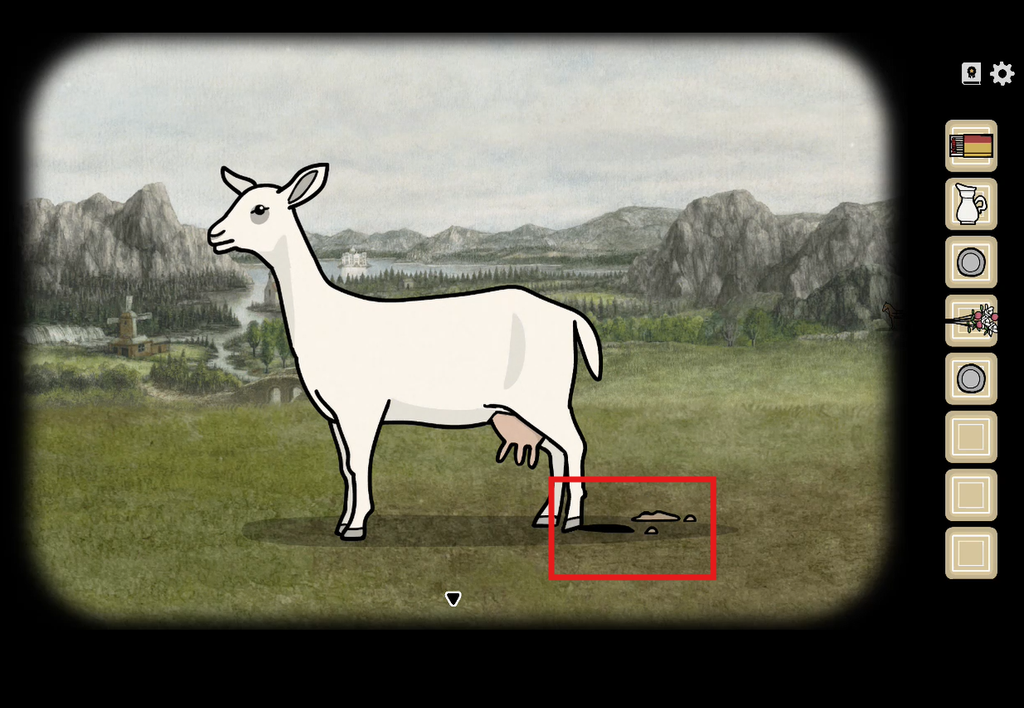
Pick up the empty jug from the ground. Click on the goat to milk her; milk will flow from her udders. Drag the empty jug toward her udders to fill it with milk.
When you do this, the goat will kick up some dirt, revealing a hidden burial site with a small key inside. Pick up the key from the ground.
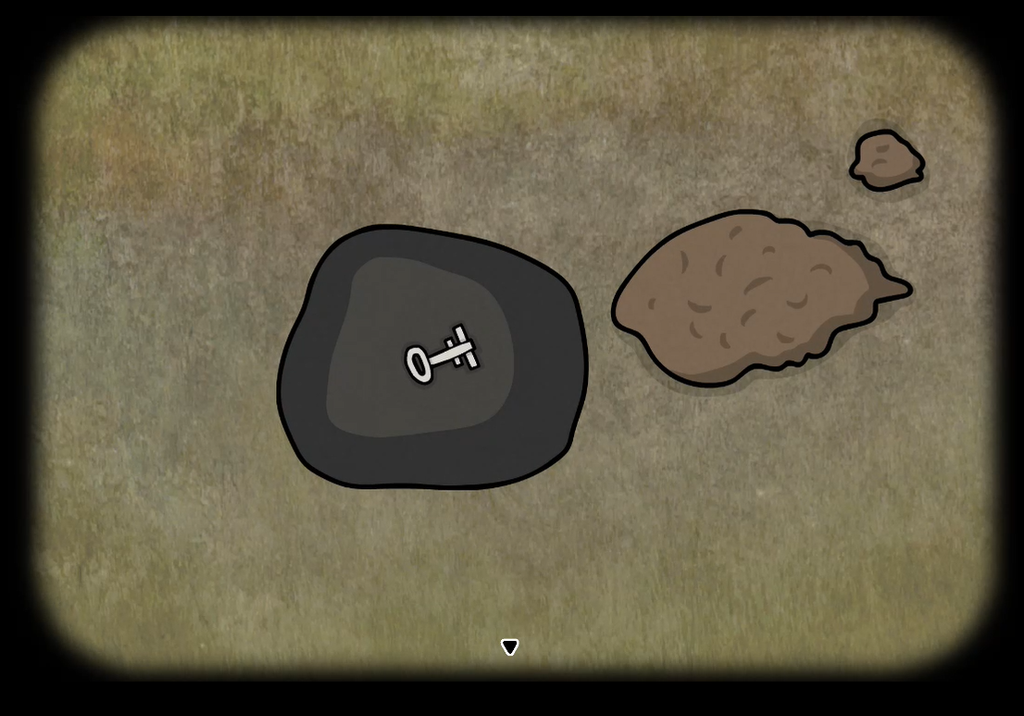
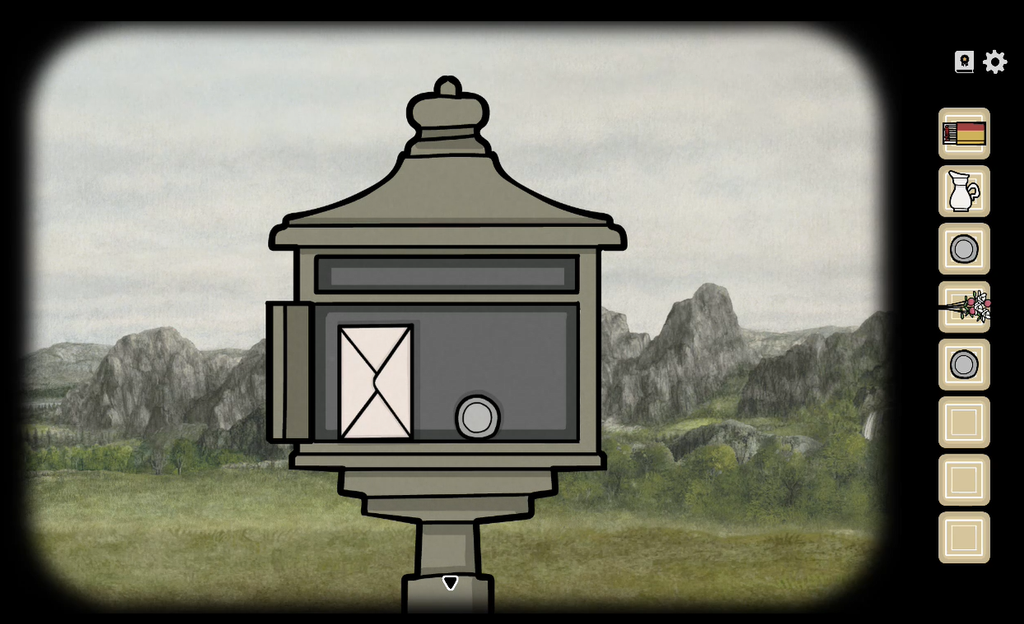
Use the key to open the locker on the extreme right side of the screen.
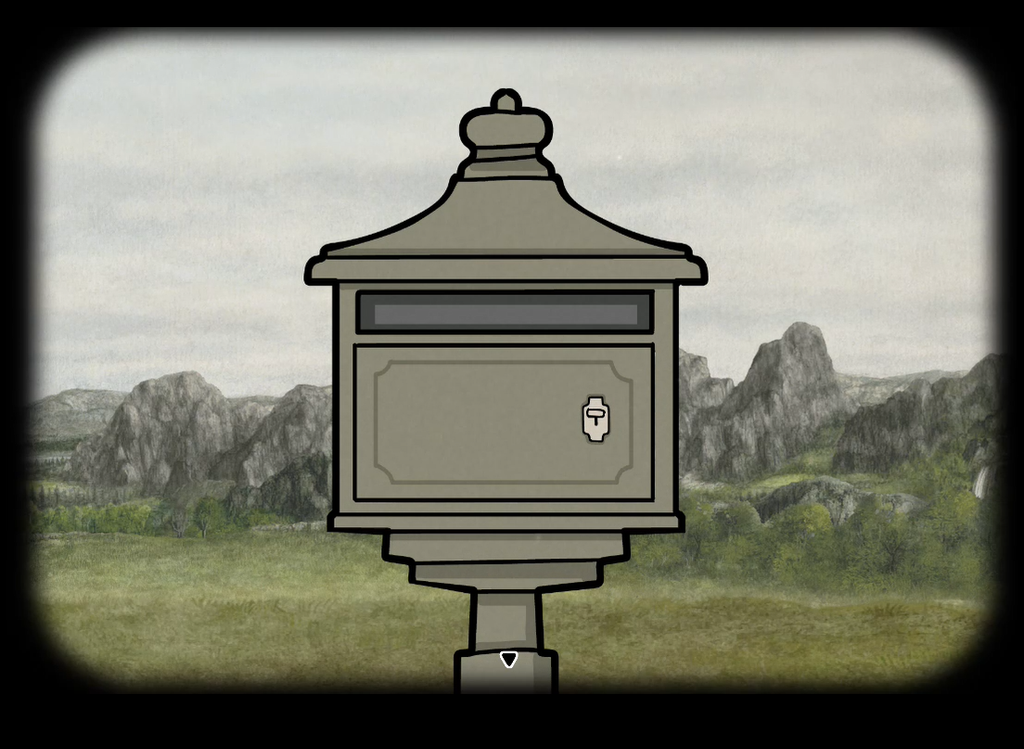
Take the envelope. Open the envelope to read the instructions:
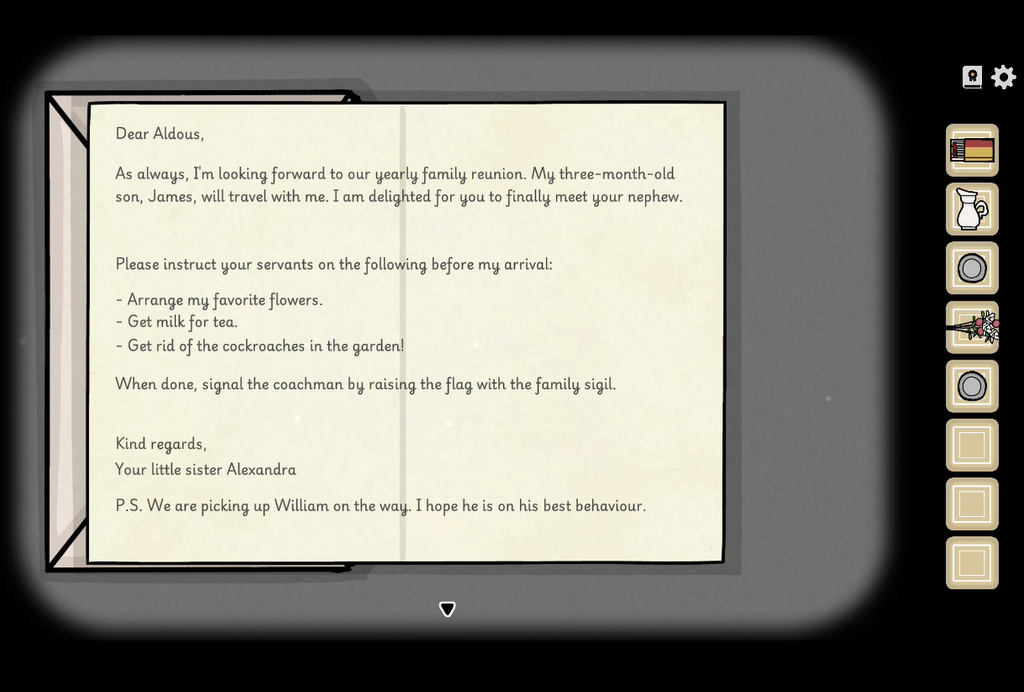
Don’t forget to pick the third stone tablet from the locker.
Stone Tablet/Garden Box Puzzle
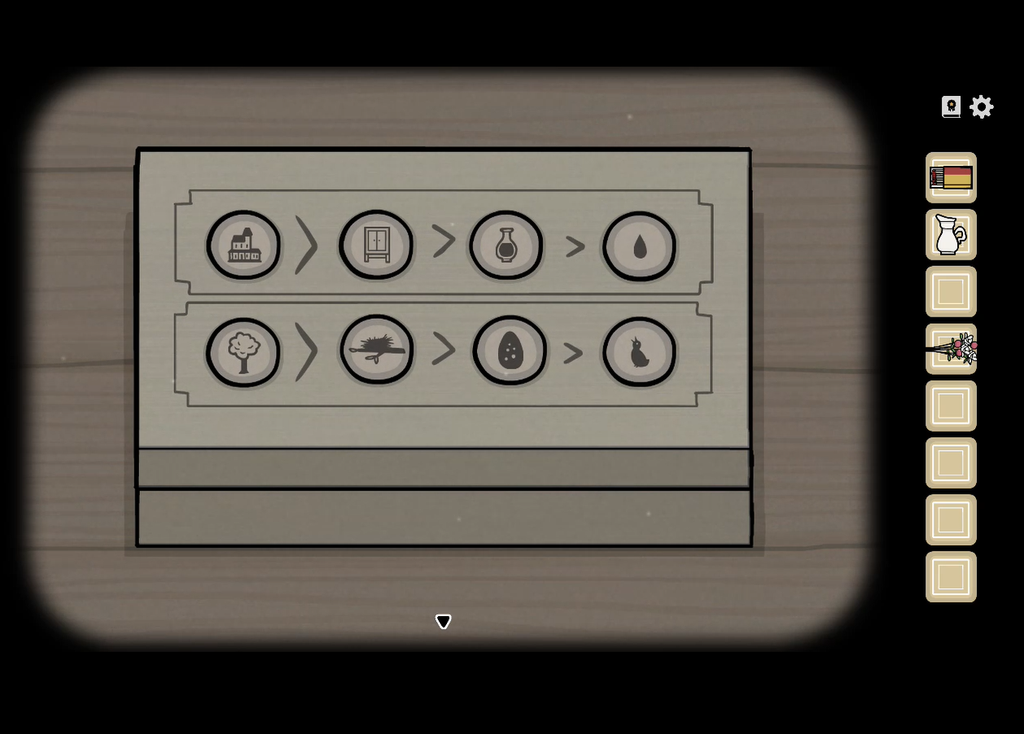
Interact with the small box on the ground. Place the three stone tablets into the three empty slots to begin the sequential puzzle.
Arrange all three stone tablets in the correct order to open the box. Here’s the correct sequence for the top and bottom rows:
1. House > Cupboard > Potion Bottle > Droplet
2. Tree > Nest > Egg > Chick
Pick the flag from the open box. Use it on the flagpole to hoist the family sigil.
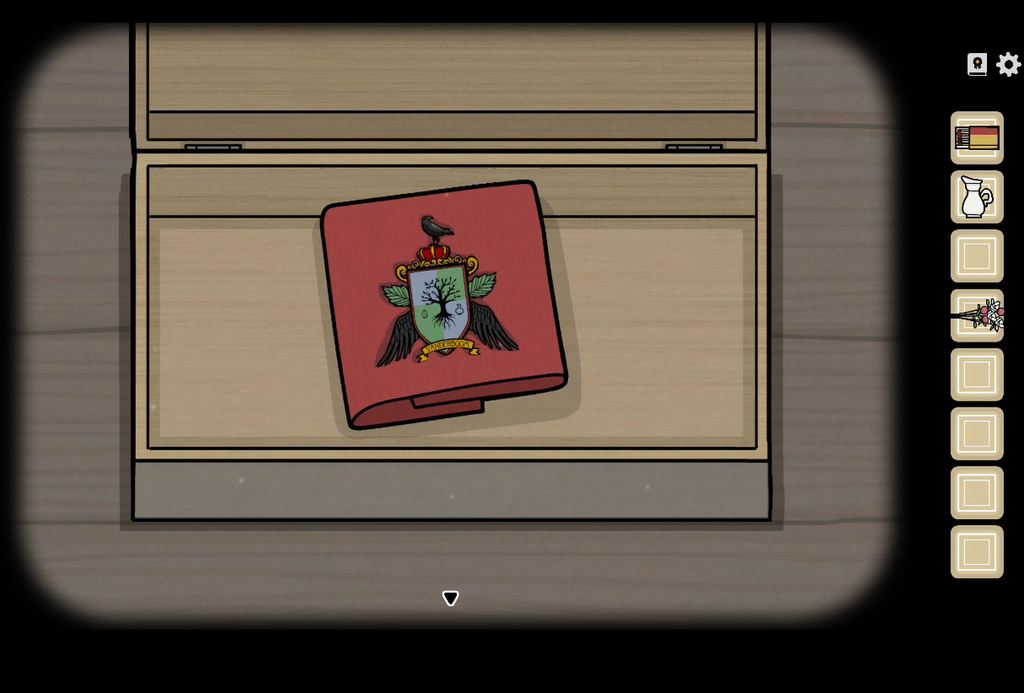
Drag the rope on the flagpole downwards to hoist the flag.
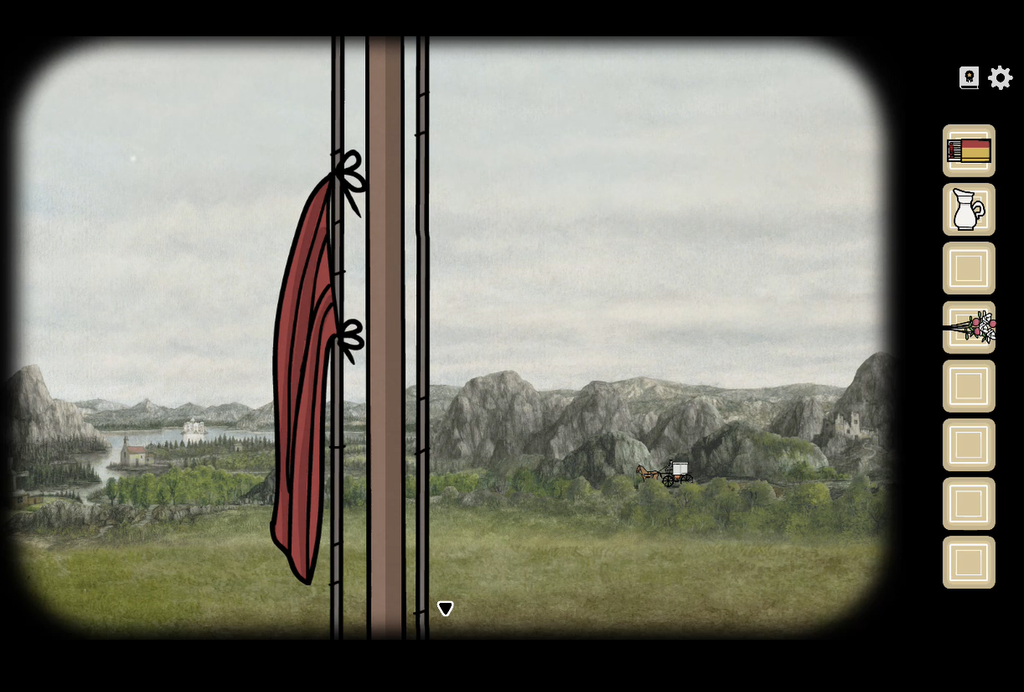
When the carriage arrives, slide the curtains and help Alexandra Vanderboom to step out of the carriage.

Interact with her and give her the flowers. She instructs you to pay the coachman.
Briefcase Puzzle
Click on the Moses basket and the briefcase on the carriage to drop them on the ground. Interact with the basket by moving the lid upwards.
Move the basket to the left to reveal number 3 behind the crying baby.
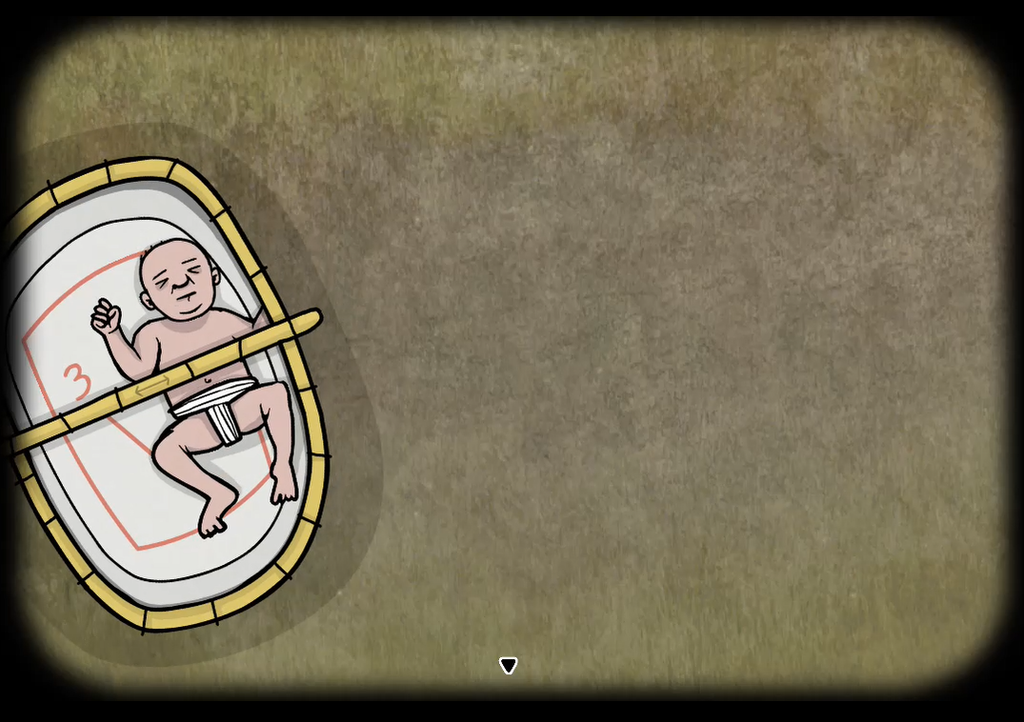
Now move the basket to the right to reveal the numbers 7 and 4. Also pay attention to the order of the numbers:
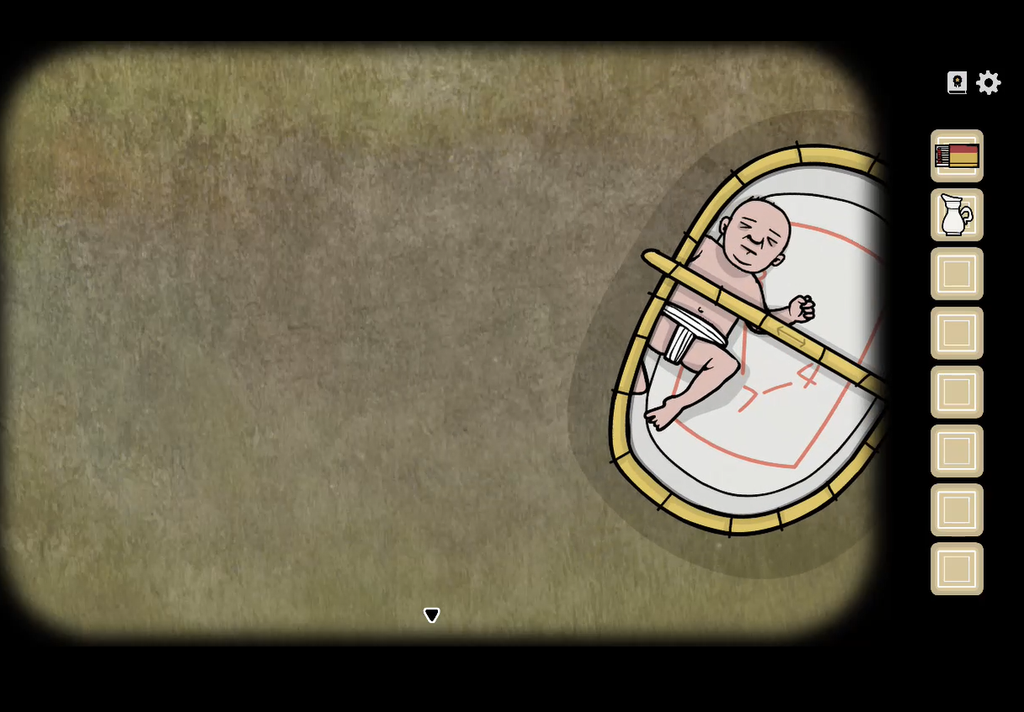
3 – 7- 4
Interact with the briefcase. It has a combination lock on the right side. Enter the numbers 3, 7, and 4 to unlock the briefcase.
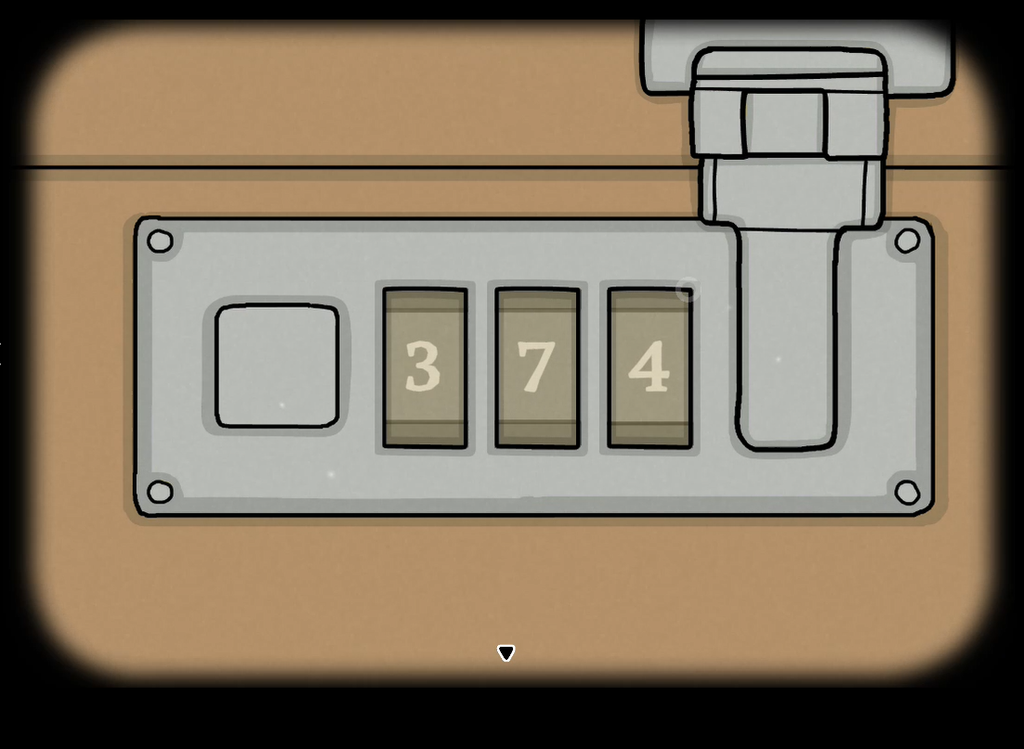
Inside, you will see clothes neatly folded and a wallet. This is a jigsaw puzzle. You will have to arrange all the clothes so that they fit snugly inside the briefcase. Here’s the solution to the clothes puzzle:
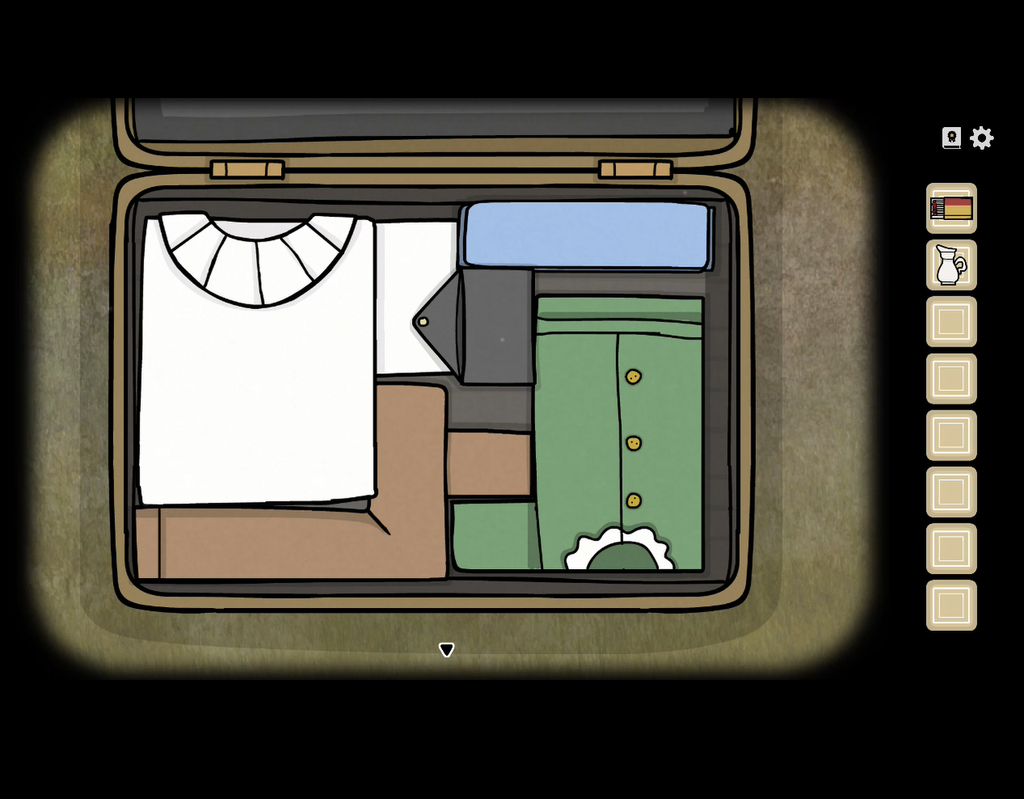
As soon as you arrange all the clothes, the black wallet opens. Click on the wallet to pick up the coin and the bill.
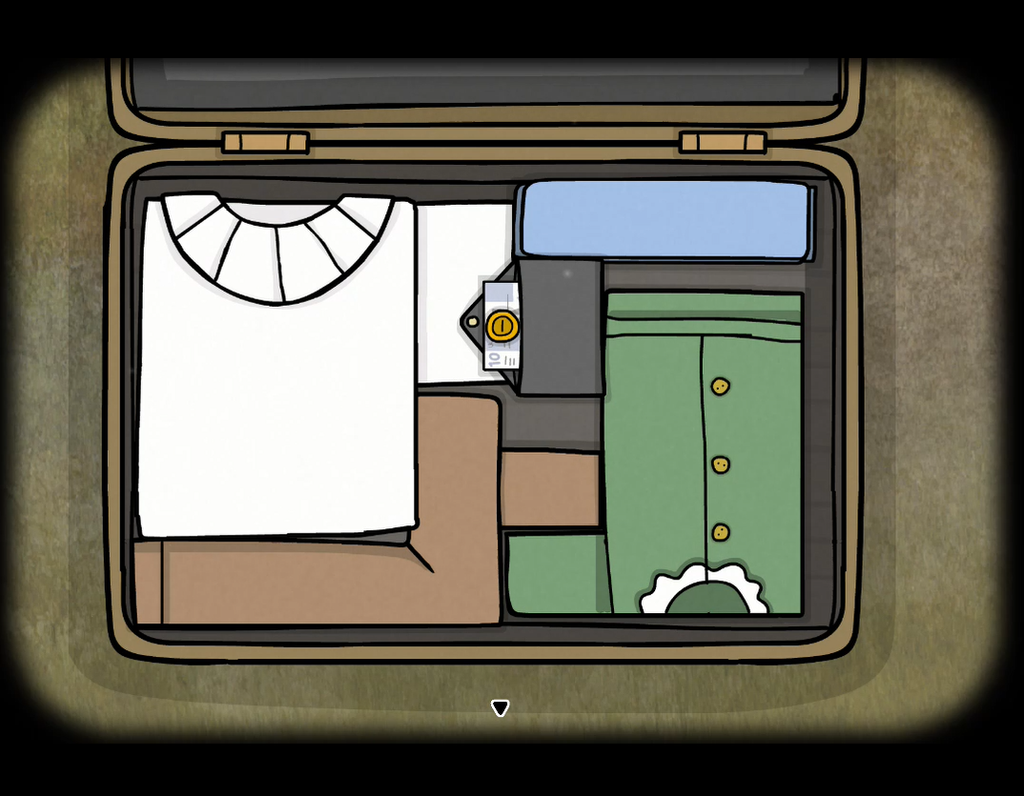
Give the coin to the coachman and the bill to the horse. The horse chews the bill.
Evening
Hallways: Serving Tea
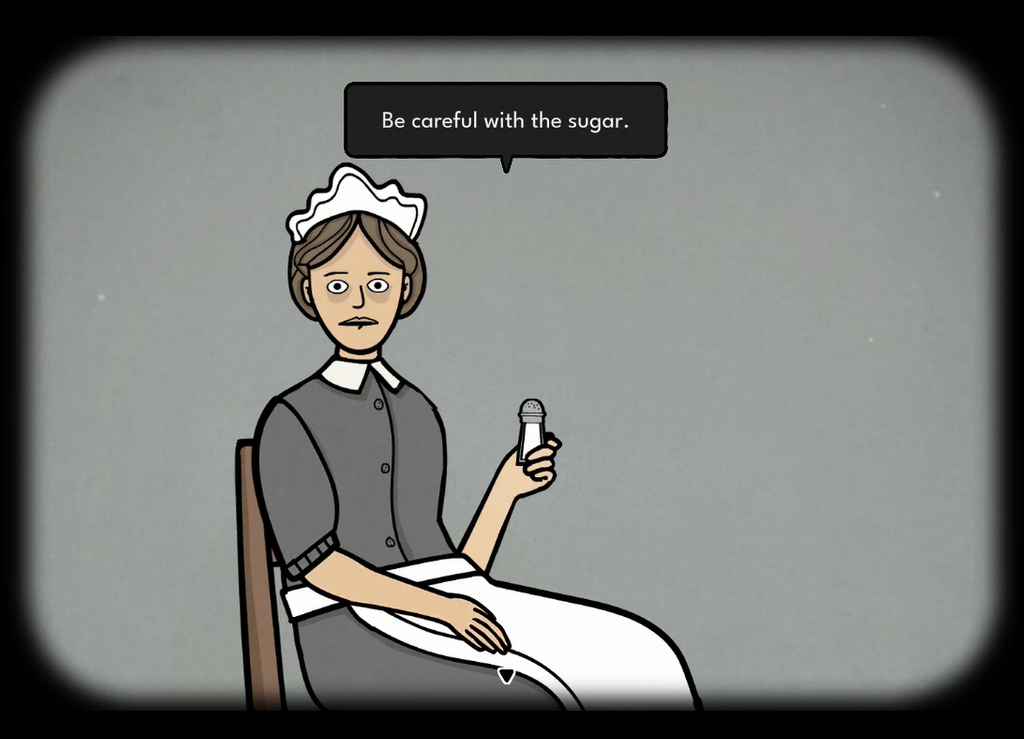
Talk to Kate in the kitchen. She is afraid of being around the woman and asks you to serve her tea. Also warns you to be careful with the sugar and gives you a sugar shaker.
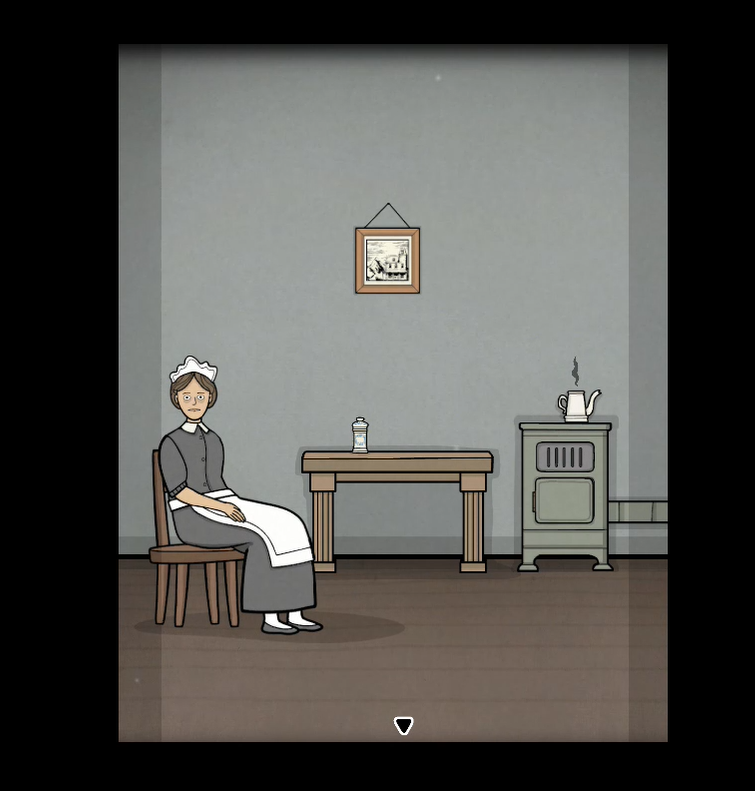
In the same room, pick up the tea from the table and the kettle with hot water from the stove.
Interact with the orange cat. She spits out a sticky substance. Pick it up.
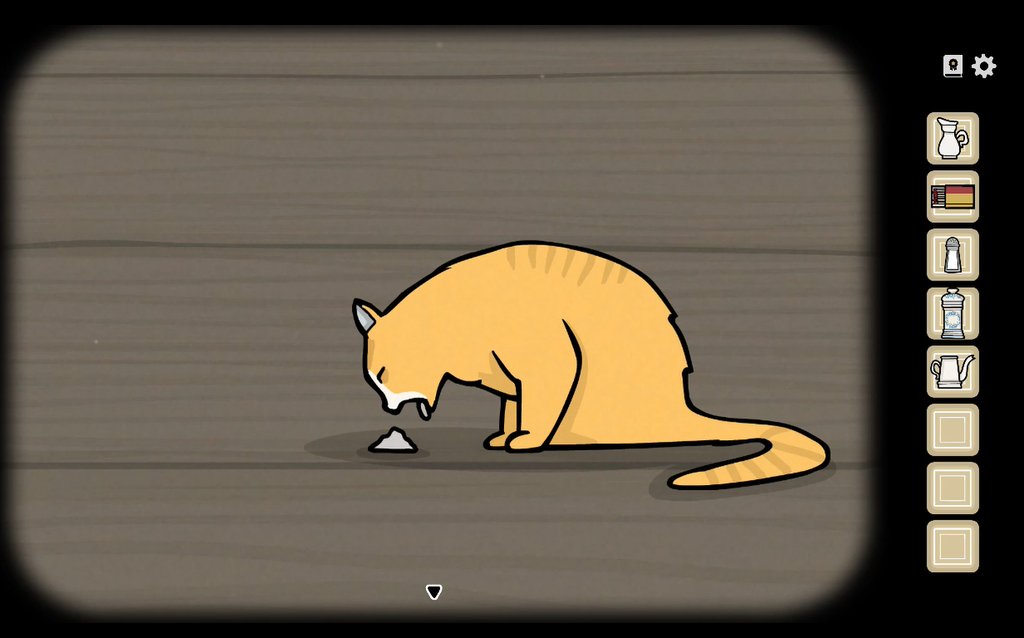
Tea Cup Puzzle
Explore the hallways until you find Alexandra. Then, click on the stairs on the right to enter the passage leading to Aldous’s room. Take the cup from the cupboard.
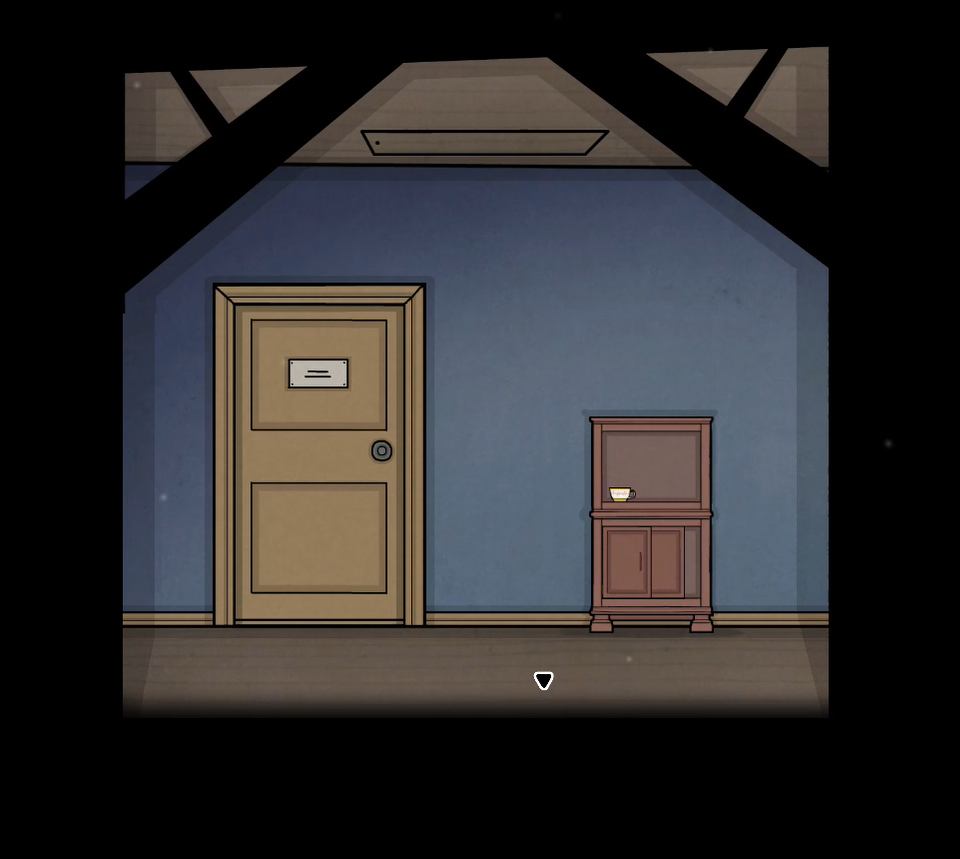
Return to Alexandra. She wants her tea. Place the tea cup on her palm. Pour the hot water, tea, and milk. Sprinkle the sugar thrice into her cup. She will sip the tea, say it’s too sweet, and drop the cup accidentally.
Arrange the broken pieces of the cup to complete the jigsaw puzzle:
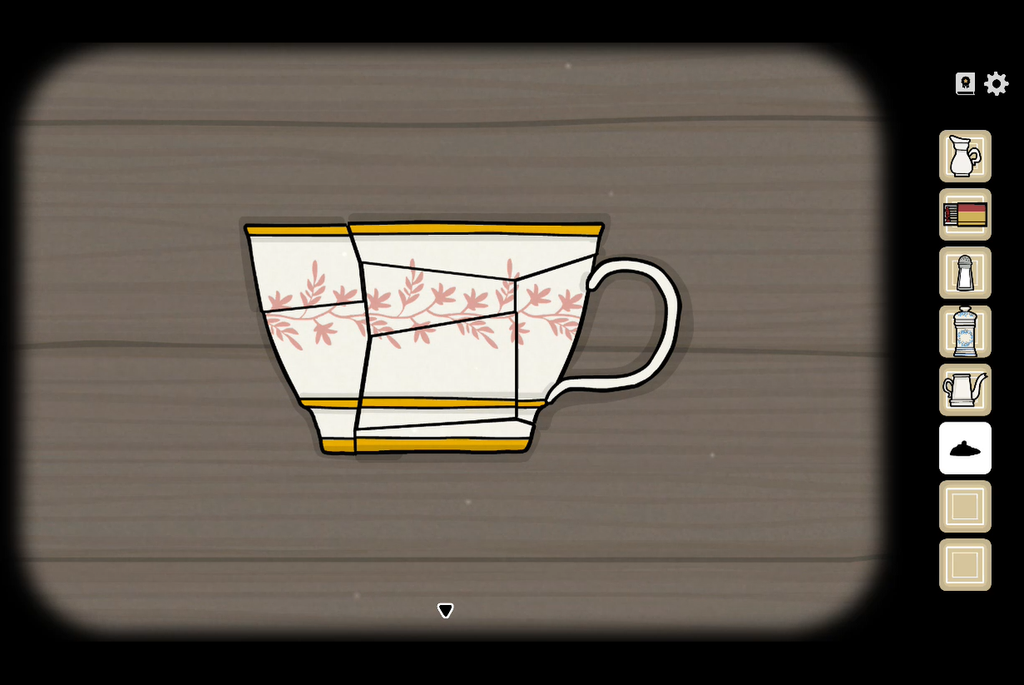
Once you have put all the pieces in the right places, use the sticky substance to glue them together.
Give Alexandra the cup and repeat the same procedure to serve her tea. This time, when you sprinkle sugar once, she says no more sugara and quietly sips her tea.
Living Room: Opening the Reunion
Aldous will soon start his speech. He wants his glass. Open the pink cupboard and pick the empty wine glass. Give it to Aldous.
Champagne Box Puzzle
To fill his glass, you’ll need to find the bottle of champagne. Open the pink cupboard again. Inside, you’ll find a wooden box and a card.
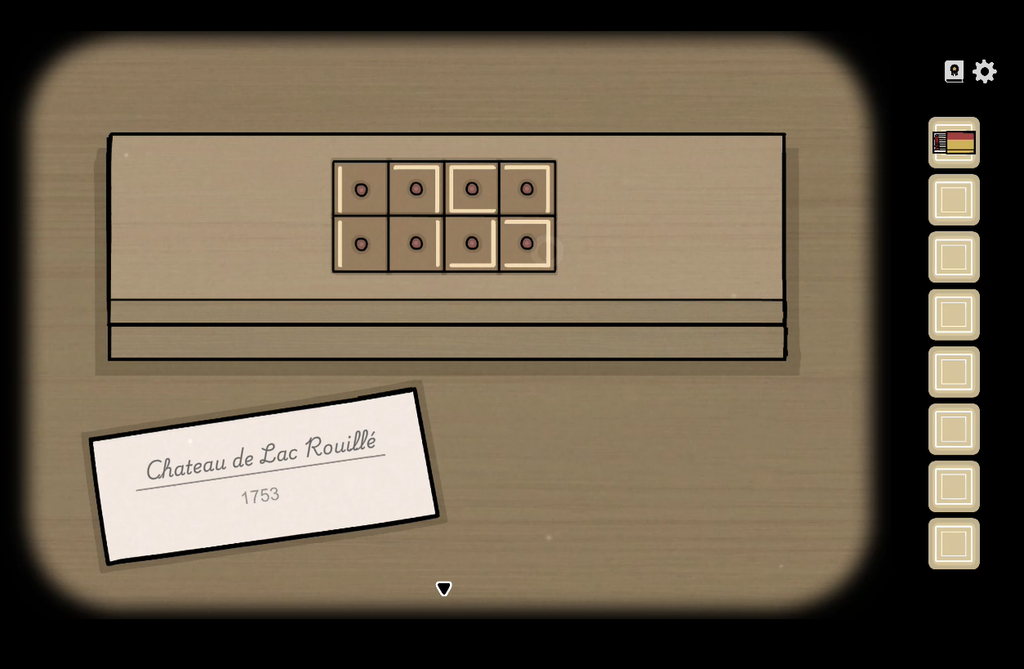
The card reads “Chateau de Lac Rouille. 1753.” The box has eight squares, each with a line etched on it. Clicking on a square changes the position of the line.
The card provides a hint for solving the puzzle: 1753. Click on each square to rotate the lines and arrange them to form the numbers 1, 7, 5, and 3. See the screenshot below for the completed puzzle:
Take the bottle of champagne and pour it into Aldou’s glass. Slide up to open the window to let William, Aldous’s brother, in.
Cigar Box Puzzle
William is thirsty. Select the bottle of champagne from your inventory and click on him to give it to him. He will take a swig before throwing the bottle on the ground. Next, find and bring him his favorite cigar.
Interact with the broken pieces of the champagne bottle and arrange them to complete a jigsaw puzzle. The arranged pieces reveal a path.
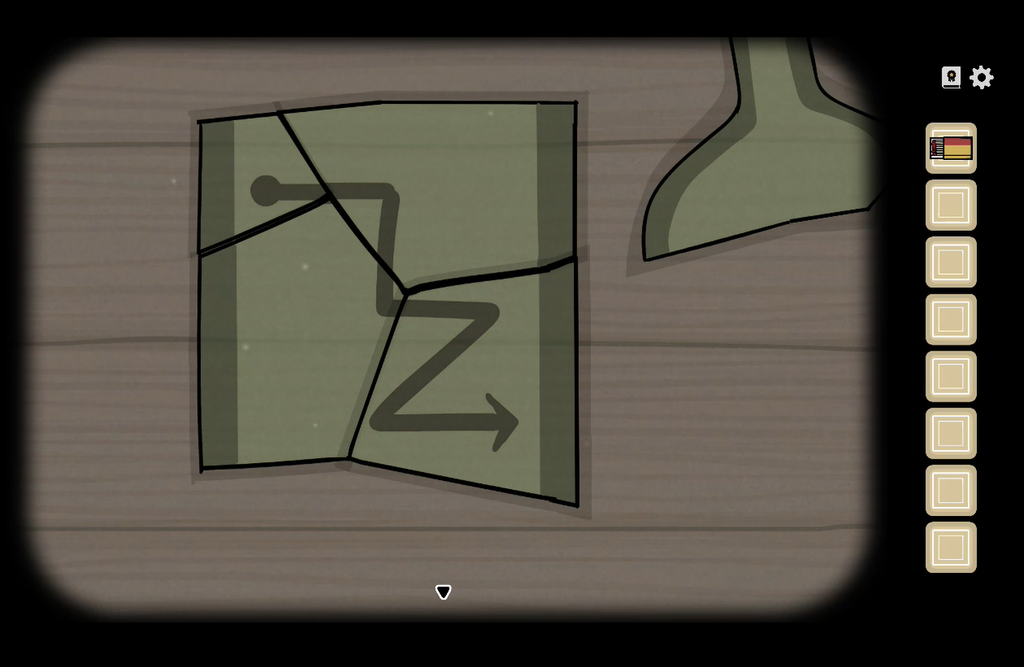
The dot is the starting point, and the arrow is the end point. This path is nothing but a hint to a pattern puzzle that will open a box.
Open the pink cupboard again and interact with the cigar box with nine clickable buttons. The 3×3 grid of buttons is a pattern lock, and the path is the order to press them.
Read the line as a grid, with the dot as the starting button and the arrowhead as the last:
1 2 3
4 5 6
7 8 9
So the sequence is 1 → 2 → 5 → 6 → 8 → 9.
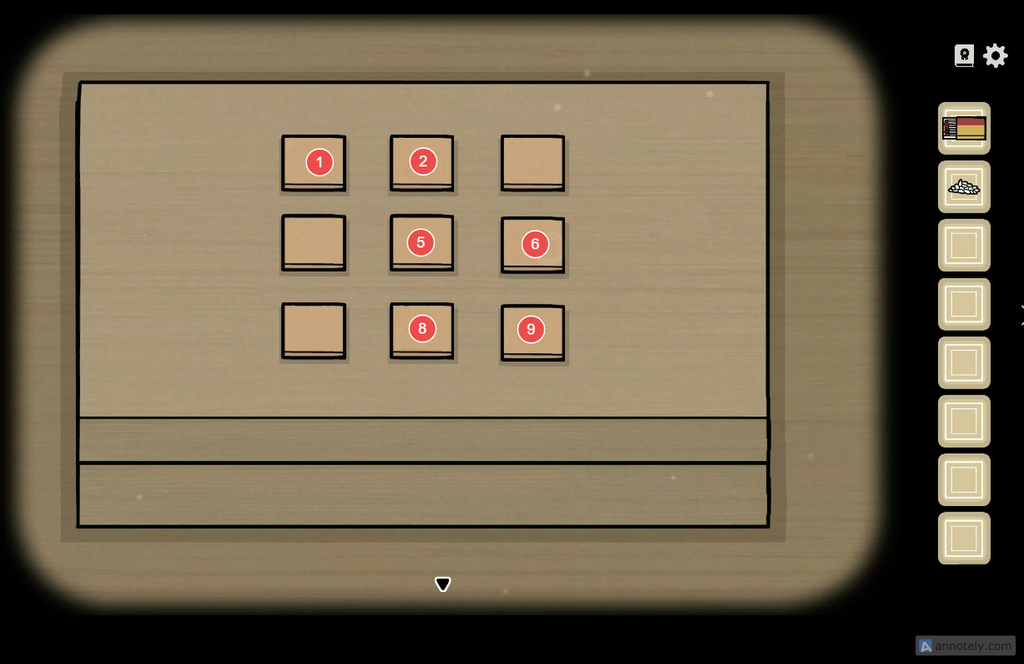
Press the buttons on the cigar box in that order to open it.
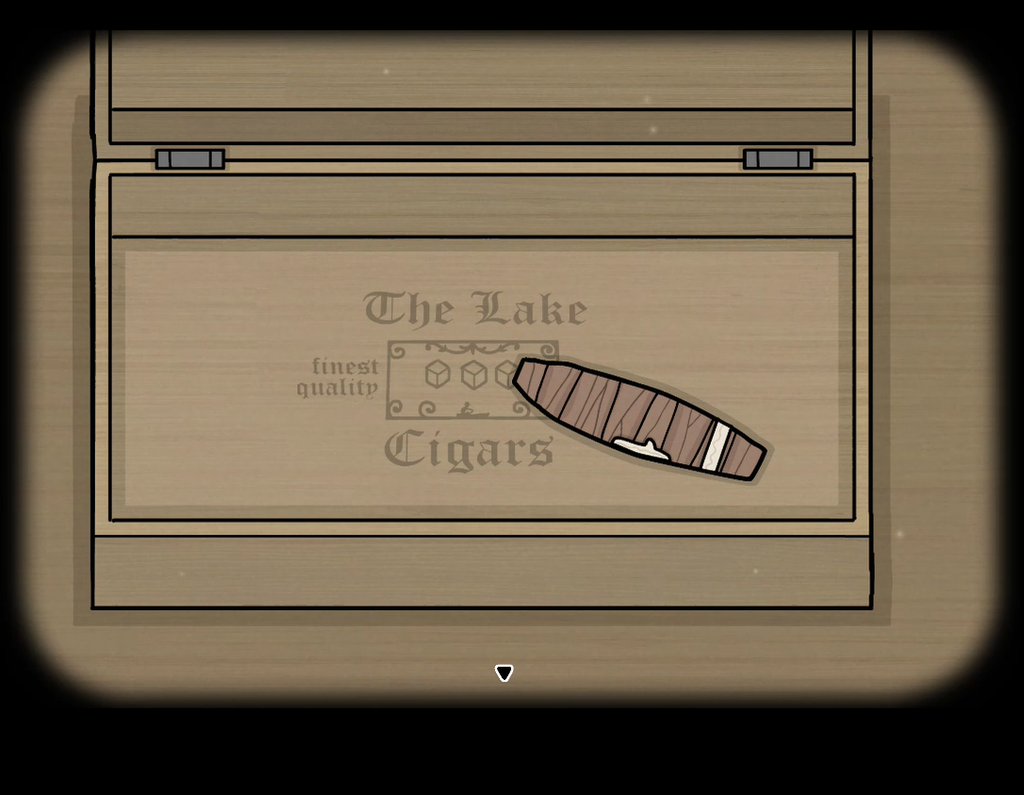
Take the cigar and give it to William. Use the matches to light the cigar.
Click the cigar repeatedly until William takes it completely into his mouth. He will shout after swallowing the burning cigar. Click on his burning mouth to solve a new puzzle:
Burning Mouth Puzzle
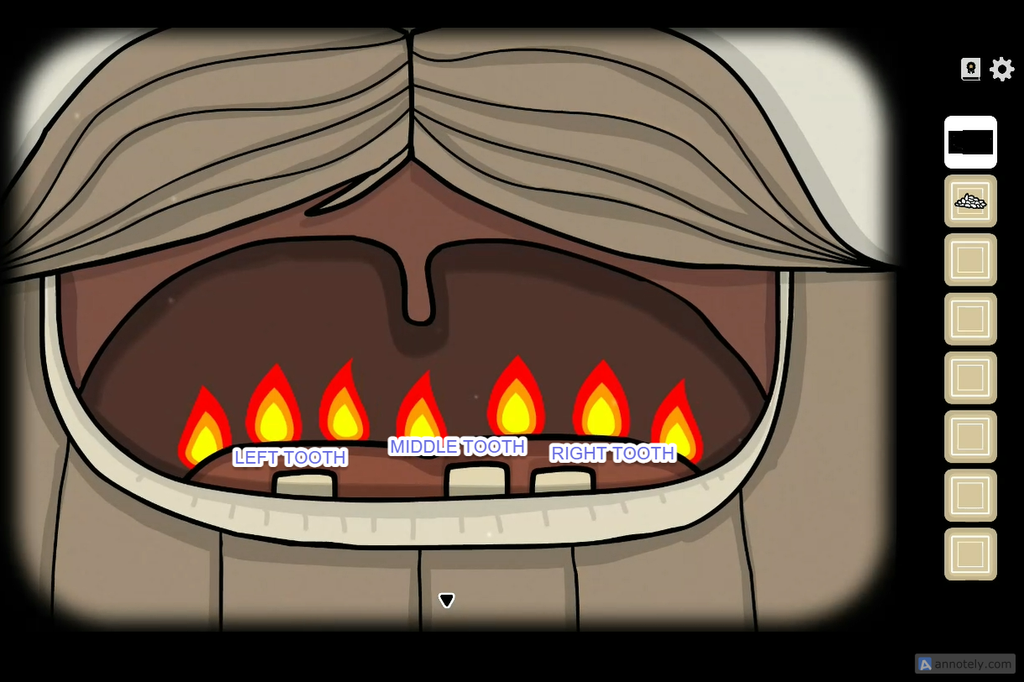
Put out all the flames. First, put out the three flames on the left. To do this, press the Middle Tooth (MT), then the Left Tooth (LT), and repeat this sequence:
MT → LT → MT → LT → MT.
Now for the next four flames on the right. Here’s the correct sequence. Since you will have to go from far left to right to extinguish the remaining flames, you will need to follow a longer sequence, but this time, you only have to press Right Tooth (RT) and Middle Tooth (MT):
RT → MT → RT → MT → RT→ MT → RT → MT→ RT → MT → RT → MT.
Once you put out all the flames, a spoon will appear in his mouth. Pick it up.
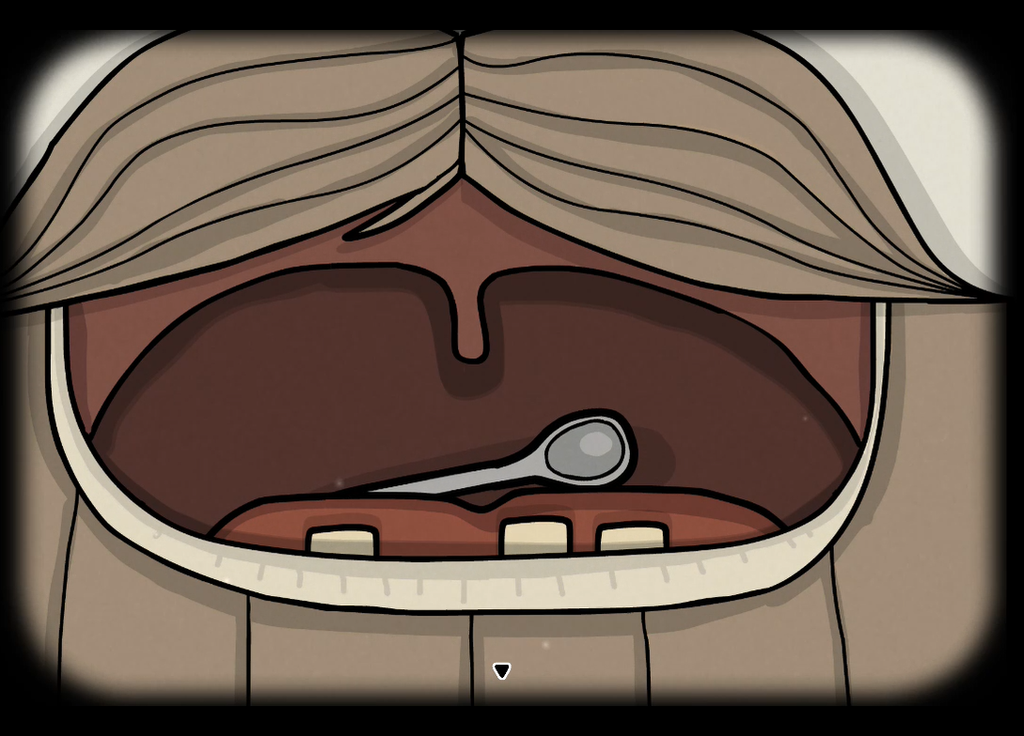
Interact with the round table to find a recipe to prepare “Lake-Side Fish Toast”. You will need fish and some protein (fly eggs) to prepare it. The solution to the two puzzles will help you obtain them:
Flower Puzzle
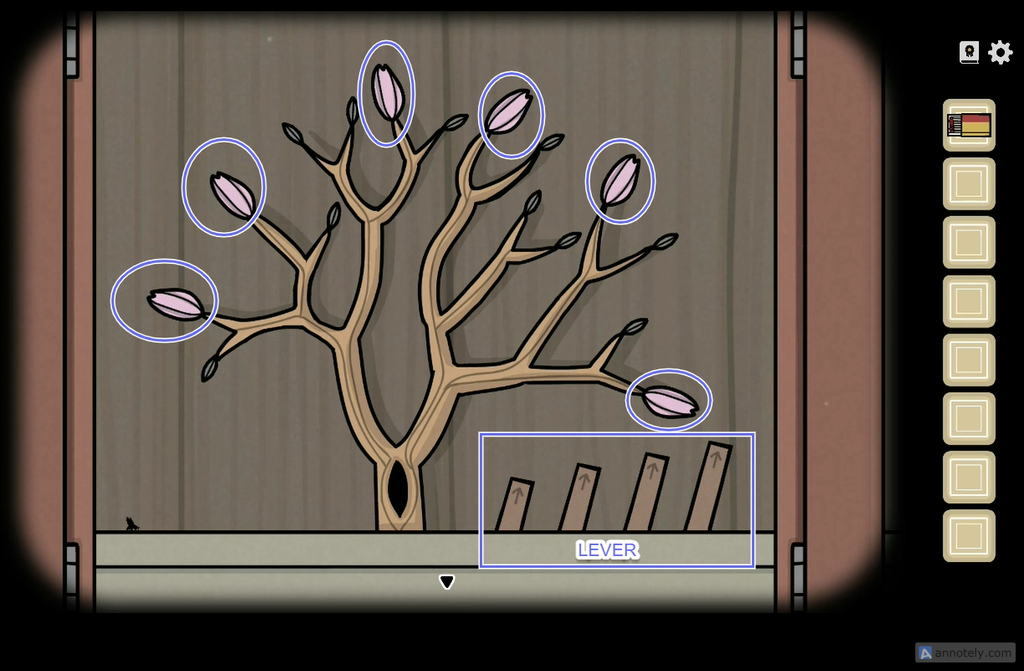
The flower puzzle is one of the most unique puzzles in Servant of the Lake.
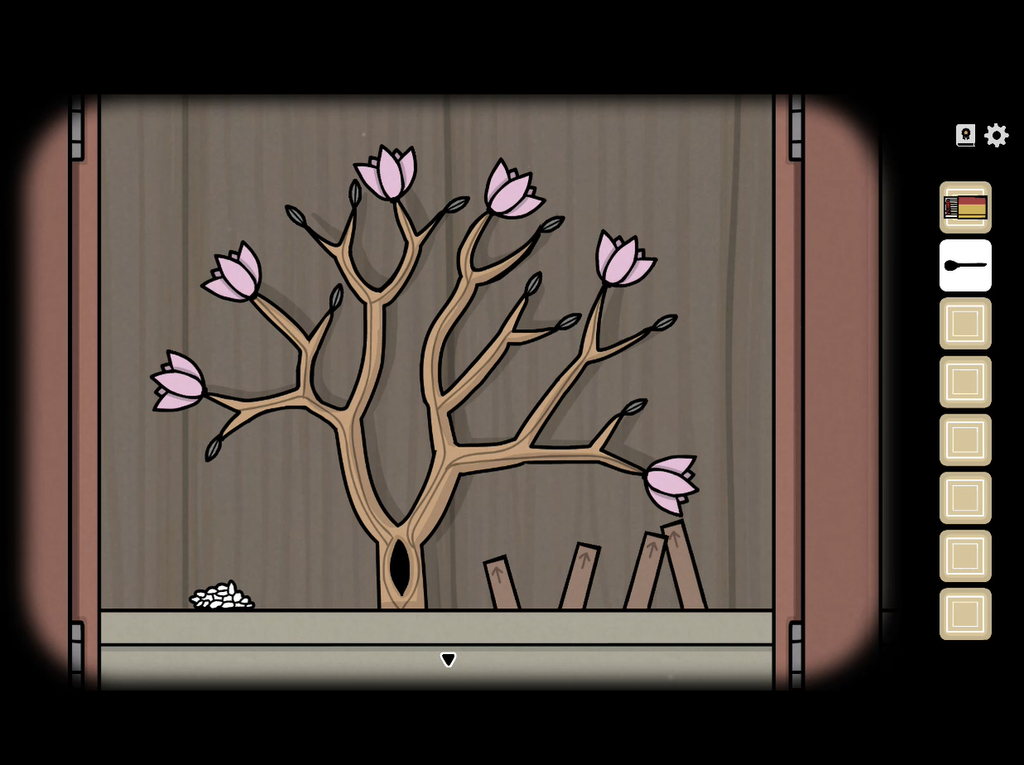
Open the top cupboard to find a bonsai plant. You will notice a fly on the far left side of the screen. Operate the four levers on the right side of the screen, then click on the tree hollow. The fly will zip into the hole and pass through a flower bud. Your objective is to make all flowers bloom by making the fly pass through the six flower buds. To do this, you will need to find the correct lever combination. The screenshots below show the correct lever combo. Pay attention to the direction all four levers are pointing to –
1. Flower #1
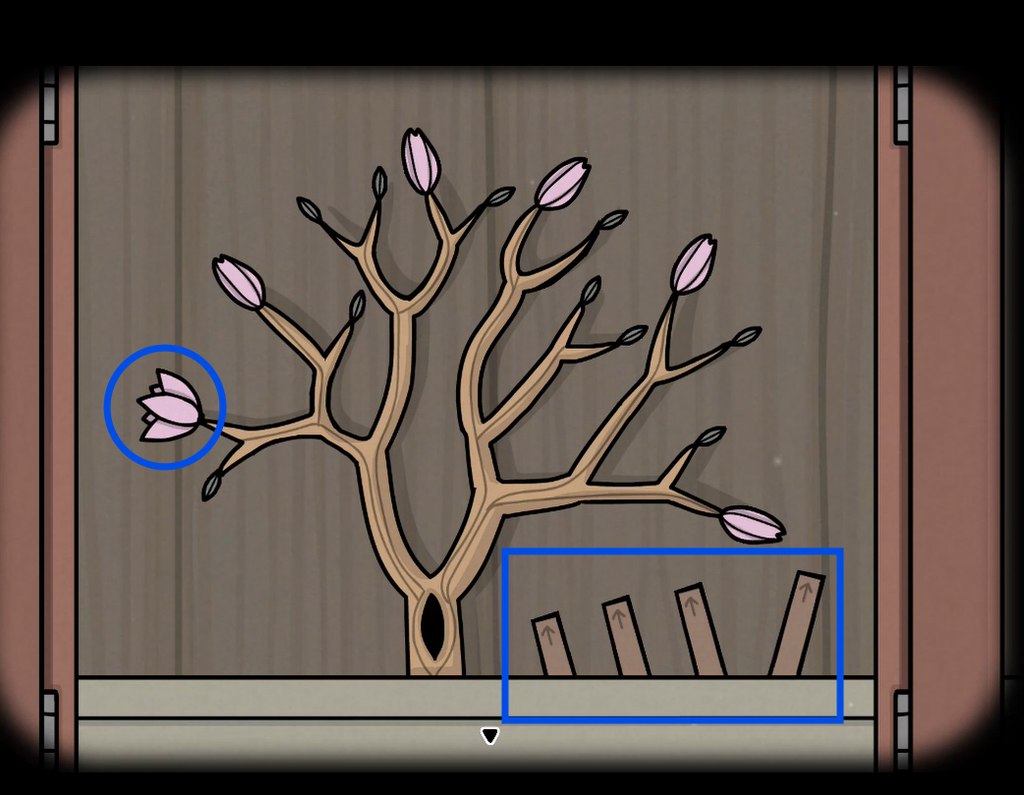
2. Flower #2
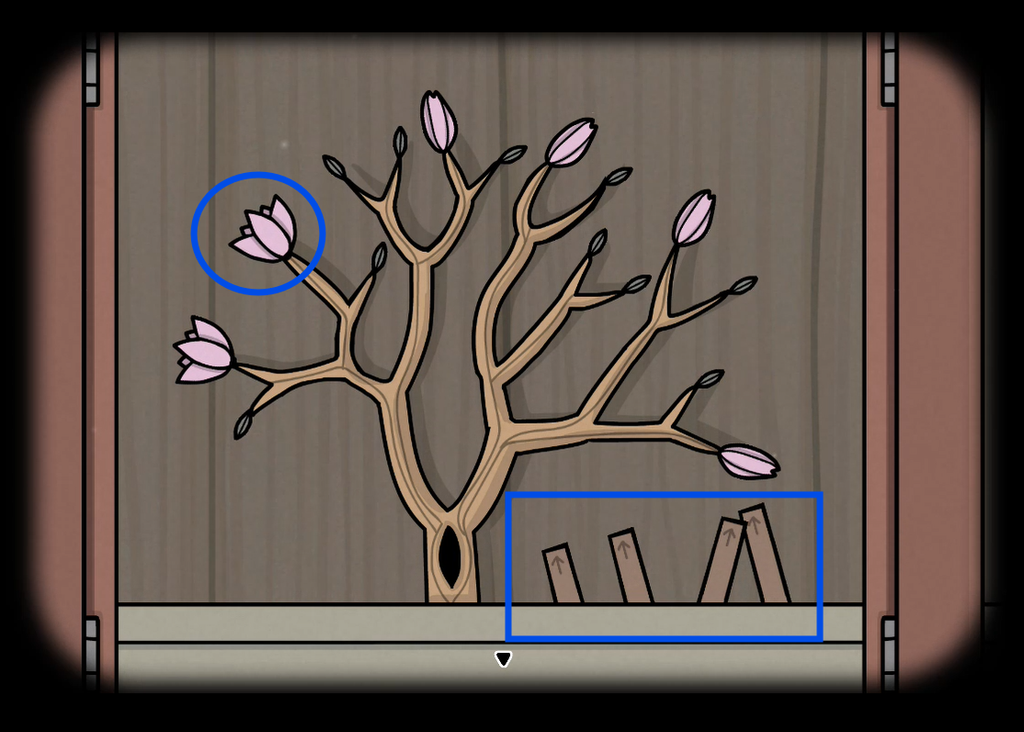
3. Flower #3
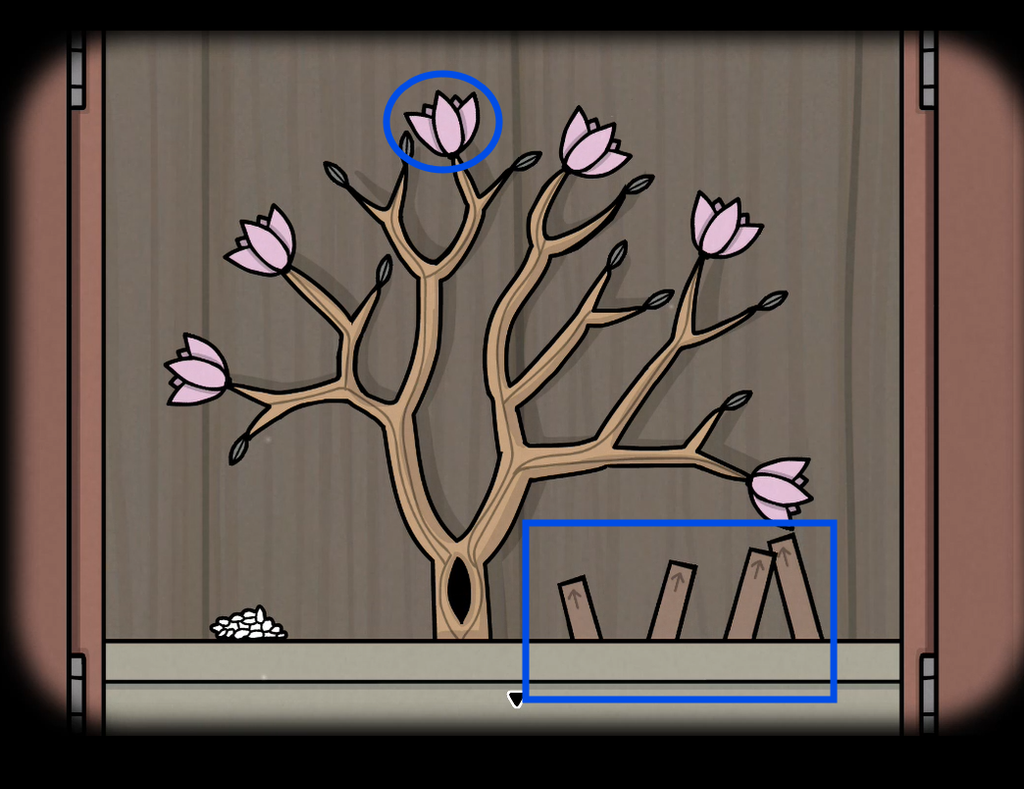
4. Flower #4
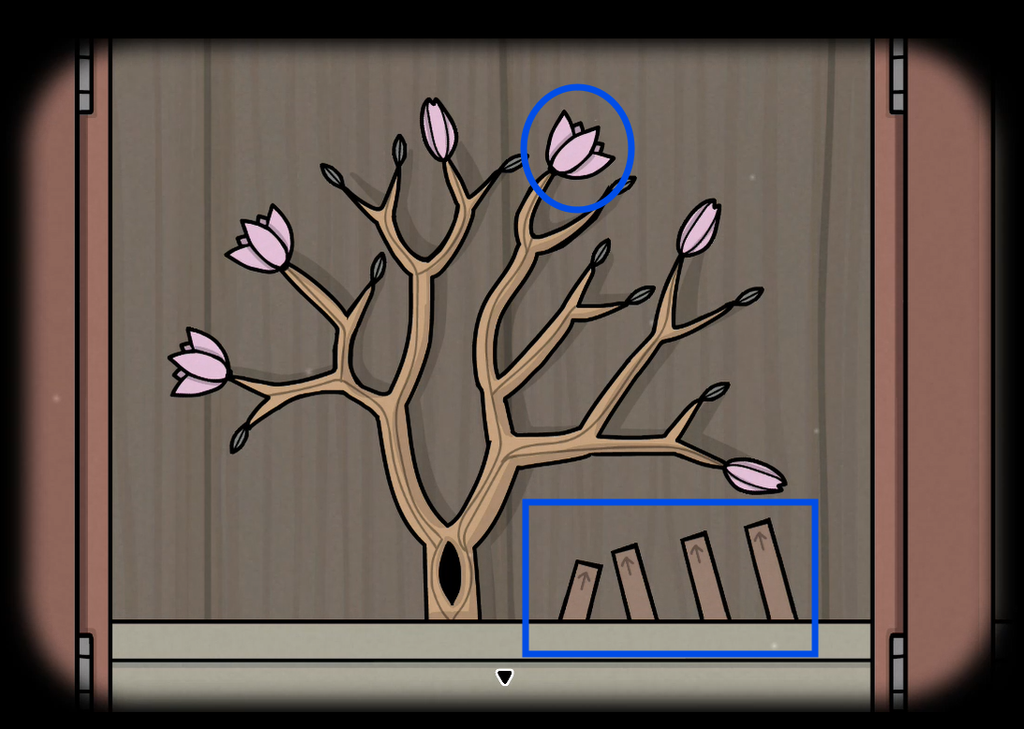
5. Flower #5
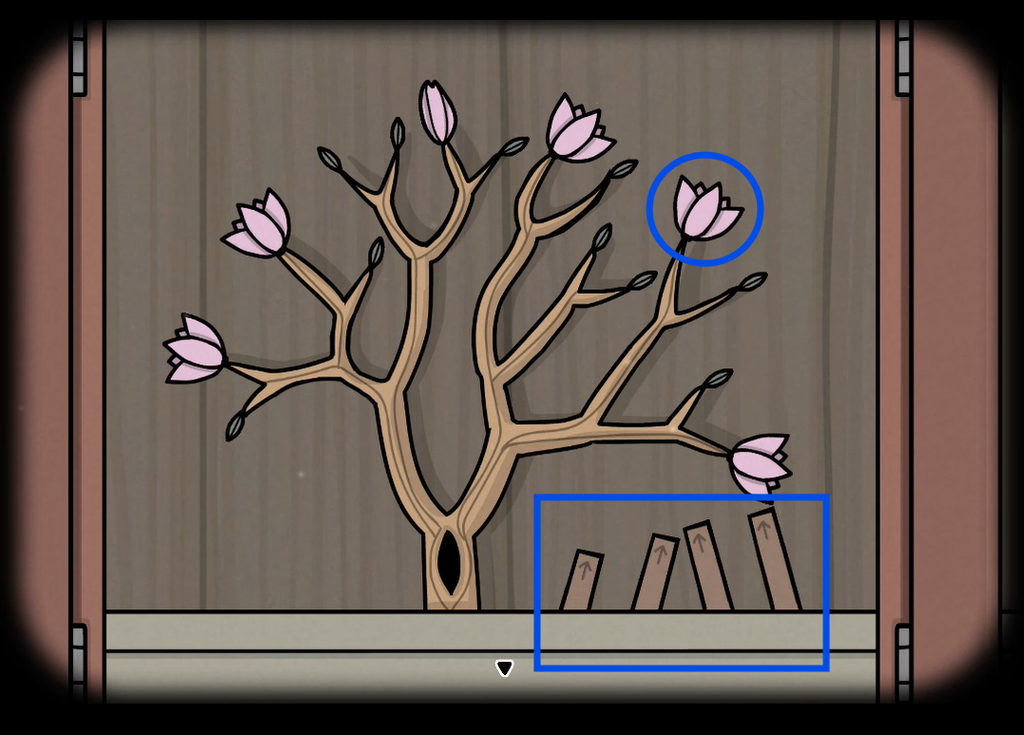
6. Flower #6
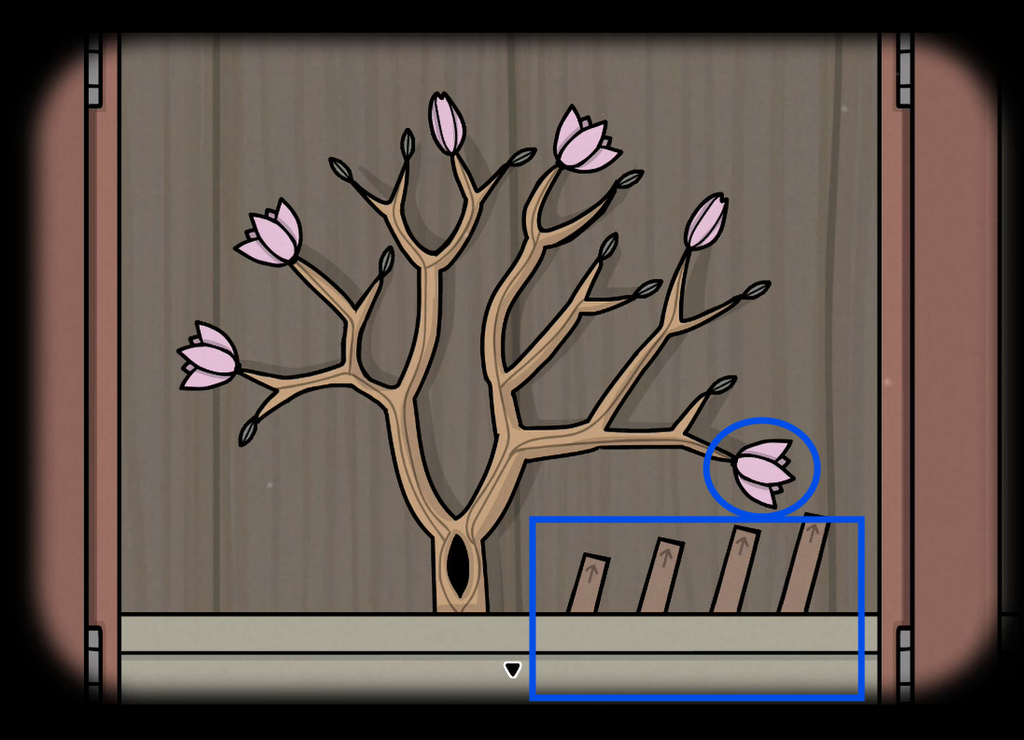
Once the fly opens the sixth flower, it disappears, and a cluster of fly eggs emerges from the tree hollow. Click on the eggs to store them in your inventory.
Still Life Puzzle

Click on the still life painting on the wall. Pay attention to the title:
“Still Life of Timepiece, Book, Elixir and Fish”
Now click on the objects in the painting in the same order:
1. Timepiece
2. Book
3. Elixir
4. Fish
The fish will jump from the plate and appear in your inventory. You will then have to grill the fish.
Pick up the woodpile from the far left side of the screen.
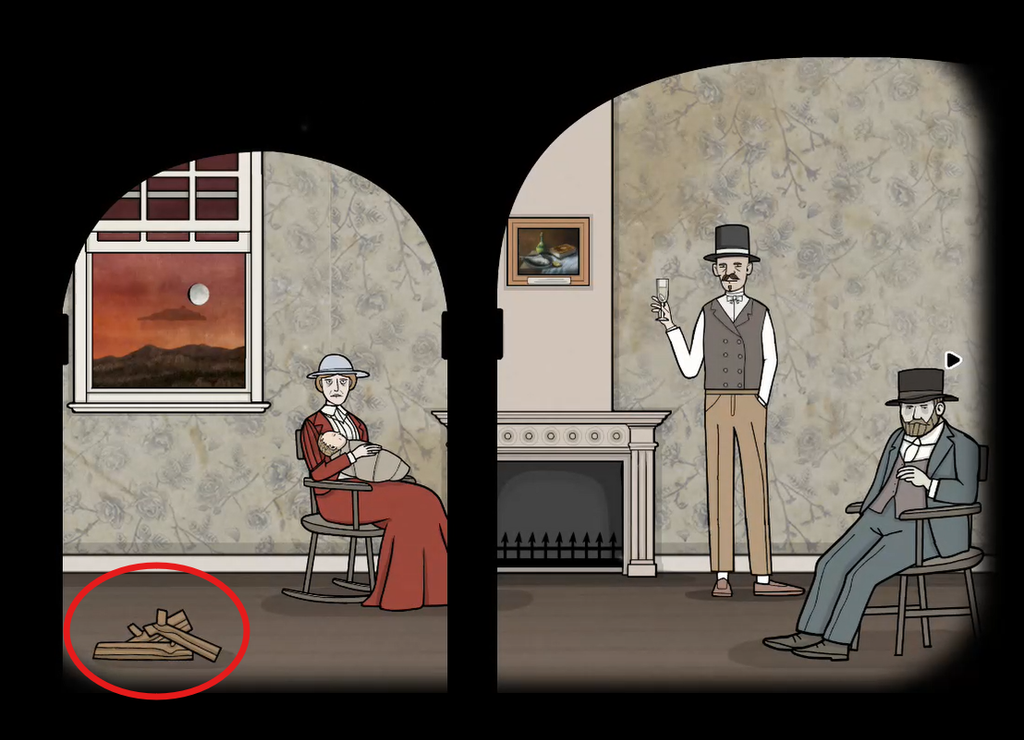
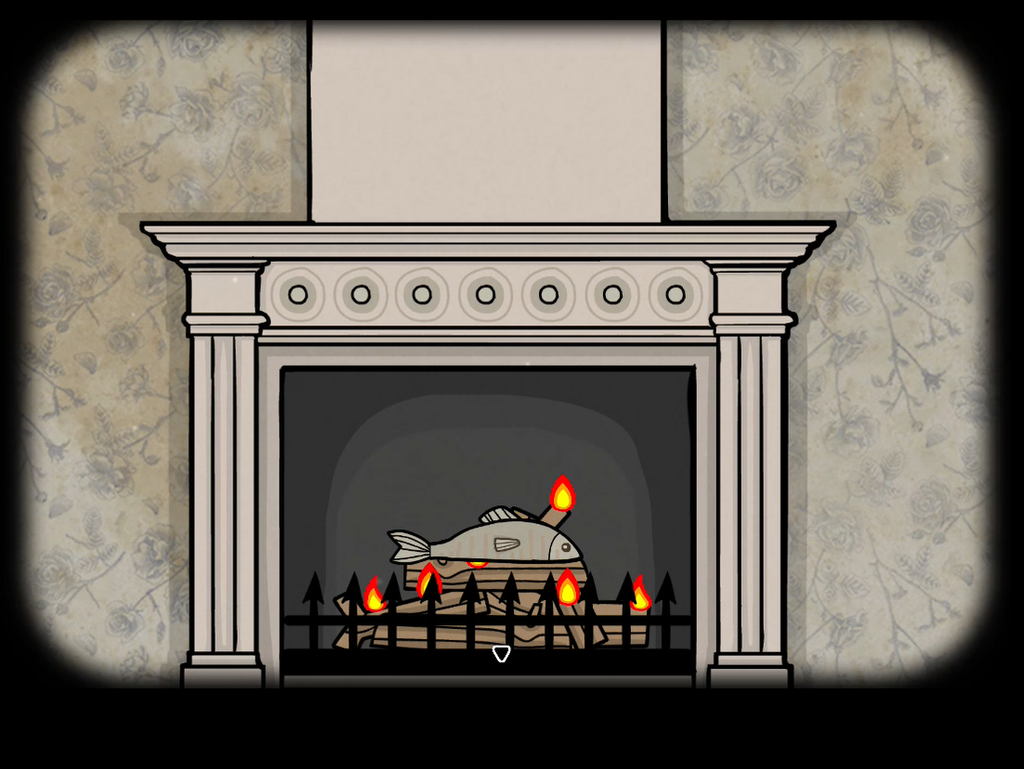
Click on the empty fireplace, then select the woodpile from your inventory and place it inside. Use the matches to light the wood. Select the fish and put it on the fireplace to grill it. Pick up the grilled fish.
Click on the round table again. Select the grilled fish from your inventory and click on the three toasts. Select the fly eggs and click on the toasts again to sprinkle them on top of the grilled fish. Use the spoon to pick up all three fish on the toasts one by one.
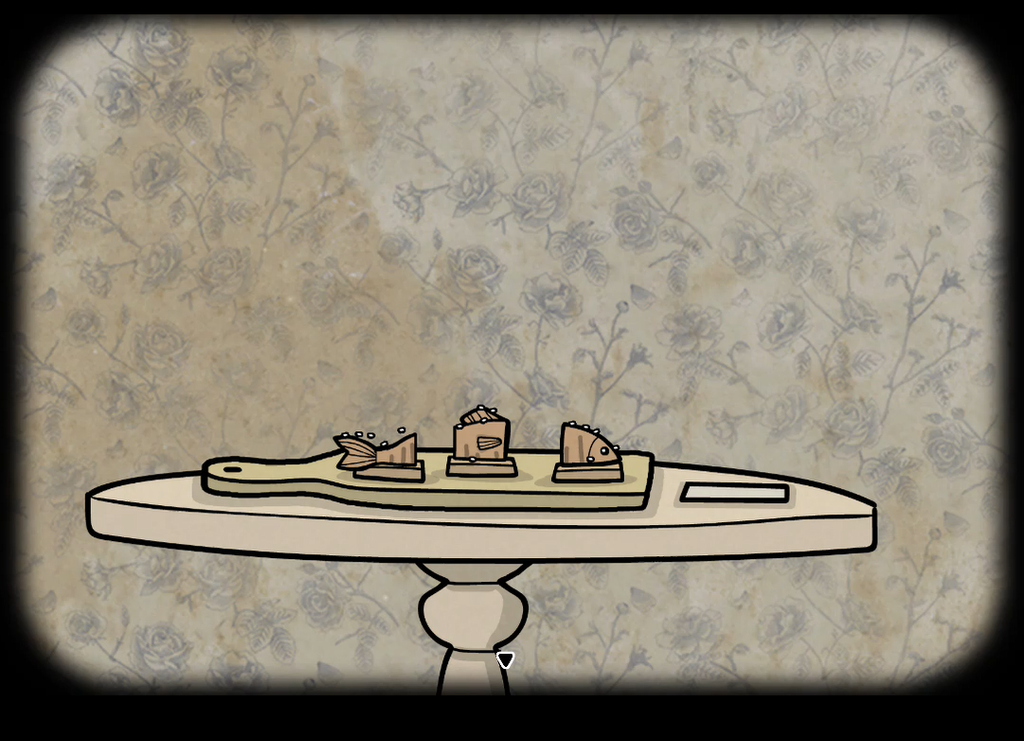
Serve each fish on toast to Aldous, William, and Alexandra.
The Speech
Click on Aldous. He will ask you to tap the glass so that he can start the speech. Select the spoon from the inventory and then click on the glass. As he continues, the baby’s cry interrupts his speech.
The Lullaby
Interact with Alexandra and follow her lullaby to complete a set of actions to make the baby fall asleep. With the lullaby as the hint, you will have to click on certain objects to complete the puzzle:
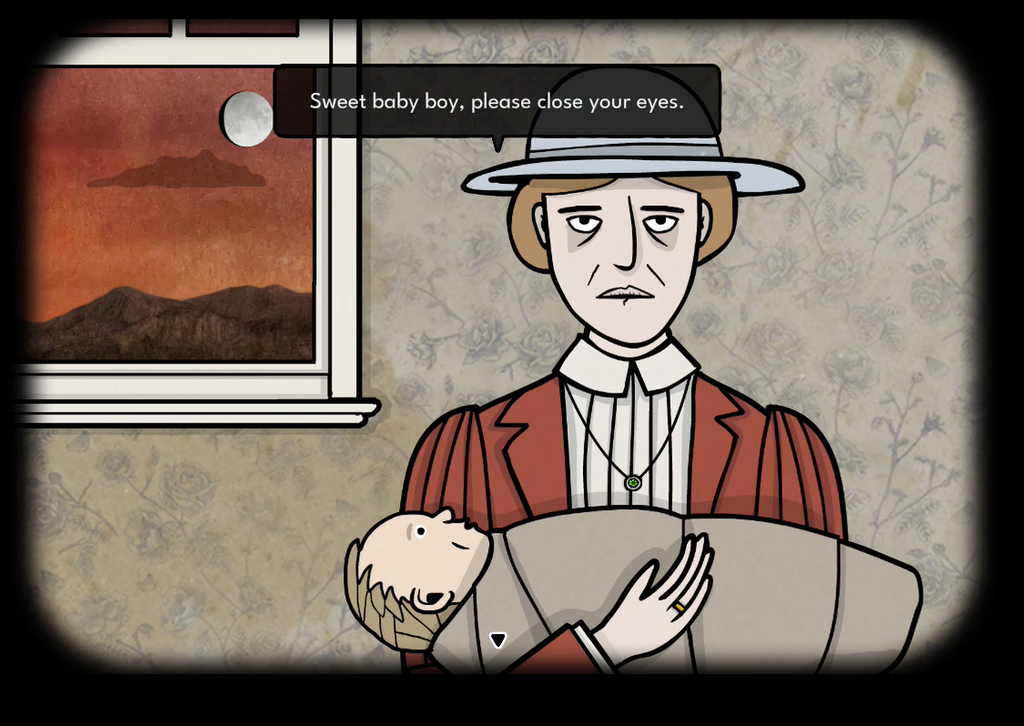
1. “Sweet baby boy, please close your eyes” – Click on the baby’s eyes.
2. “Sweet baby boy, make the moon rise” – The moon shown on the window
3. “Sweet baby boy, my sacrifice I hold” – Baby
4. “Sweet baby boy, my jewel of gold” – The gold ring on Alexandra’s finger
5. “Sweet baby boy, my gem of a child” – Alexandra’s green gem pendant
6. “Sweet baby boy, when was the last time I smiled?” – Alexandra’s lips
7. “Sweet baby boy, think of the clouds drifting by” – Clouds on the window
8. “Sweet baby boy, make your mother cry” – Alexandra’s eyes.
How to Wake William

As soon as Aldous welcomes his brother William, he falls asleep. You will have to wake William by solving a simple puzzle:
Click on his eye and then follow his eye movements to click on different parts of his body. If he looks up, click on his hat. If he looks down, click on his bow tie. If he looks to the right, click on his ear. Follow his eye movements to click on various parts of his body until he wakes up.
Night
Hallways: The Night Watch
Go to the kitchen and talk to Kate. She will ask you to make one final round of the hallways. If you notice anything strange while checking the hallways, return to the kitchen and ring the bell. If everything looks normal, click on any of the three candles to blow it out.
While exploring, watch out for the following anomalies in the hallways:
1. All paintings, especially William and Alexandra’s paintings.
2. The hallway that leads to the open crate. You might see the orange cat with her kill inside the crate.
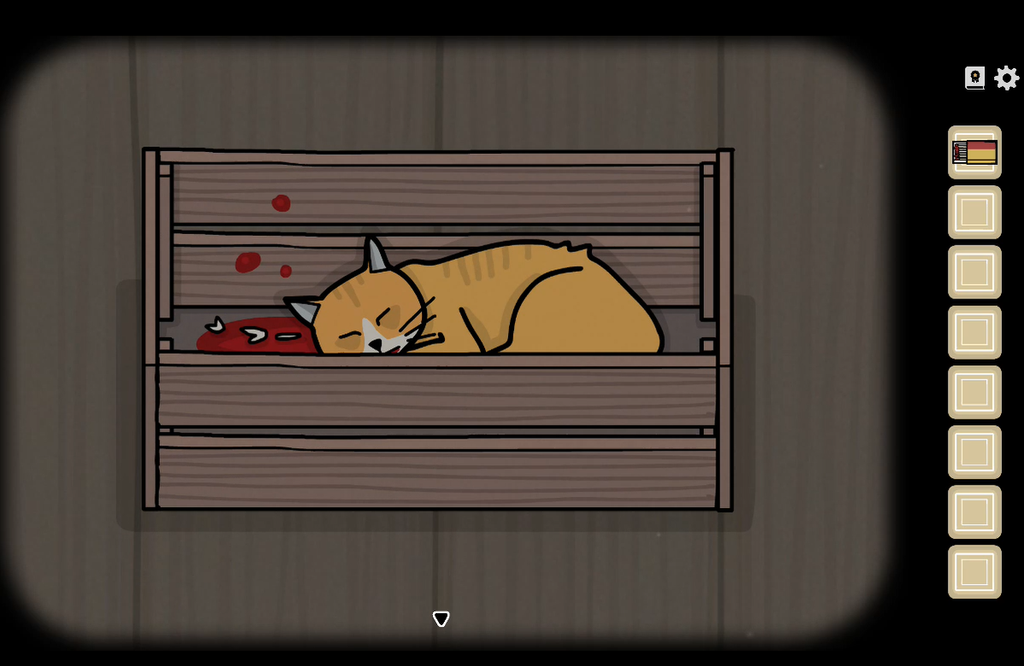
3. Also, don’t forget to interact with the stairs near the crate to check the windows.
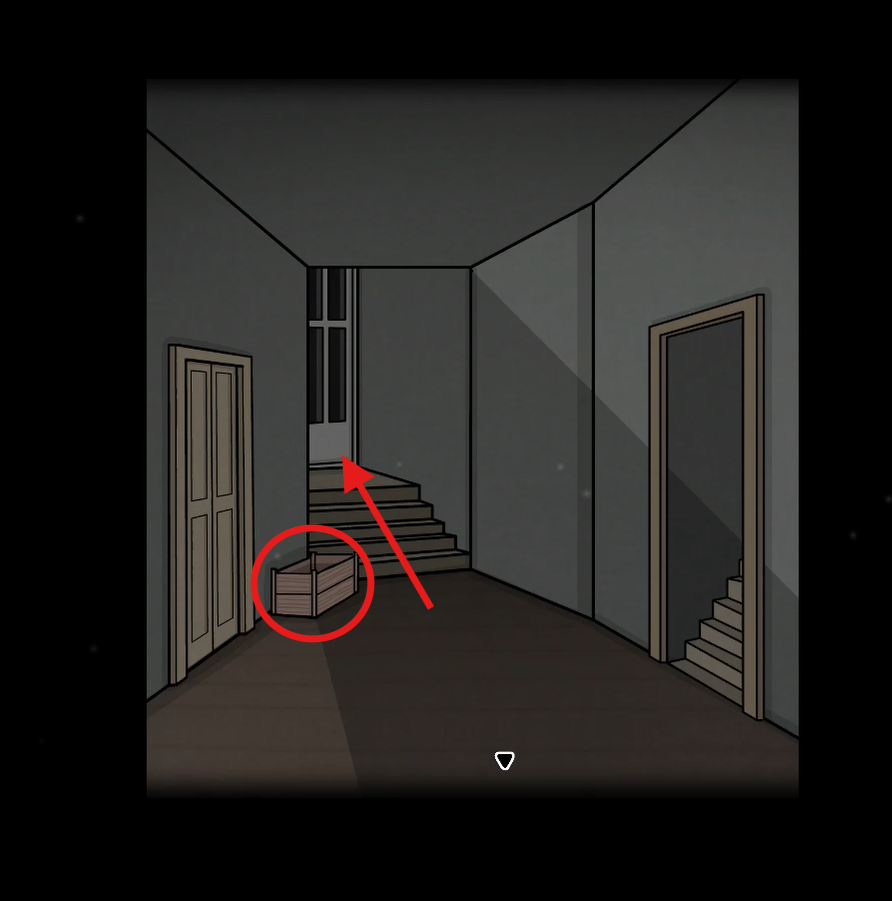
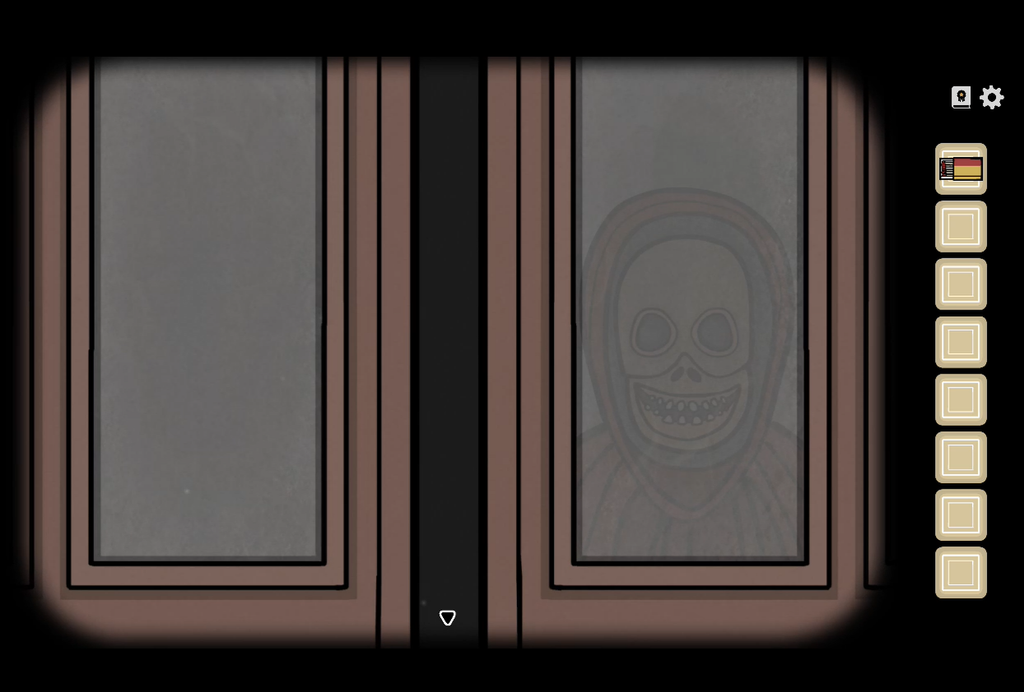
4. The terrace entrance near William’s painting. It will be slightly open. Click on it to check who’s hiding behind the glass door.
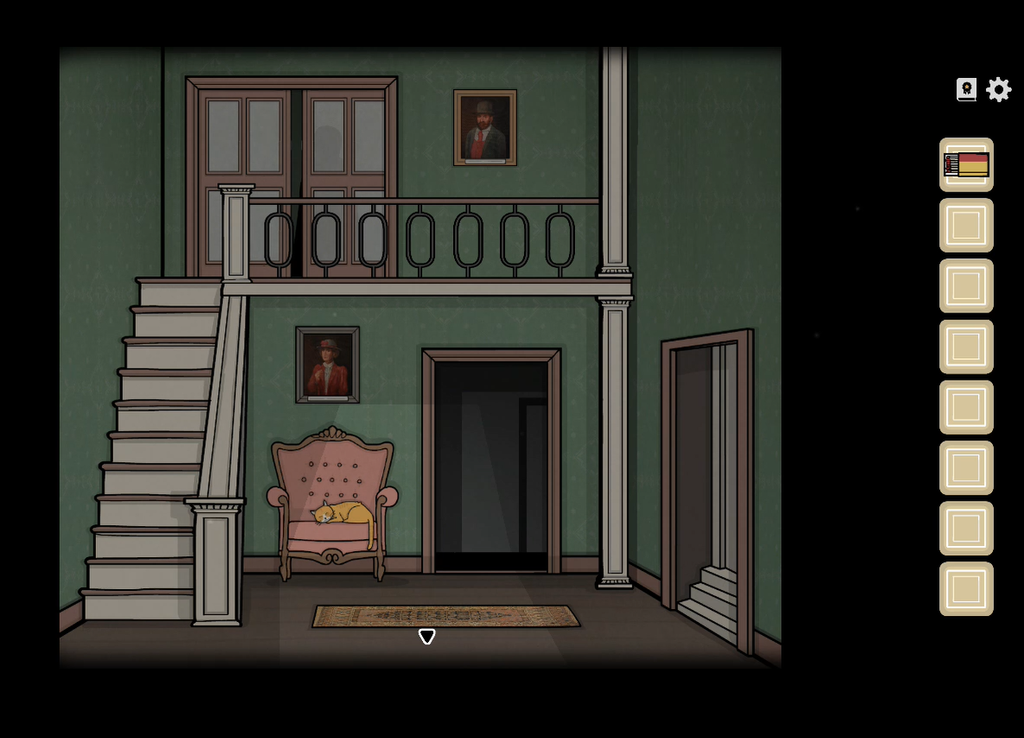
5. When you reach the entrance to Aldous’s room, you’ll find that someone is closing the door.
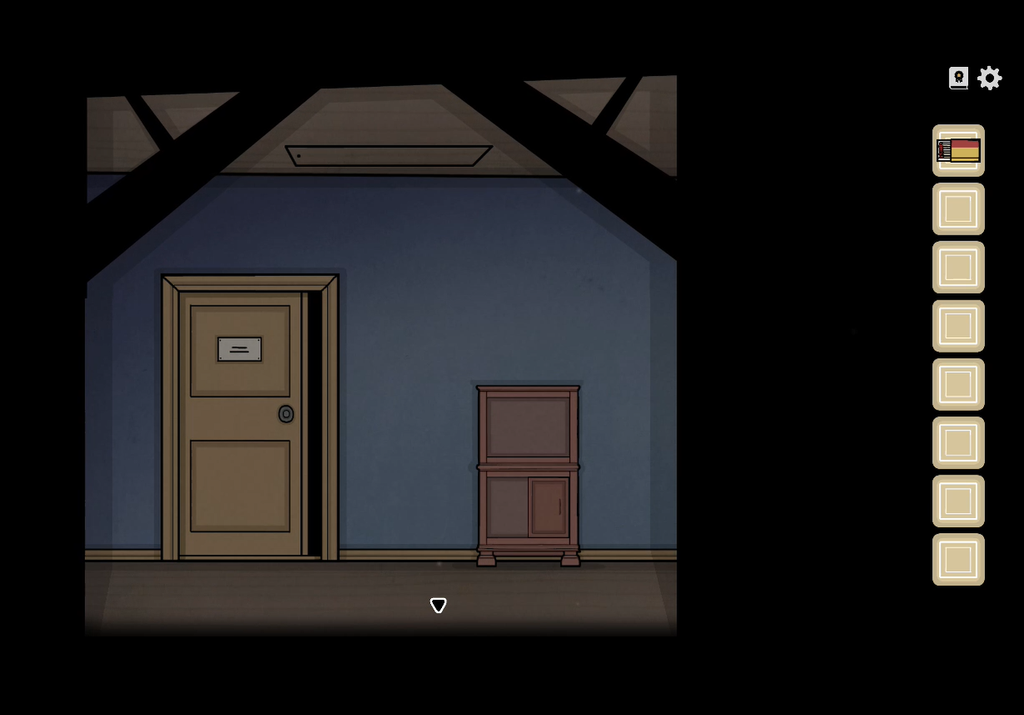
Once you extinguish all three candles, you have completed the task. Explore the hallways again to find a drunk William. Take the walking stick from him. It will be used to open the attic near Aldous’s room.
Attic: Searching the Attic
In the attic, collect all small statues. To obtain some of them, you will have to solve certain puzzles:
Sorting All Items
Click on the compartment tray on top of the table in the attic. This is a sorting puzzle, so you will need to place each item in the correct compartment. See the screenshot below for the correct solution.
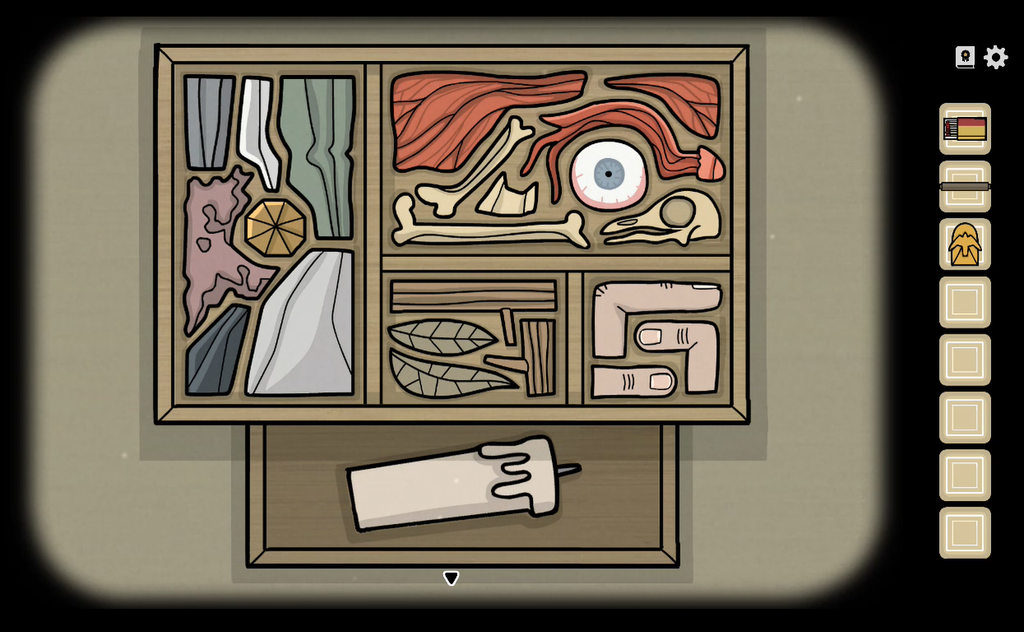
Once you complete the puzzle, a secret drawer will open, revealing a candle inside. Pick up the candle.
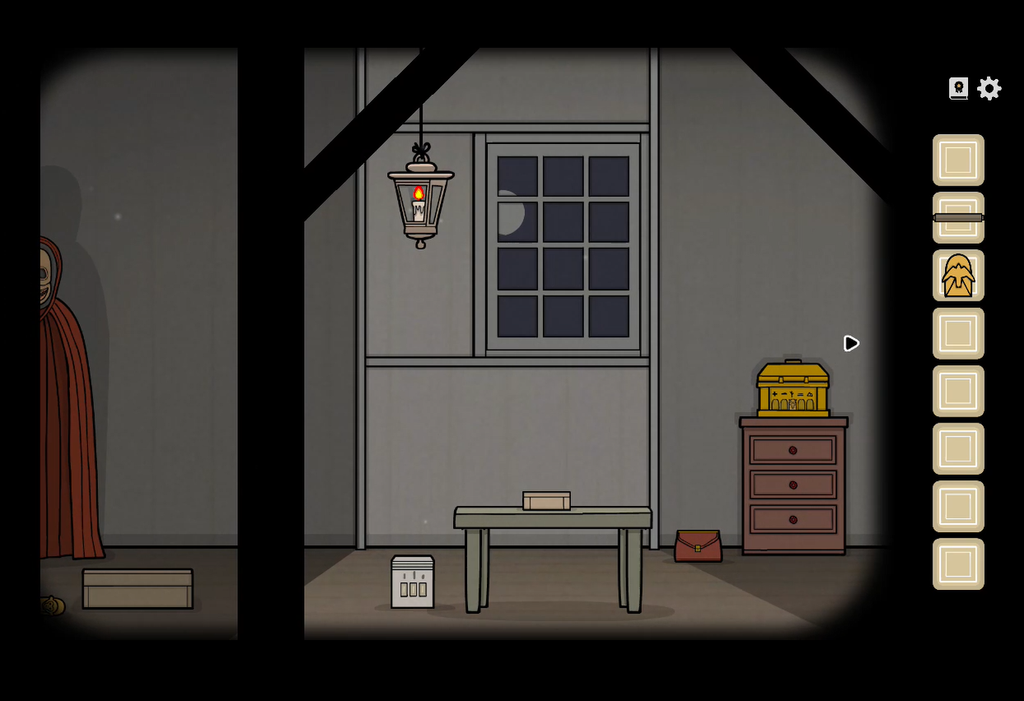
Place the candle in the glass lamp, then use the matches to light it. Using the lamp to light up the attic will reveal a box on the far right side of the screen and a special (creepy) guest.
Story Puzzle
Interact with the box on the far left side of the screen. Before opening it, pick up the small monkey statue.
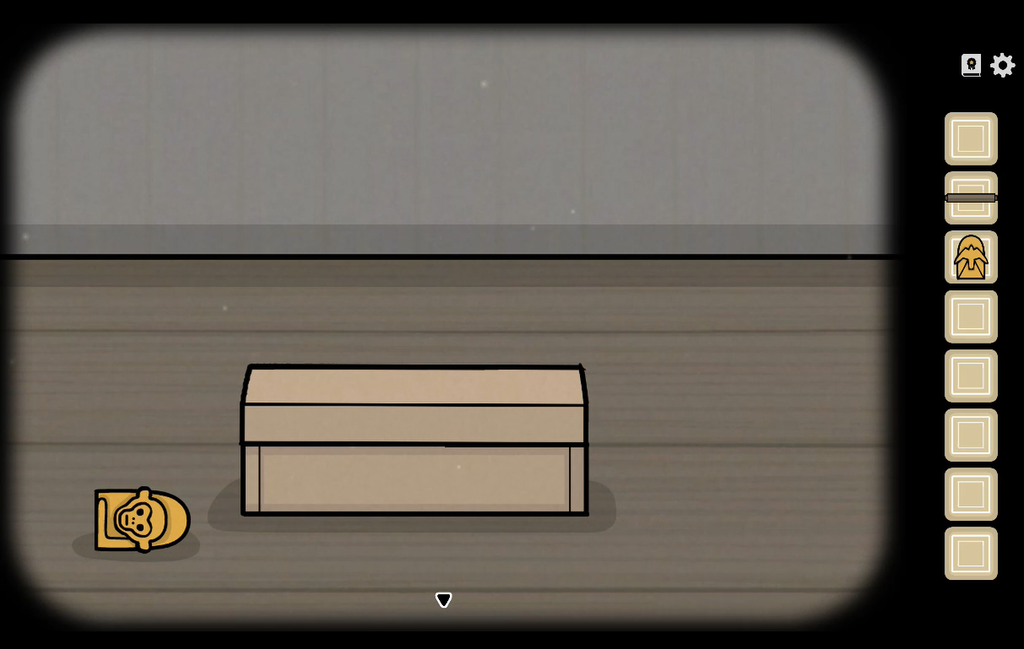
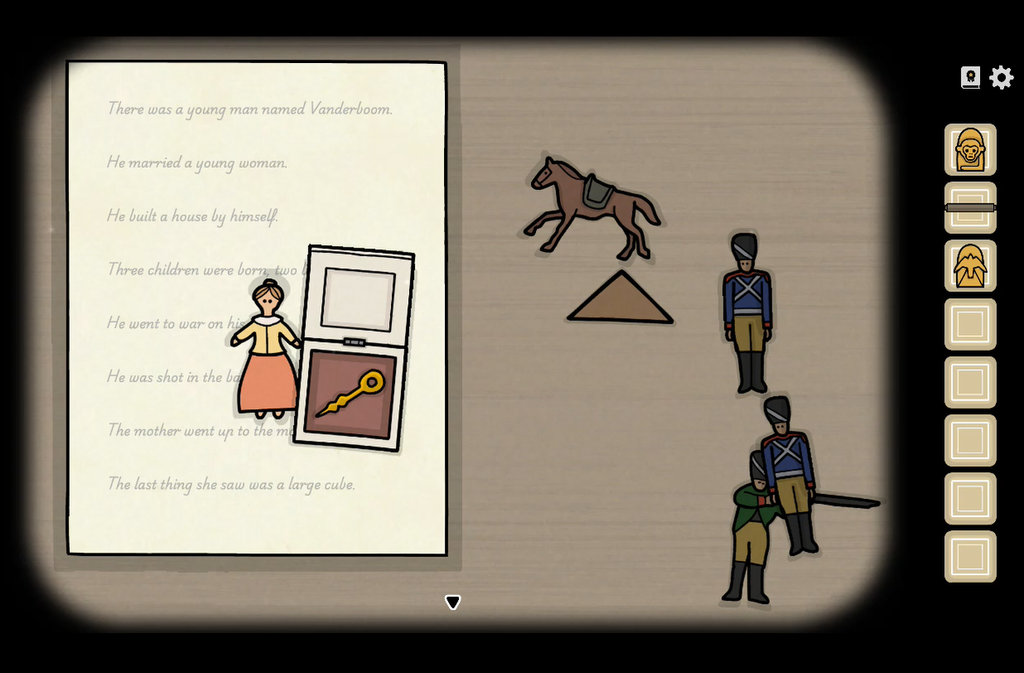
Open the box. Inside, you’ll find a piece of paper with a story written on it, along with seven figurines.
To solve the story puzzle, place the appropriate figurine on the piece of paper to match each line of the story. If the figurine matches the description correctly, that line will fade. Here’s how to solve the puzzle:
1. There was a young man named Vanderboom
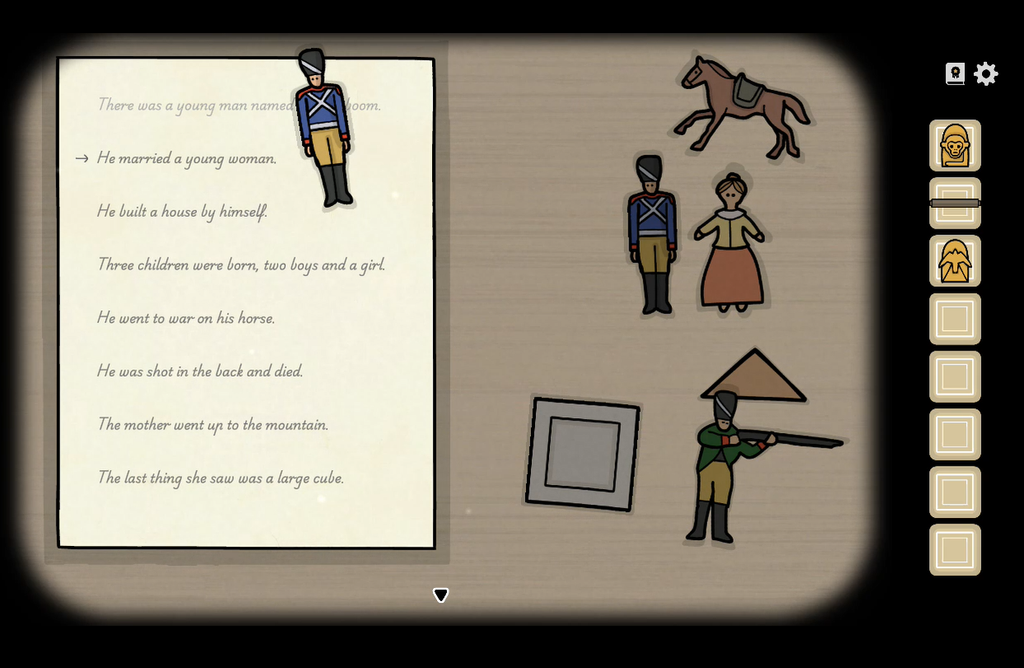
2. He married a young woman:
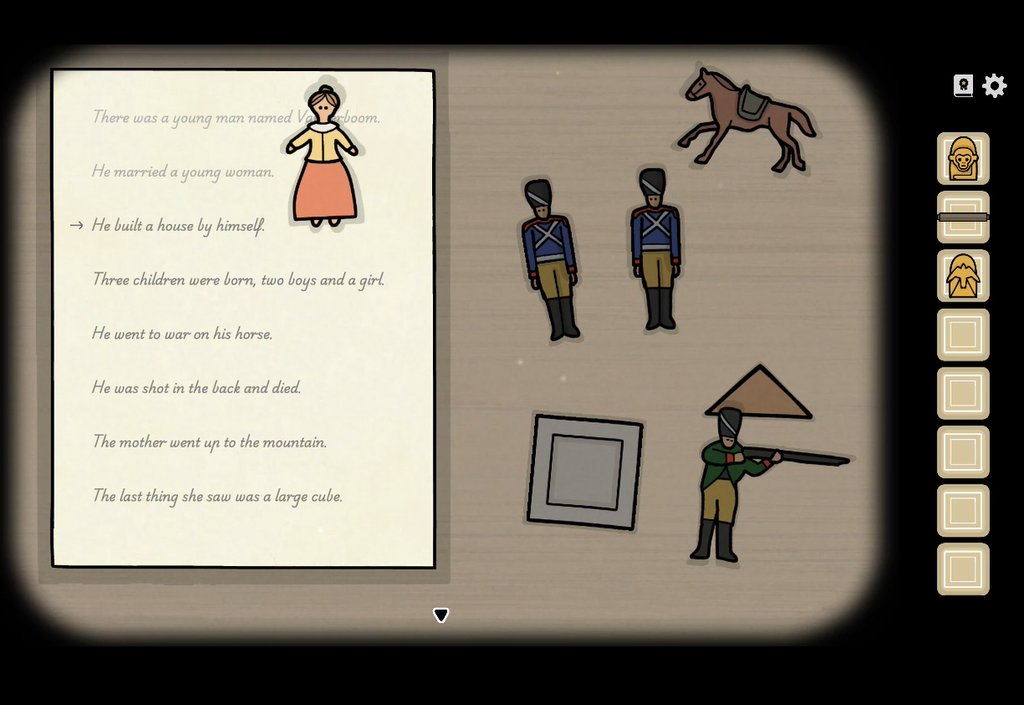
3. He built a house by himself:
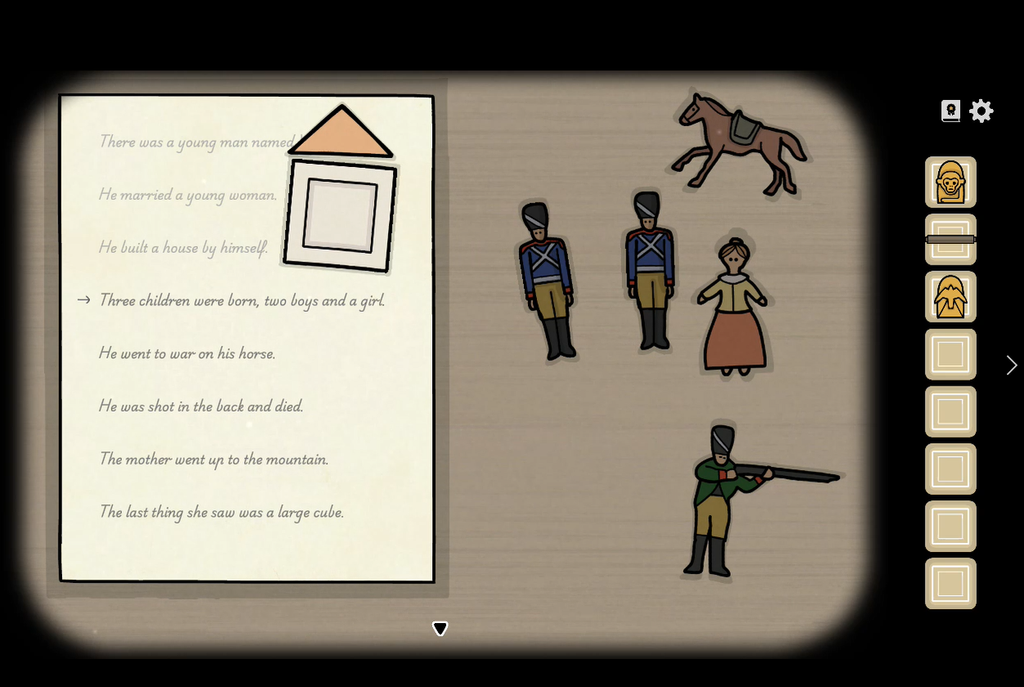
4. Three children were born, two boys and a girl:
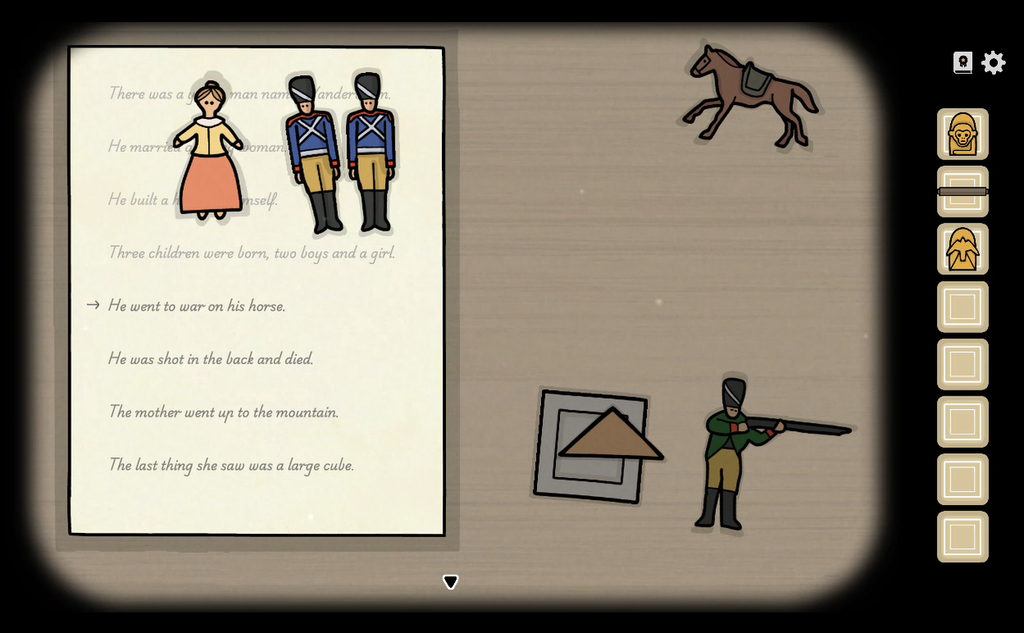
5. He went to war on his horse:
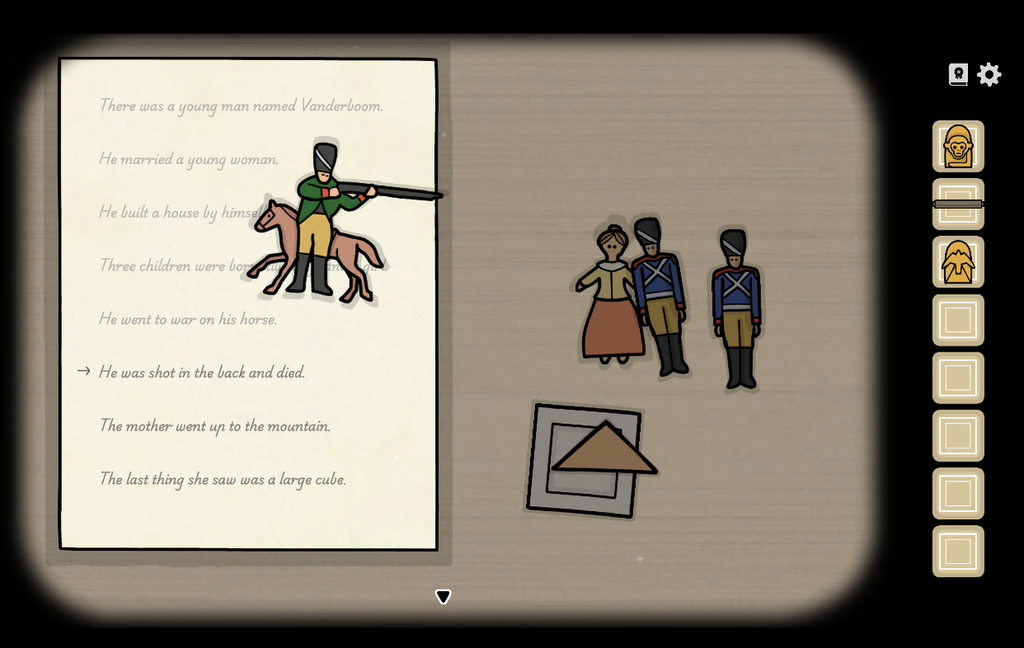
6. He was shot in the back and died:

7. The mother went up the mountain:
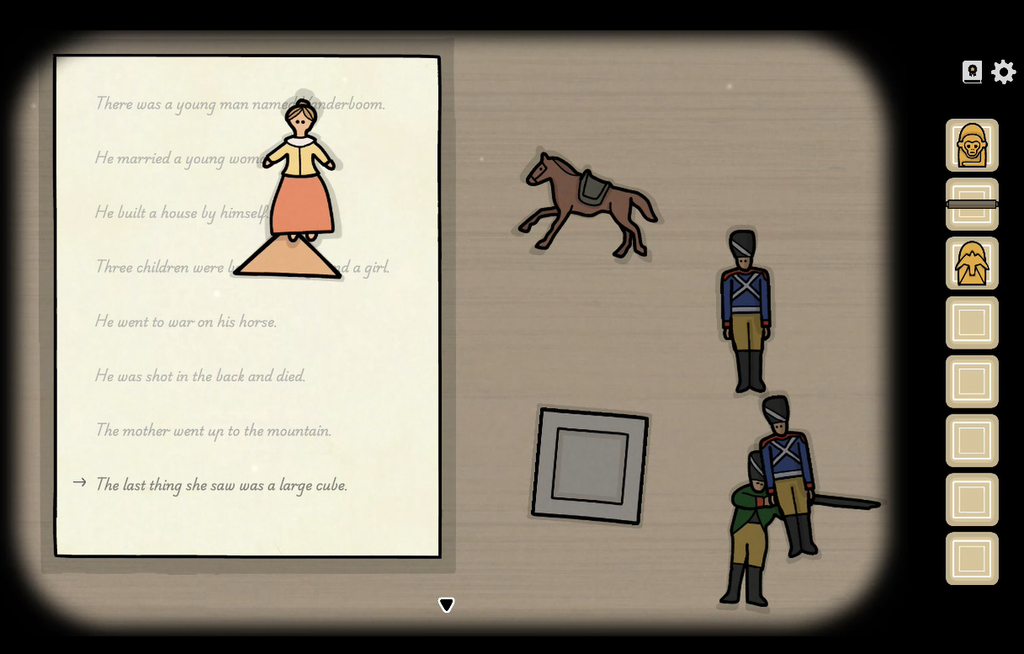
8. The last thing she saw was a large cube:
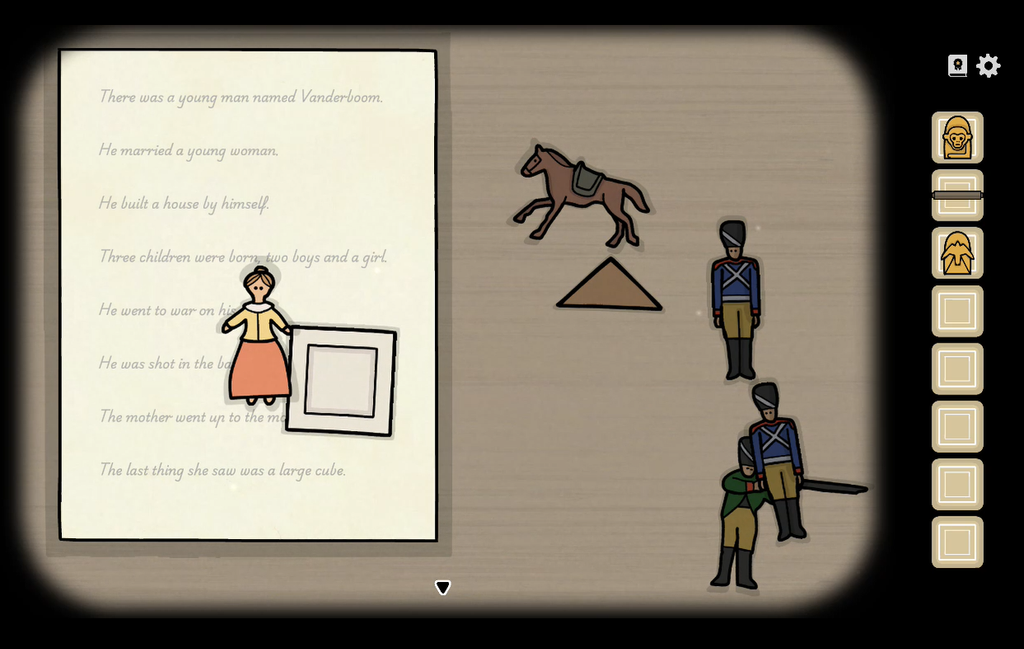
After placing the woman and the large cube on the paper, the cube will start shaking. Click to open it. Pick up the key.
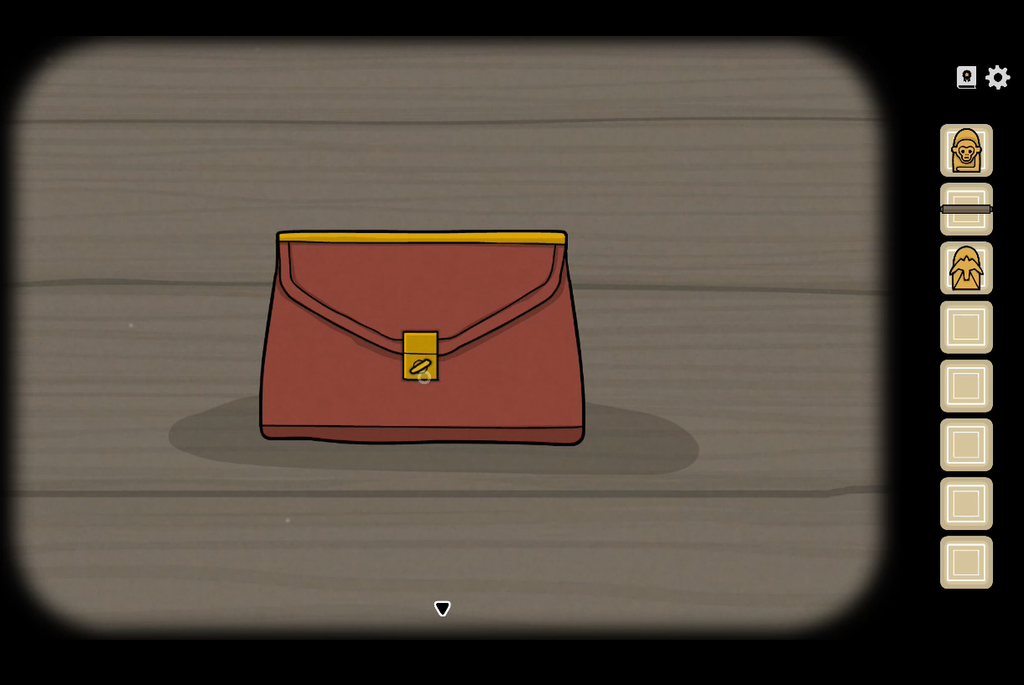
Use the key to open the red purse:
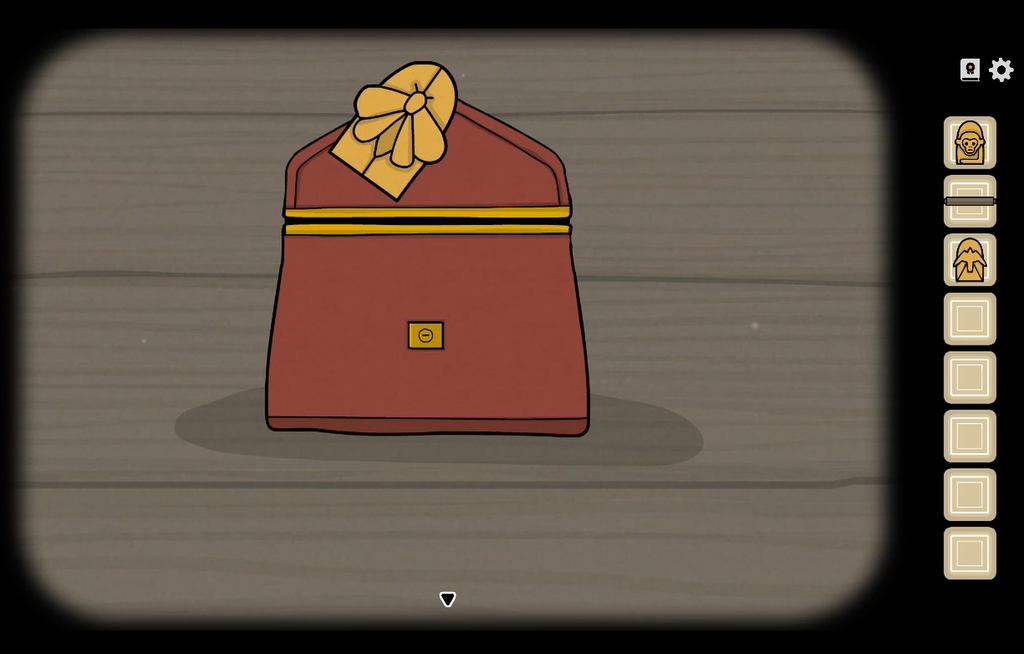
Inside the purse, you will find a small statue of a butterfly.
Chest of Drawers
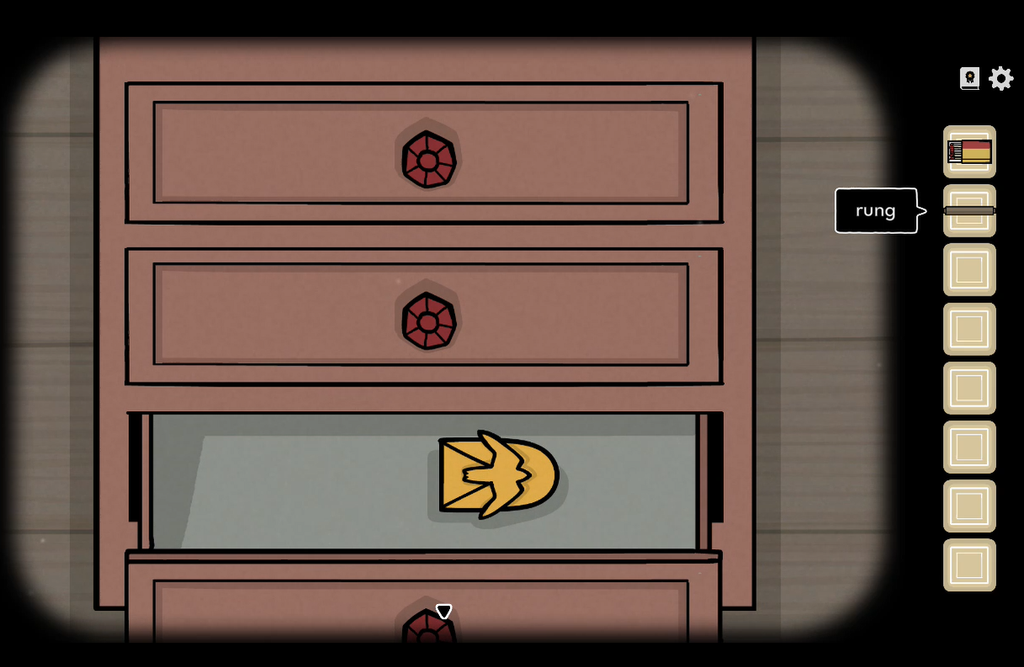
Interact with the chest of drawers in the attic. Open the middle drawer and take the rung of a ladder. Open the third drawer and pick up the small statue of an eagle:
Constellation Puzzle
Interact with the window to move the clouds. As you move them, you will notice changes in the environment. With each change in the environment, such as a Blood Moon, the lake turning dark, and a glittering house by the lake, you will also notice certain star patterns/constellations with these changes. Each environmental change is accompanied by a different star pattern or constellation. Note down the constellations, as they will be used to open the vertical box placed on the floor.
- Move the cloud to the left side to see the Blood Moon. Now note down the constellation/star pattern:
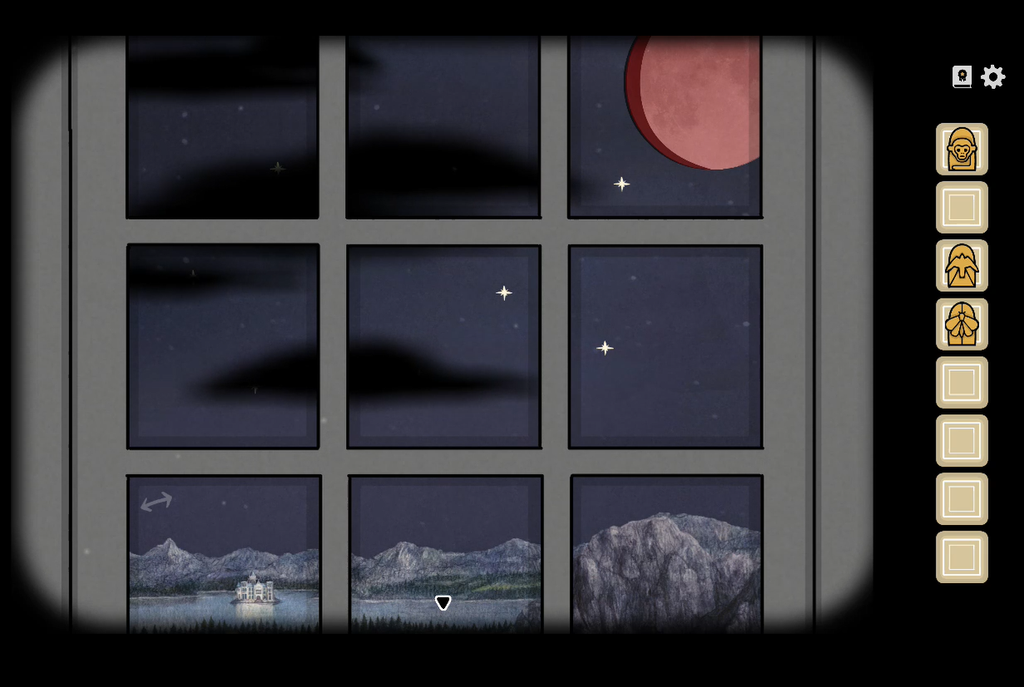
2. Keep moving the clouds until the lake waters turn dark. Note down the next constellation. You can view the screenshot below or take one.
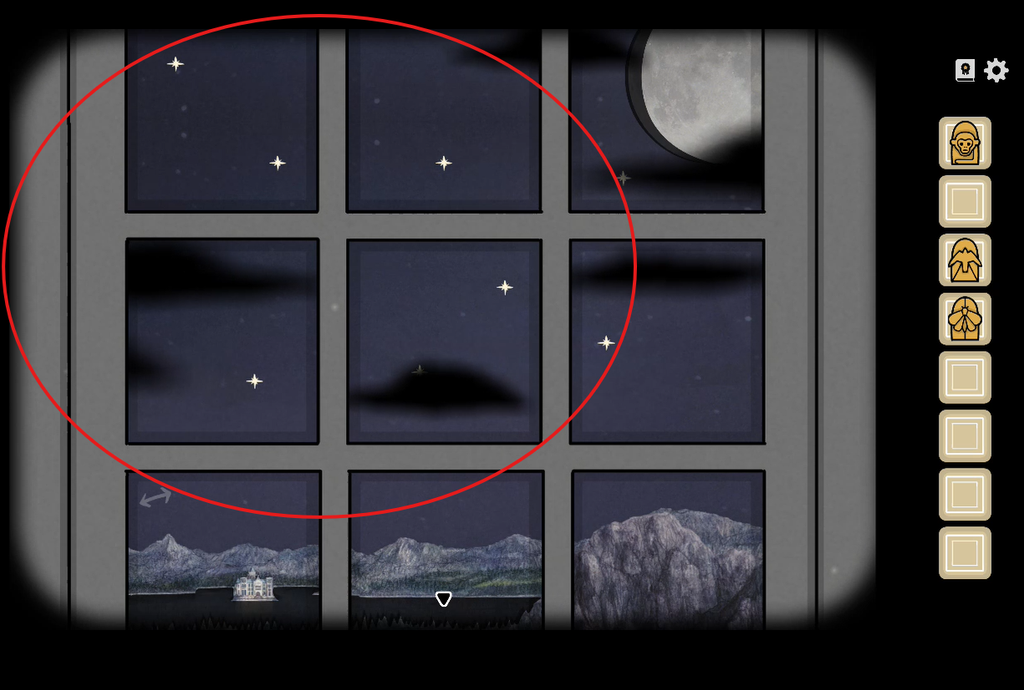
3. Keep moving the clouds from left to right to reveal the third constellation. You can see this constellation only when the house by the lake glitters.
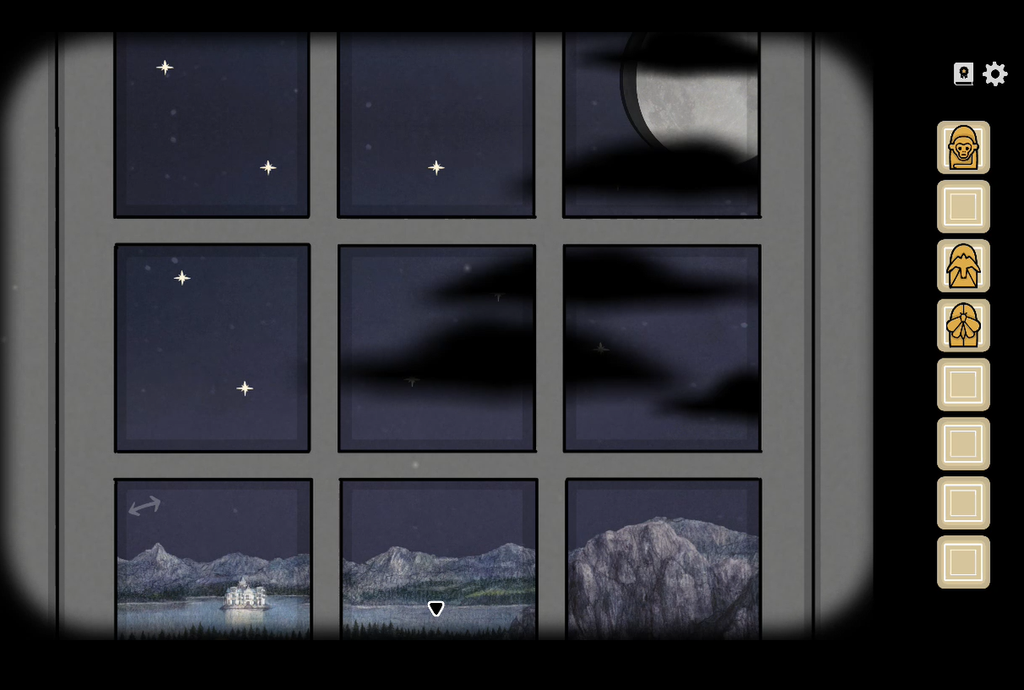
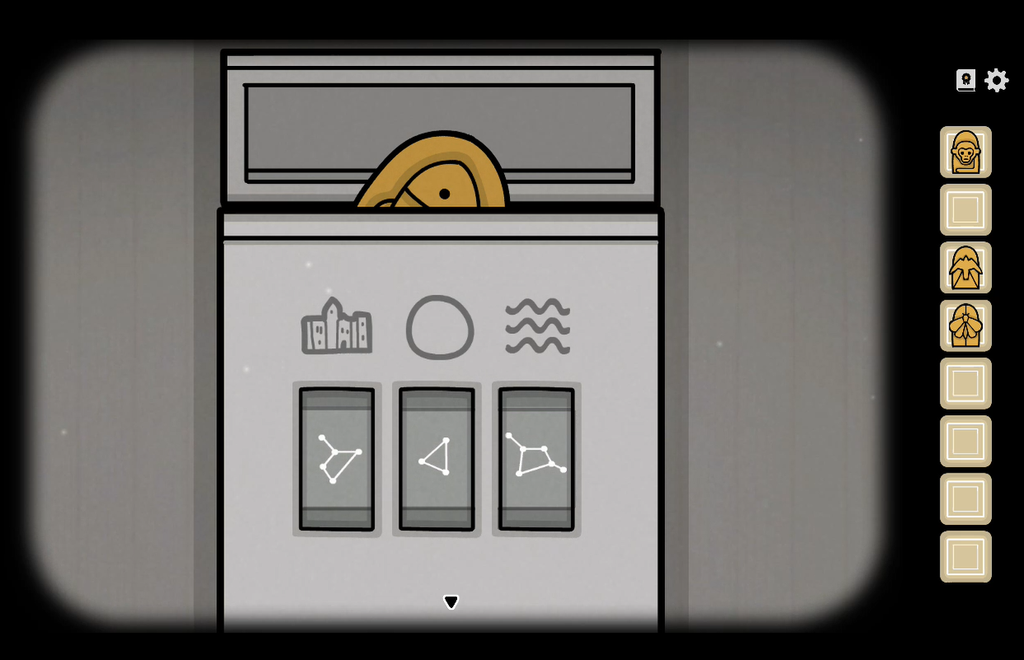
Now interact with the vertical box on the floor. You’ll see symbolic representations of the house, the Moon, and the lake water. Below each symbol, you can select the constellation.
For each symbol, select the constellation associated with it – the same constellations you noted down earlier while moving the clouds and observing the changes in the Moon, house, and water.
After selecting the correct constellations below each symbol, the box opens, revealing a statue of fish. Take the fish statue.
Now that you have collected all four small statues, interact with the golden box on top of the chest of drawers and place the statues in the four empty slots. Pay attention to the symbols representing the elements of nature above each slot, from left to right:
Flower, Cloud, Tree, Water, Mountains
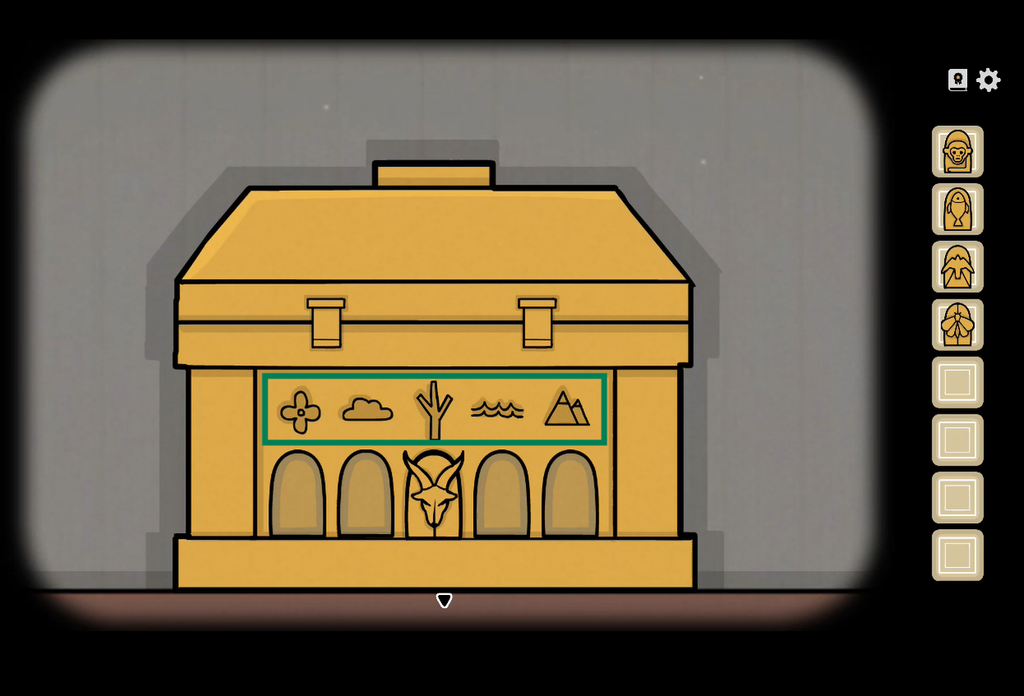
Place each statue in the slot corresponding to its associated element of nature.
1. Flower: Butterfly
2. Cloud: Bird/Eagle
3. Water: Fish
4. Tree: Monkey
5. Mountains: Mountain Goat
Note: The mountain goat statue is currently placed under the tree symbol. Move it and place it below the mountain symbol.
Placing all statues under their correct corresponding symbols will unlock the box. Take the second ladder rung and the scroll from the box.
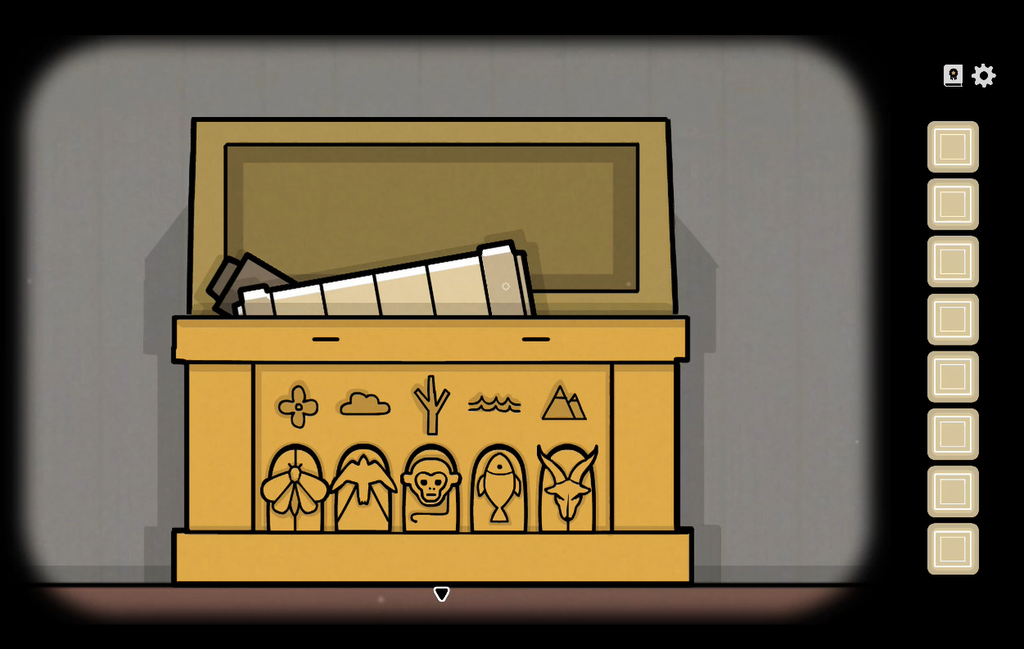
Now place both rungs on the broken ladder on the far right side of the screen.

The repaired ladder will lead to a secret chamber. Slide open the door to the secret chamber for a jump scare!