Oboro No Ichi Guide
Oboro No Ichi is a cozy management and simulation game developed and published by The Laba. The game is heavily inspired by traditional Japanese folklore and village life. You will be building and managing a spiritual night market to welcome wandering spirits, magical creatures, and lost souls.
Oboro No Ichi is absolutely beautiful, almost beyond words! I can’t even begin to describe how gorgeous it is. It is still in Early Access, but don’t let that stop you from giving it a try. You can download it on Steam and experience it for yourself. So, without further ado, let’s get started with our beginner’s guide:
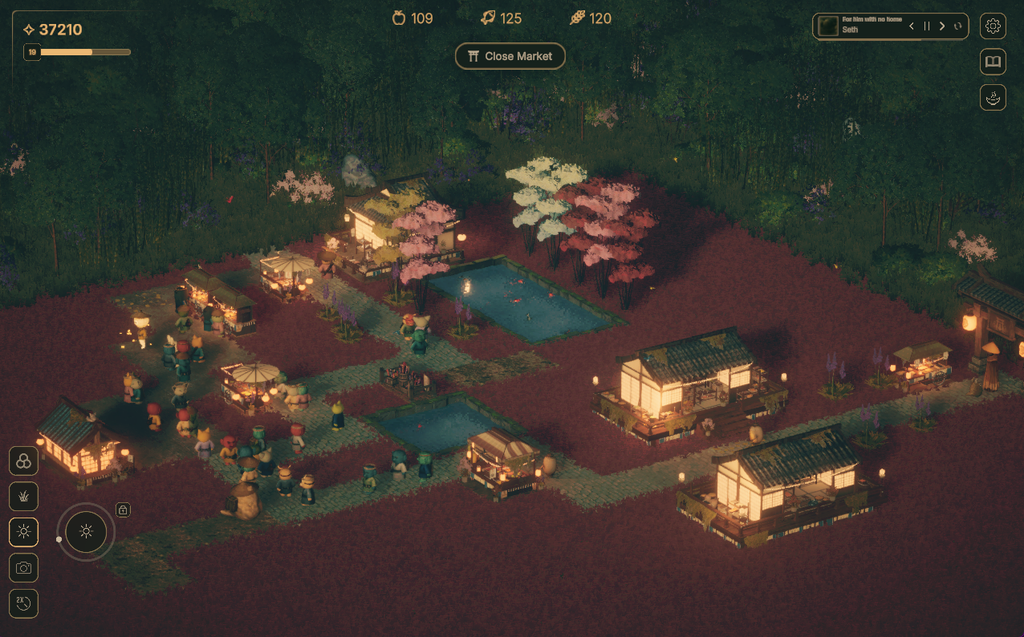
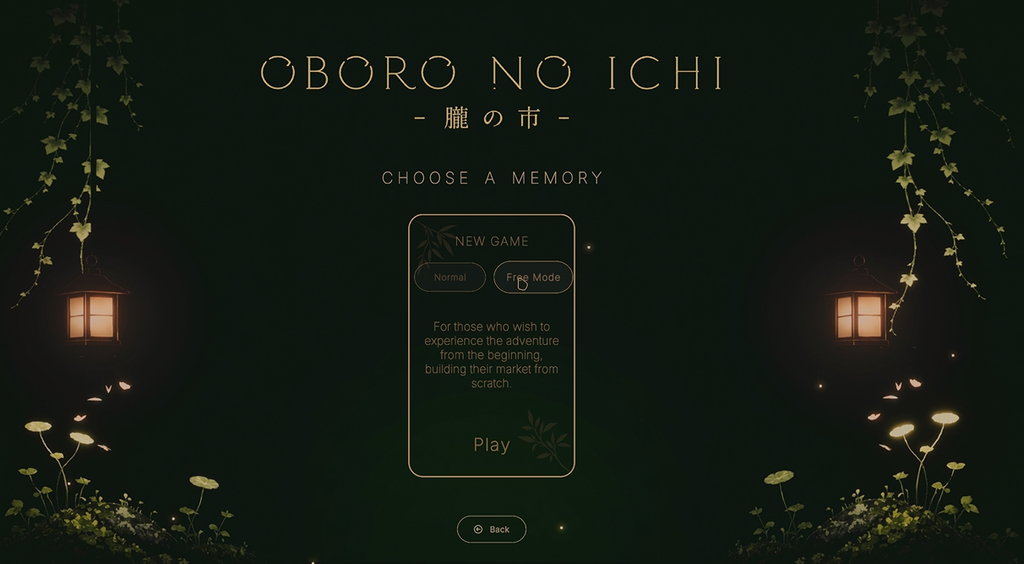
When choosing a new game, you will have two game modes to choose from: Normal and Free Mode. In Normal mode, you will be building your market from scratch and unlocking items, including buildings and decor, as you progress through each level. In Free Mode, all items will be unlocked right from the beginning, and you will have unlimited resources to build your market. If you are just starting Oboro No Ichi, start with Normal mode, which has a helpful but short tutorial on building basics. Plus, unlocking new items and buildings as you progress is much more rewarding than having everything handed to you from the start.
Simple controls make the game even more engaging.
– Hold the middle mouse button to drag and move the camera.
– Scroll the mouse wheel to zoom in/zoom out.
– Hold the right mouse button and drag to rotate the camera.
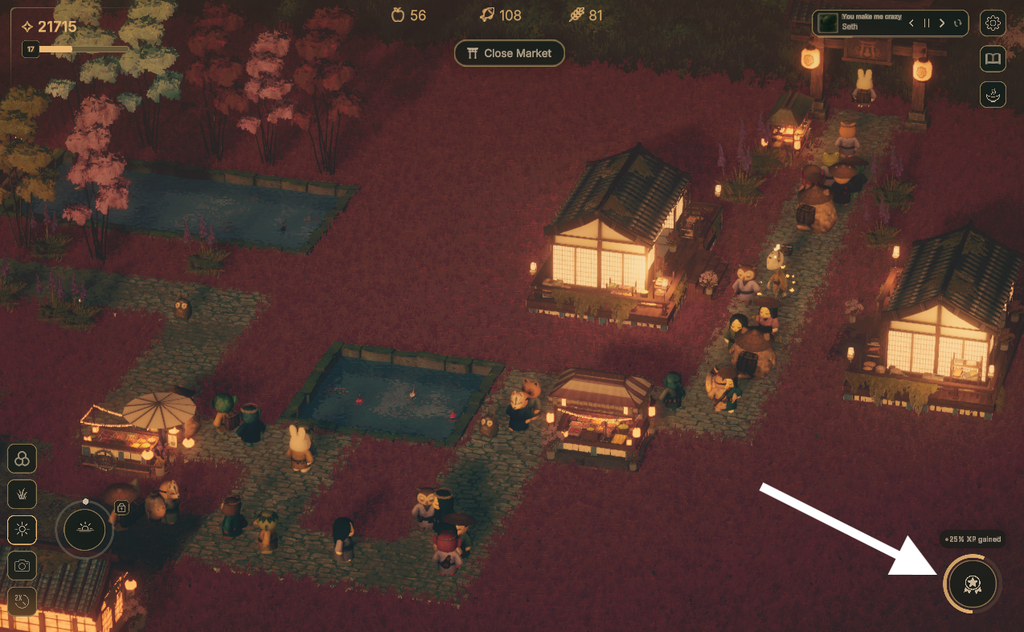
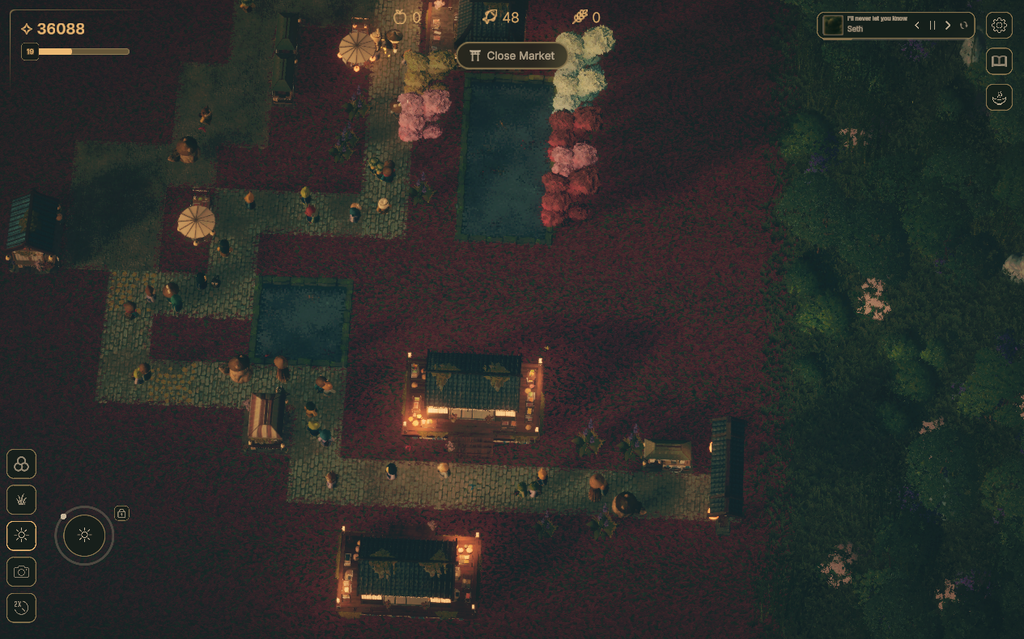
Holding the right mouse button and then zooming out using the scroll wheel, you can get a complete top-down view of your market (see screenshot below):
Quick Access
Build Paths for Your Market
Your market needs roads to connect buildings and stalls, allowing customers to move around and access different areas. Your wandering-spirit customers need a way to reach their favorite stalls to buy resources, so build a proper path network.
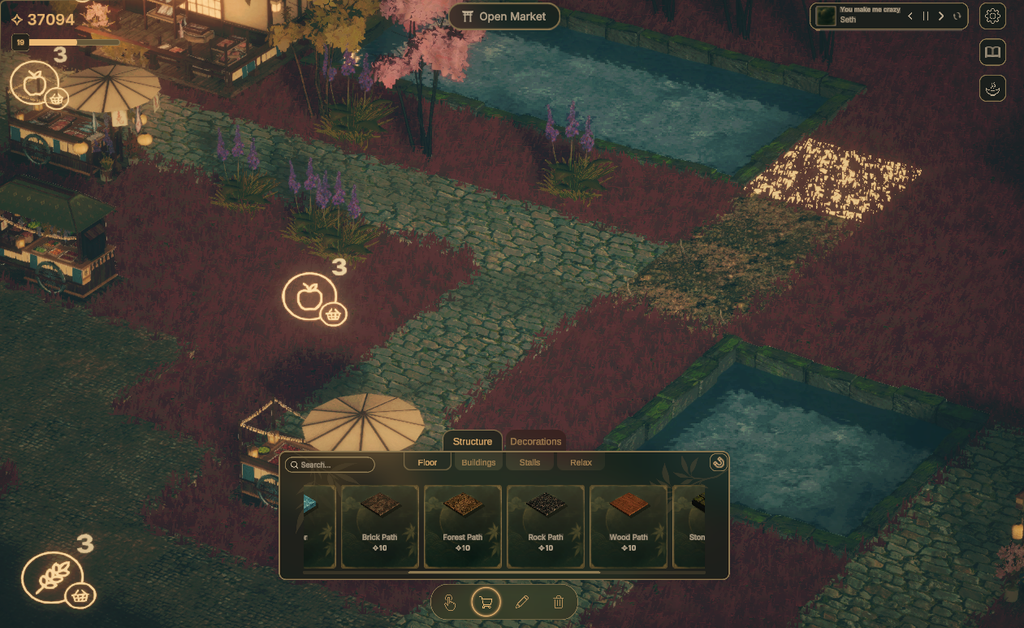
At the bottom of the screen, click Shop (cart icon) > Floor. Choose a path and click on the grass to place it. To stop placing a tile, right-click anywhere on the grass. Each path tile costs 10 in-game currency. There are several path styles to choose from, including Mossy Stone, Cobblestone, Brick, Forest, Rock, and Wood. Pick whichever style you like, but make sure the paths are properly laid out and connect the stalls and other buildings. In the tutorial, only the Mossy Stone path will be unlocked. As you progress and level up, you will unlock more path styles.
The Main Entrance
When the market opens, customers will enter through the main entrance, so they will start arriving from wherever you place it.
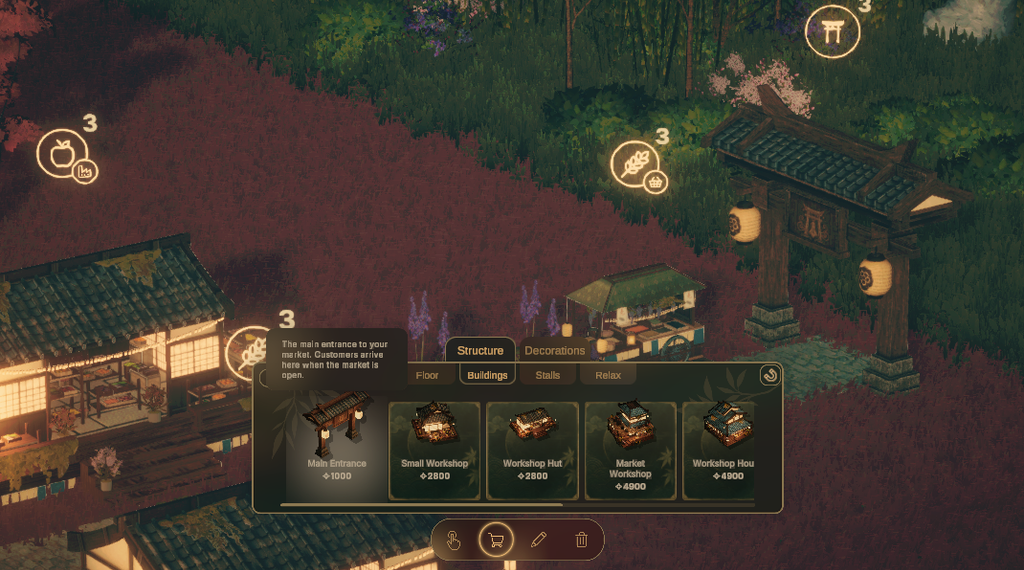
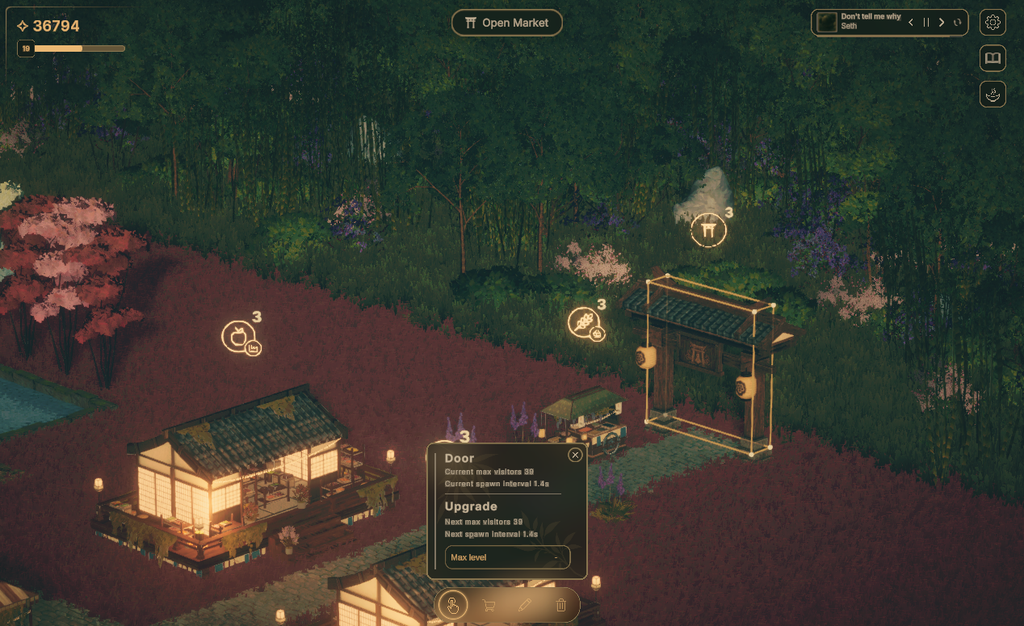
You will have to spend 1000 in-game currency to buy it. You can also upgrade it to increase max visitors and expedite the spawn interval. You can find the main entrance in Structure > Buildings.
Resource Building/Workshop
You must build a workshop first to start selling resources.
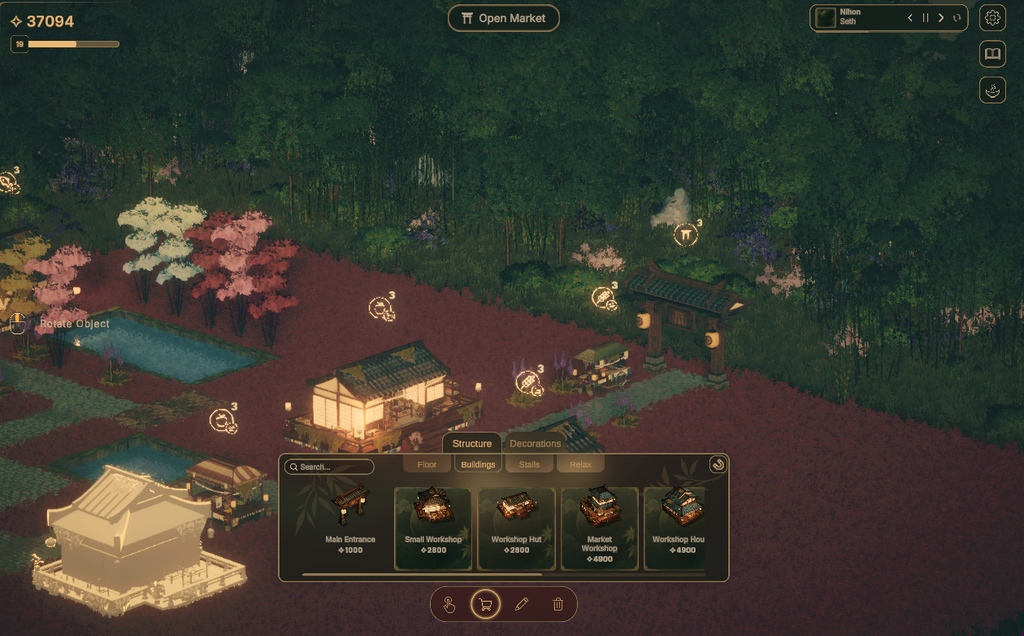
A workshop is a resource building that produces the resources sold at your stalls. Under Buildings, choose a workshop and place it anywhere you like.
Stalls
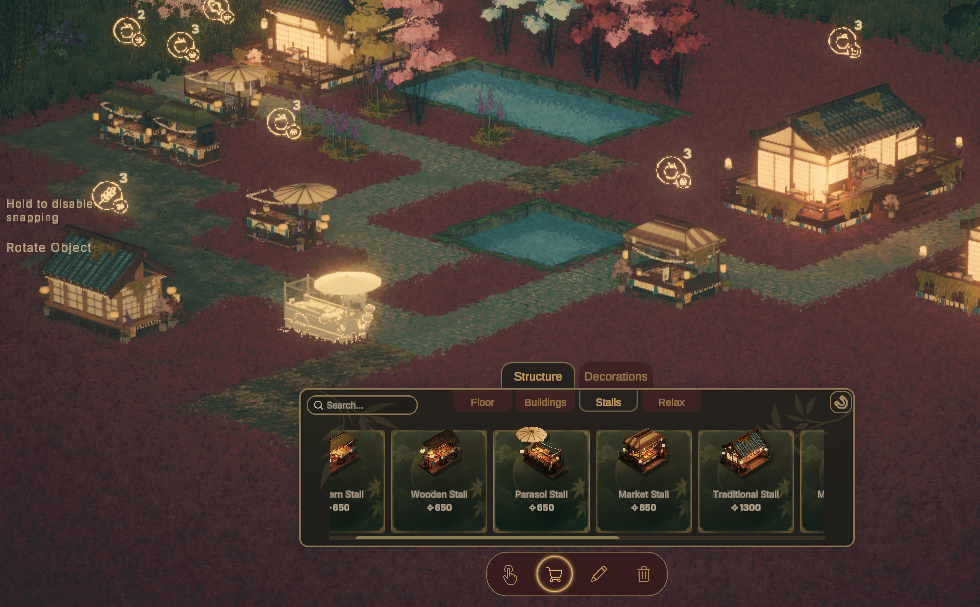
Place stalls to sell resources to your customers. Stalls will need resources to sell, so place them after placing the workshop. A stall can be placed next to a road, unlike a workshop, which can be placed anywhere.
Decorations
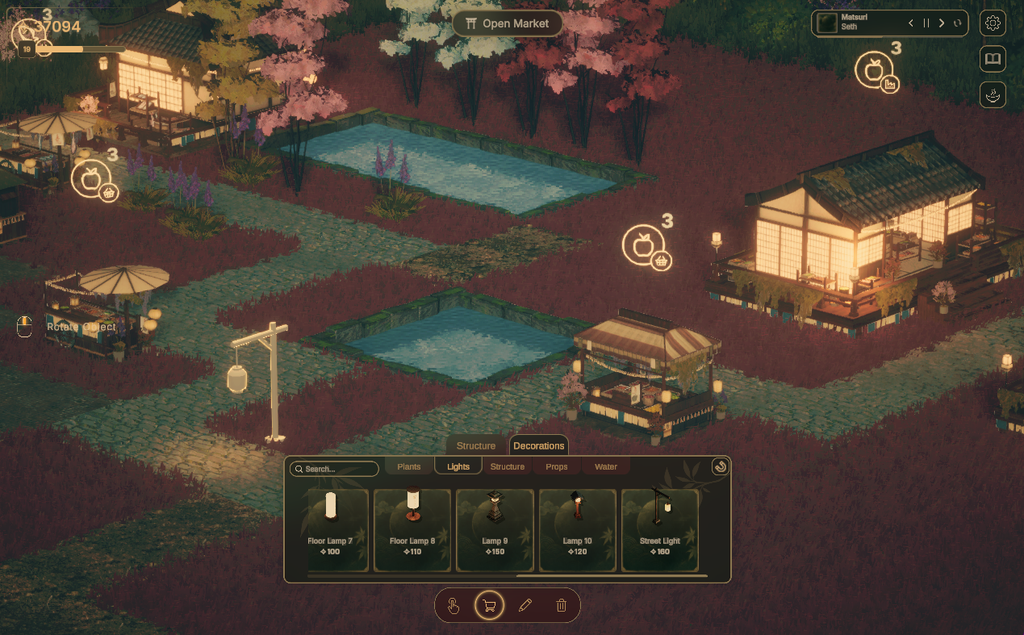
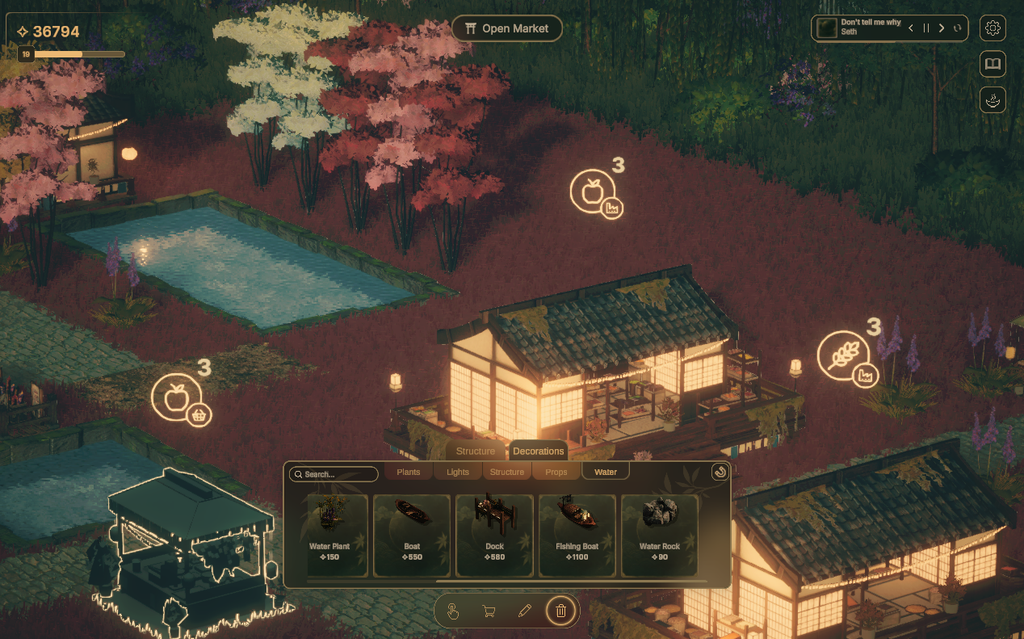
You can decorate your market with plants, lights, structures, props, and water features. Decorations are further categorized into:
Plants: Contains plant sets and trees.
Lights: Various types of floor lamps and street lights.
Structures: Memorial sets and gates. The gates are different from the entrance gates and are only for decorative purposes.
Props: Flagpoles, signboards, fireworks, and fences.
Water: Lotuses, water plants, Nagashi Doro, Fishing boats, docks, and water rocks.
To place water decorations, you will first need to add water tiles, which are available under Structure > Floor.
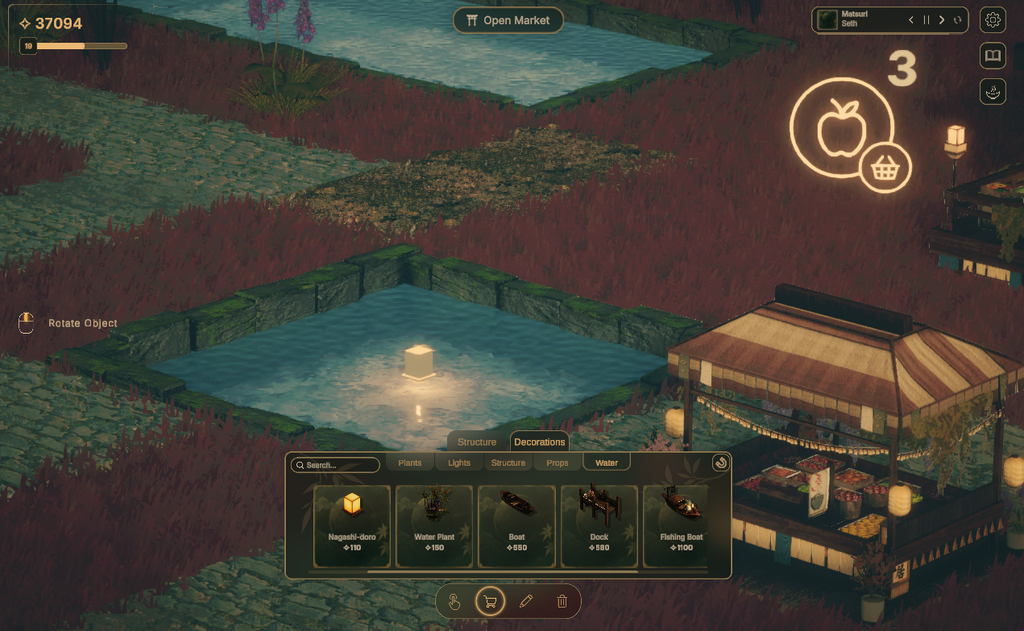
Keep in mind that decorations are purely cosmetic and do not generate revenue or increase your sales.
Setting Up Production Buildings and Stalls
Now that you know what each building does, it’s time to set up your production buildings and get the stalls ready for customers. To start setting up, you will have to be in build mode. Don’t click on “Open Market” until you have set up all production buildings and stalls.
1. Start building a simple path from one end of the forest to another. You can later expand your roads as you build more and more stalls along them. Click on the Shopping Cart icon > Structure > Floor and choose a path.
2. Build a Workshop. You can place it anywhere on the grass.
3. Build stalls next to paths, as customers can only walk along paths when visiting stalls to purchase resources.
4. Click on the hand icon at the bottom of the screen to activate Select mode, then click on a workshop to select it. From the workshop’s menu card, choose one of the three available resources: Fresh, Protein, or Grain.
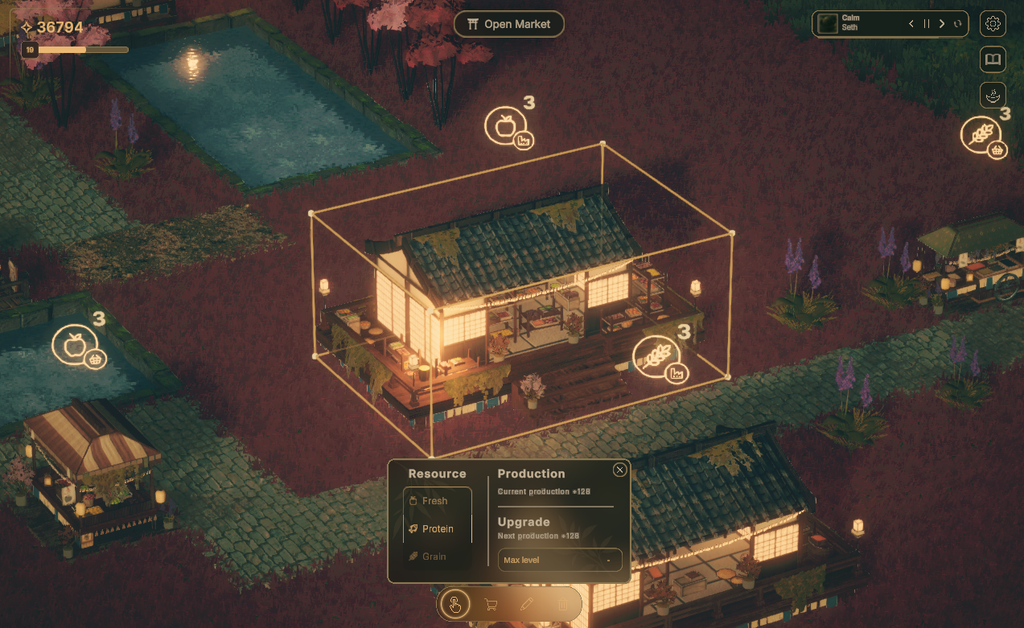
The workshop will produce the selected resource only when the market is open. The same menu card also has a Production section, where you can check the current production rate and click Upgrade to increase production for an in-game cost.
5. After choosing a resource for your workshop, it’s time to choose the same resource in your stall. With the select mode still active, click on a stall and select the same resource that you have selected in the workshop. Setting a stall to the same resource as the workshop lets you sell what the workshop produces when the market is open. A stall’s menu card displays its current selling price. You can also upgrade the stall to increase the price at which you sell resources.
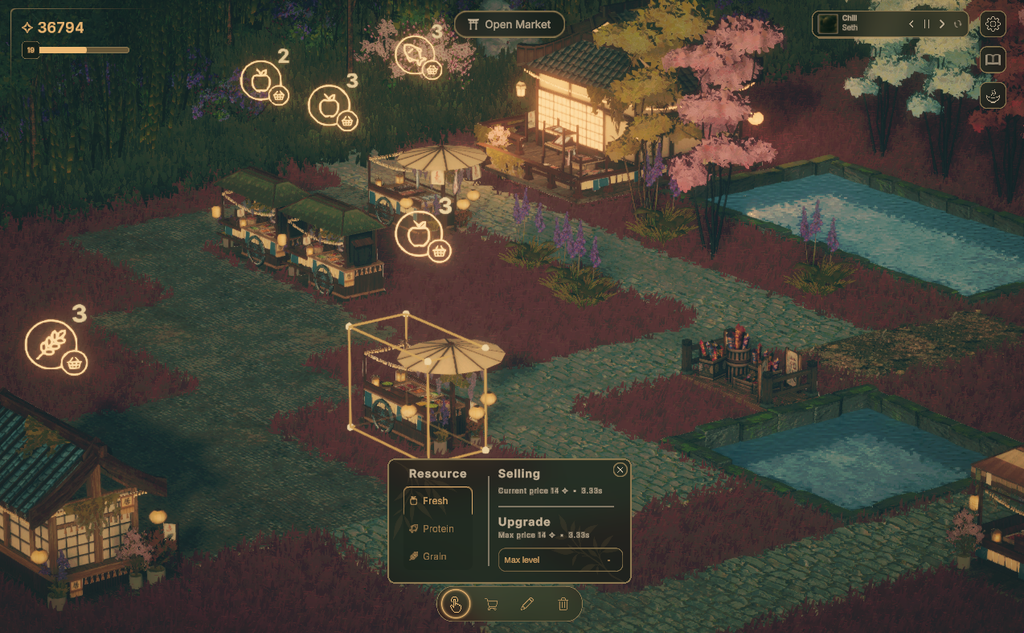
Example: If you select Fresh on your workshop, then you should select the same resource on your stall to produce and sell it to your customers.
Note: In Oboro No Ichi, if you build multiple stalls selling the same resource produced by a workshop, make sure to upgrade the workshop to increase its production. For example, if the workshop’s Protein production is set to 80, a total of only 80 units will be available for sale across all stalls assigned to Protein. Increasing production will allow you to stock up and sell more Protein through multiple stalls.
6. You can add decorations to make your market look more appealing, but they serve purely aesthetic purposes and don’t generate any income. I would recommend holding off on decorations at the beginning. Once your market starts earning over 10K, you can gradually add some small decorative items to spruce up the place.
7. You can also build multiple workshops and assign a different resource to each one. Then place stalls and assign them the same resources so you can sell all three resource types to customers. Remember to upgrade your workshops to increase production. You can also upgrade the stalls to raise selling prices and earn higher profits at the end of each day.
8. To move or rotate buildings, click on the pencil icon to activate Edit mode. Select the building you want to adjust, then use keyboard controls to rotate or move it to your desired location.
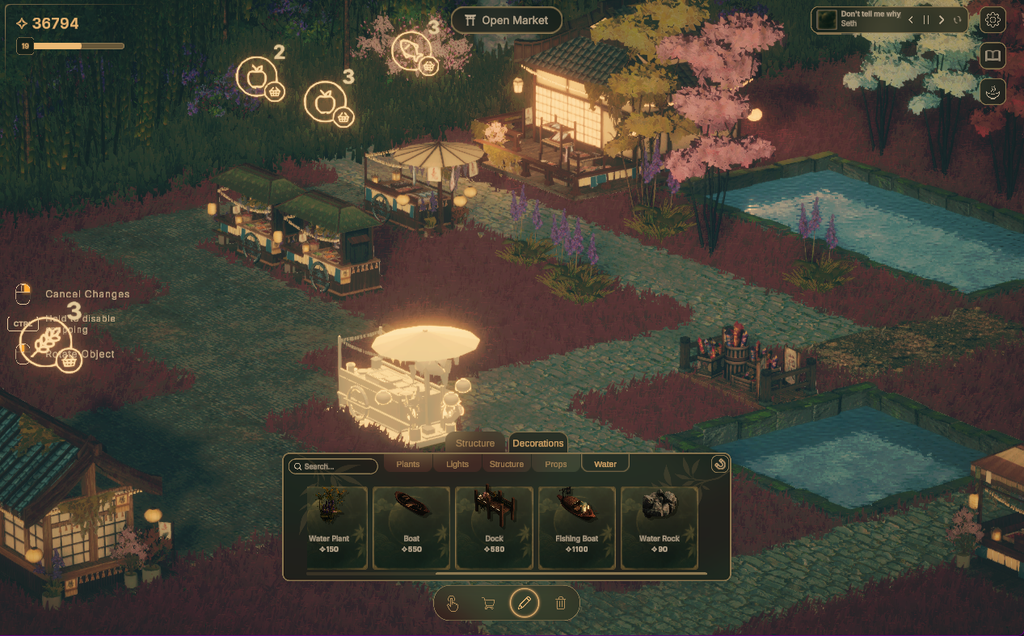
9. You can sell everything that has been placed on your market. Click on the garbage bin icon and then click on a building or decoration to sell it for some in-game cash.
10. Don’t forget to upgrade the main entrance. With the select mode still on, click on the entrance gate and level it up to increase the max level and faster spawn rate.
Opening Your Market
Once you have set up workshops (resource buildings) and stalls, it’s time to let your wandering-spirit customers visit your market. Click on “Open Market” at the top of the screen. Before clicking on the “Confirm” button, you can check how many resources will be produced and sold until the end of the day. Each resource has a unique symbol:
- Fruit = Apple
- Protein = Fish symbol
- Grain = Wheat
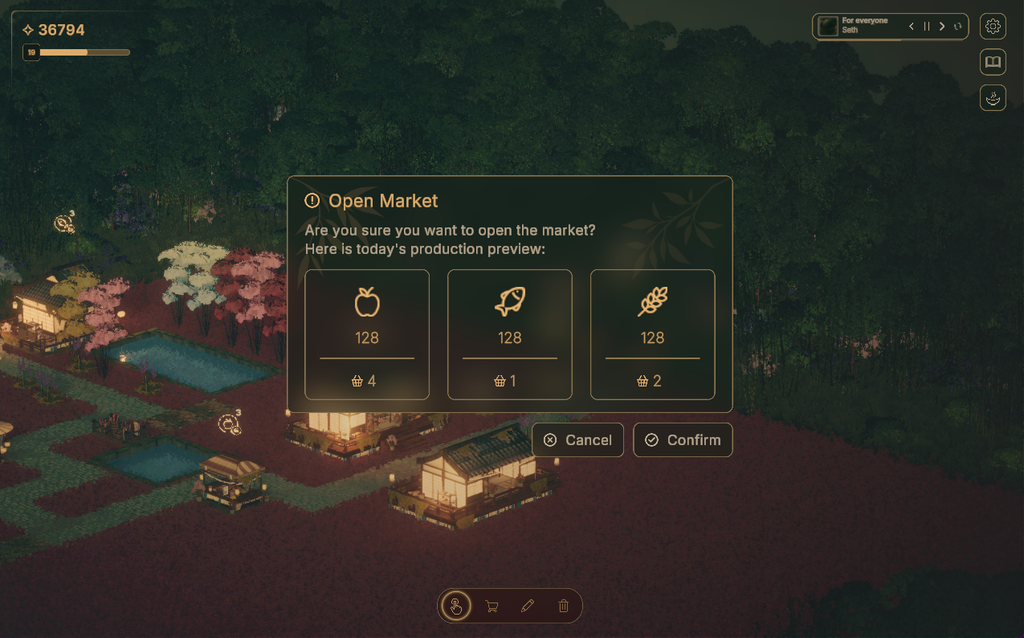
At the bottom of each symbol is the total amount of produce that will be created and sold. The basket icon is the number of stalls selling that particular resource.
After clicking the Confirm button, you’ll see visitors arriving through the main entrance and heading to the stalls to purchase resources. Your earnings are displayed in the top-left corner of the screen, with the XP bar just below them. The XP bar gradually fills up every time a customer purchases something from a stall. Once it’s full, your market levels up, unlocking new buildings and decorations.
There are five icons on the left side of the screen:
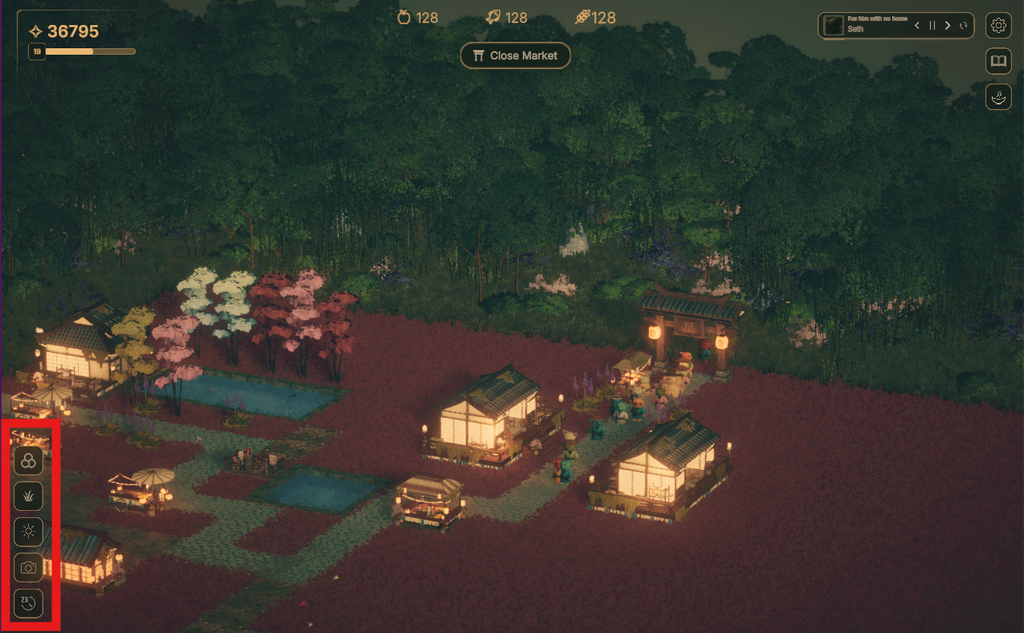
- Filter: A display enhancement; it places a color tint or overlay across the game screen. You can set one of four filters or just select the No filter icon if you don’t want a color tint.
- Grass Style: Lets you choose four different grass colors.
- Time of the Day: You can manually set the in-game day/night cycle. Just rotate the dial and click on the padlock to lock the time of day.
- Screenshot: Click to take a screenshot of your bustling market.
- Speed Up (2X): You can increase the speed at which visitors enter your market and purchase resources from the stalls.
Market Recap
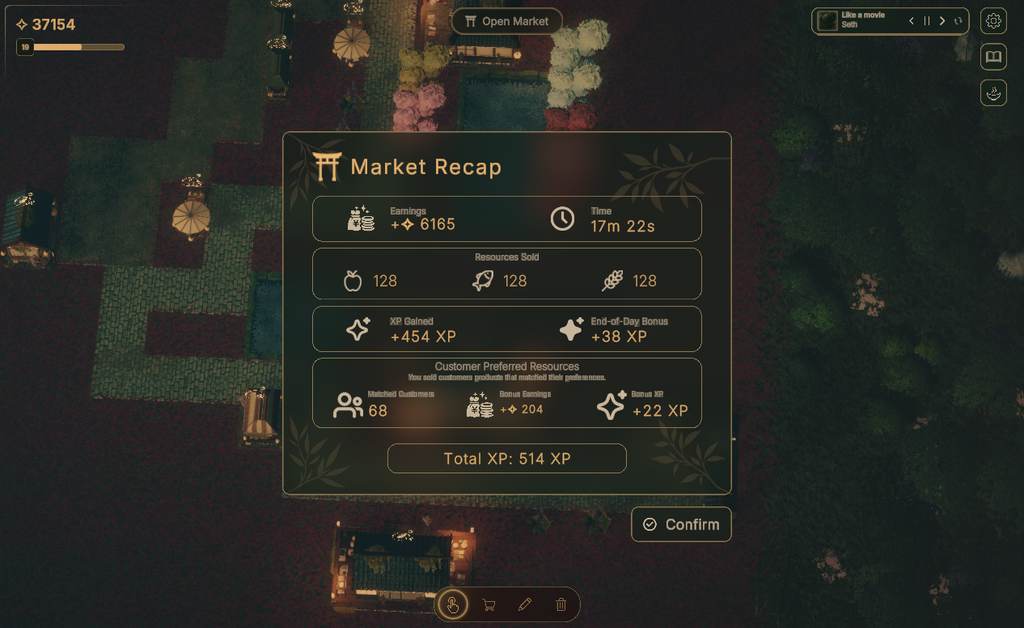
Once all your resources are sold, click on “Close Market”. A stats box will display the market recap, including total earnings for that session, resources sold, XP gained, and end-of-day Bonus XP./
A separate section titled Customer Preferred Resources shows which products you sold that matched customers’ preferences. Under Matched Customers, you can see how many customers purchased the resources they wanted. There are also Bonus earnings and Bonus XP earned by the end of the day. Click the Confirm button to go back to build mode.
Interact with Customers
When the market opens, you can interact with certain customers to get bonus XP, cash, more customers, and missing diary pages.
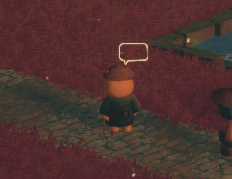
1. Customers with Callout boxes: Click on a customer with a callout to know their thoughts. You will get bonus XP or cash.
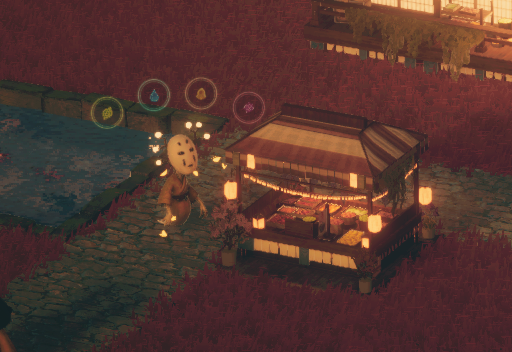
2. Magic Creatures: Two magical creatures will occasionally appear in your market. Click on them to trigger a musical memory mini-game. Pay attention to the glowing musical notes and repeat them in the correct sequence before the timer runs out to earn rewards. These can include bonus cash, XP, or magic potions. Magic potions provide a temporary bonus to your cash earnings by increasing them by a certain percentage.
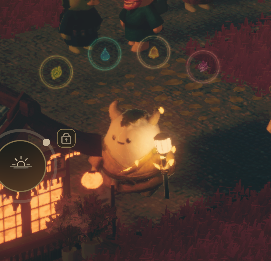
3. Cat(?): Sorry, I couldn’t recognize this creature, but he is cute and chubby. Clicking on him will grant bonus XP or cash.
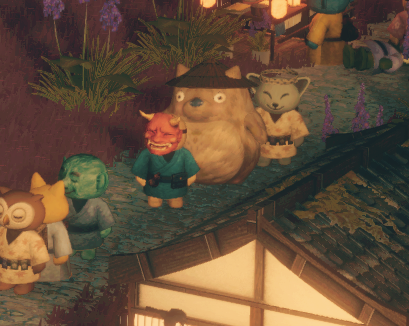
4. Hopping Hare: They hop all over the place. Click on a hopping hare to get cash or XP.
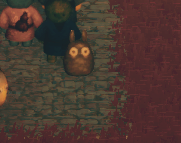
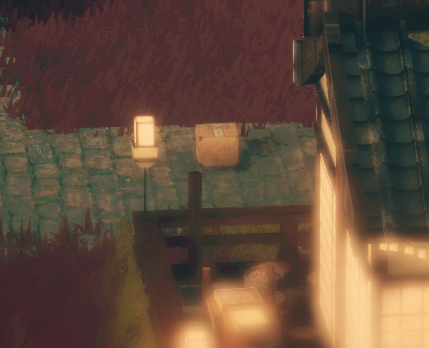
5. Boxes: Boxes will be lying on a path. Click on them before they disappear. Light cardboard boxes have a higher chance of containing missing diary pages. You can read the pages by clicking on the open book icon in the top-right corner of the screen. You may also get XP or cash. Dark cardboard boxes may contain a bonus decoration item. But sometimes these boxes may contain cash, XP, and magic potions.
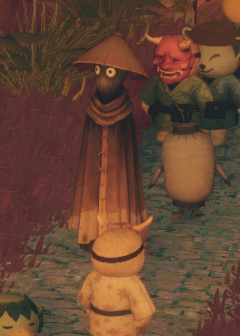
6. Tall Hooded Creatures: They may grant cash or bonus XP.
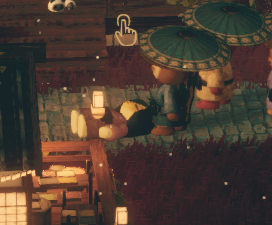
7. Sleeping Customers: Suddenly, a customer may fall asleep. A hand icon will appear above them. Click on the sleeping customer and hold until the circle above them fills up to get rewards.
8. Magic Potions: Sometimes, clicking on the customer icons mentioned above rewards you with magic potions. These potions provide temporary bonuses, such as extra XP or an increased number of customers for a few seconds. When you receive a potion, a circular icon appears in the lower-right corner of the screen. The bonus remains active while the circle is visible and wears off as the circle gradually empties.